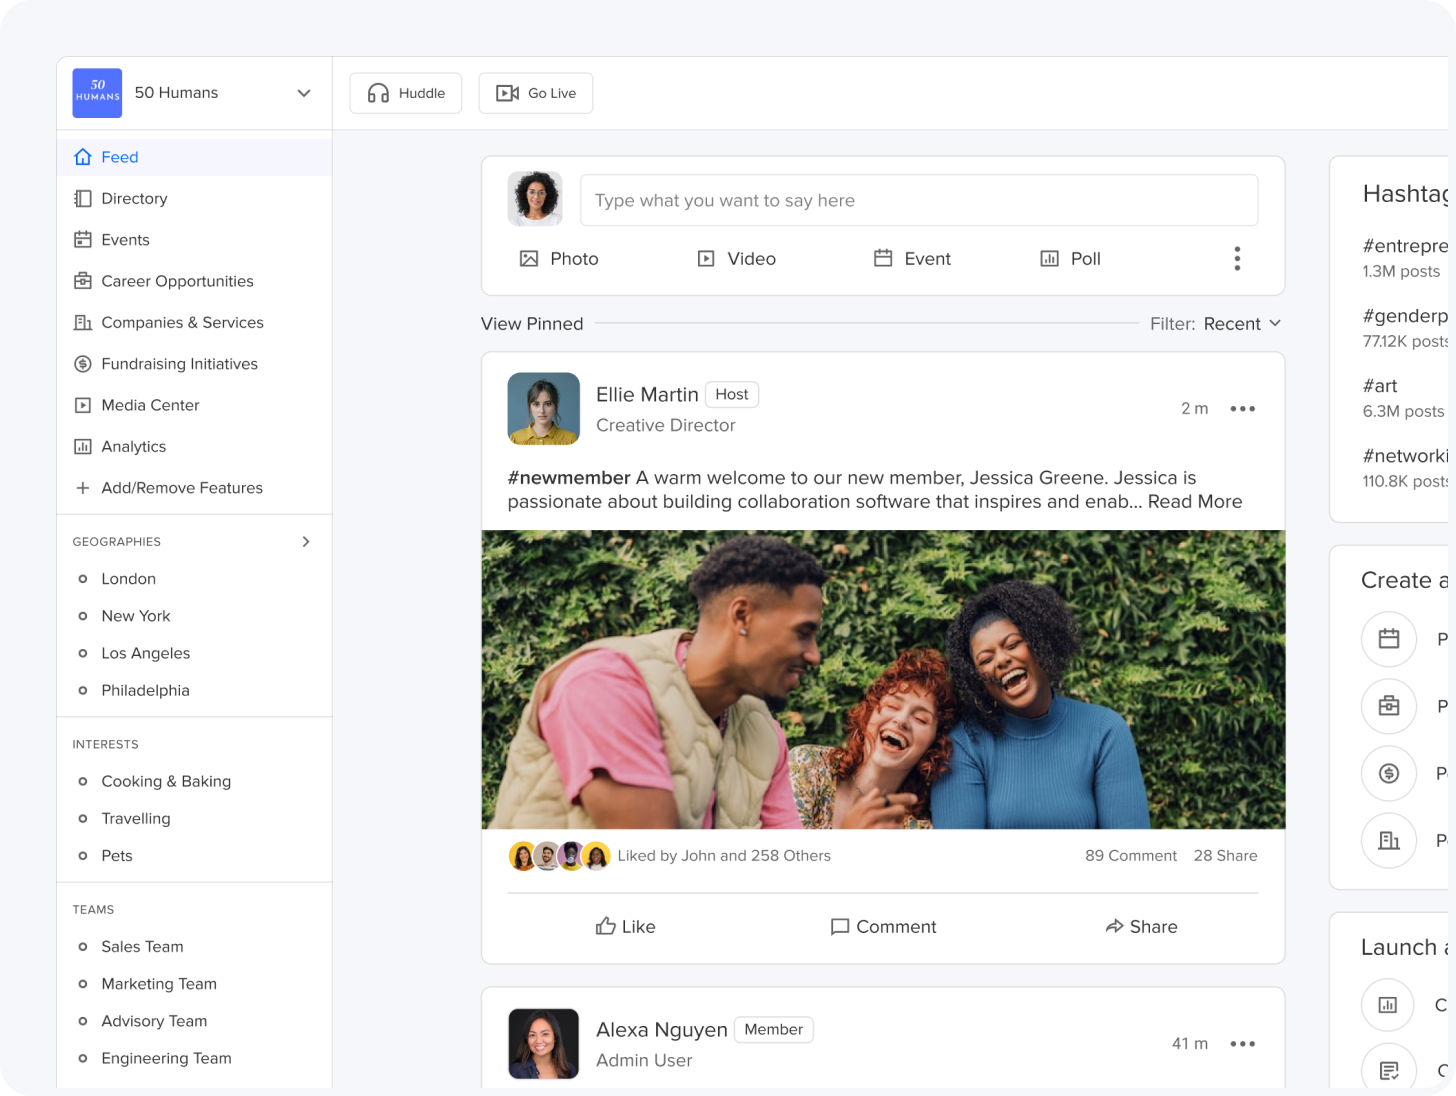
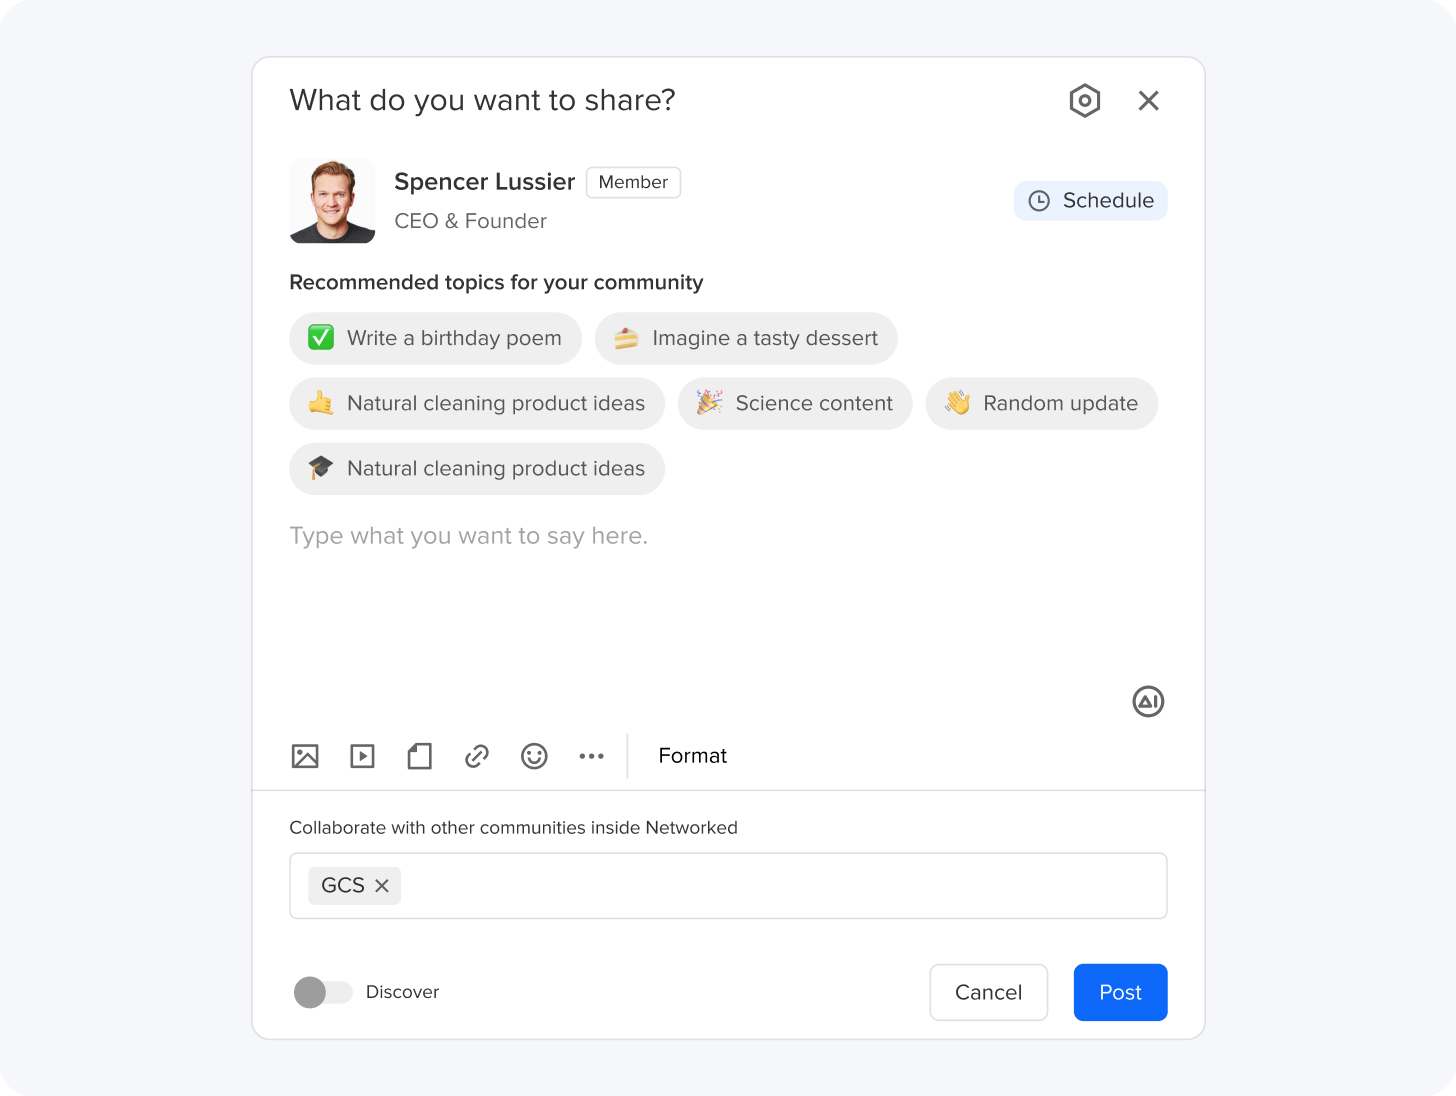
Take control of your content’s reach without guessing games.
Build a loyal following you own, no intermediaries.
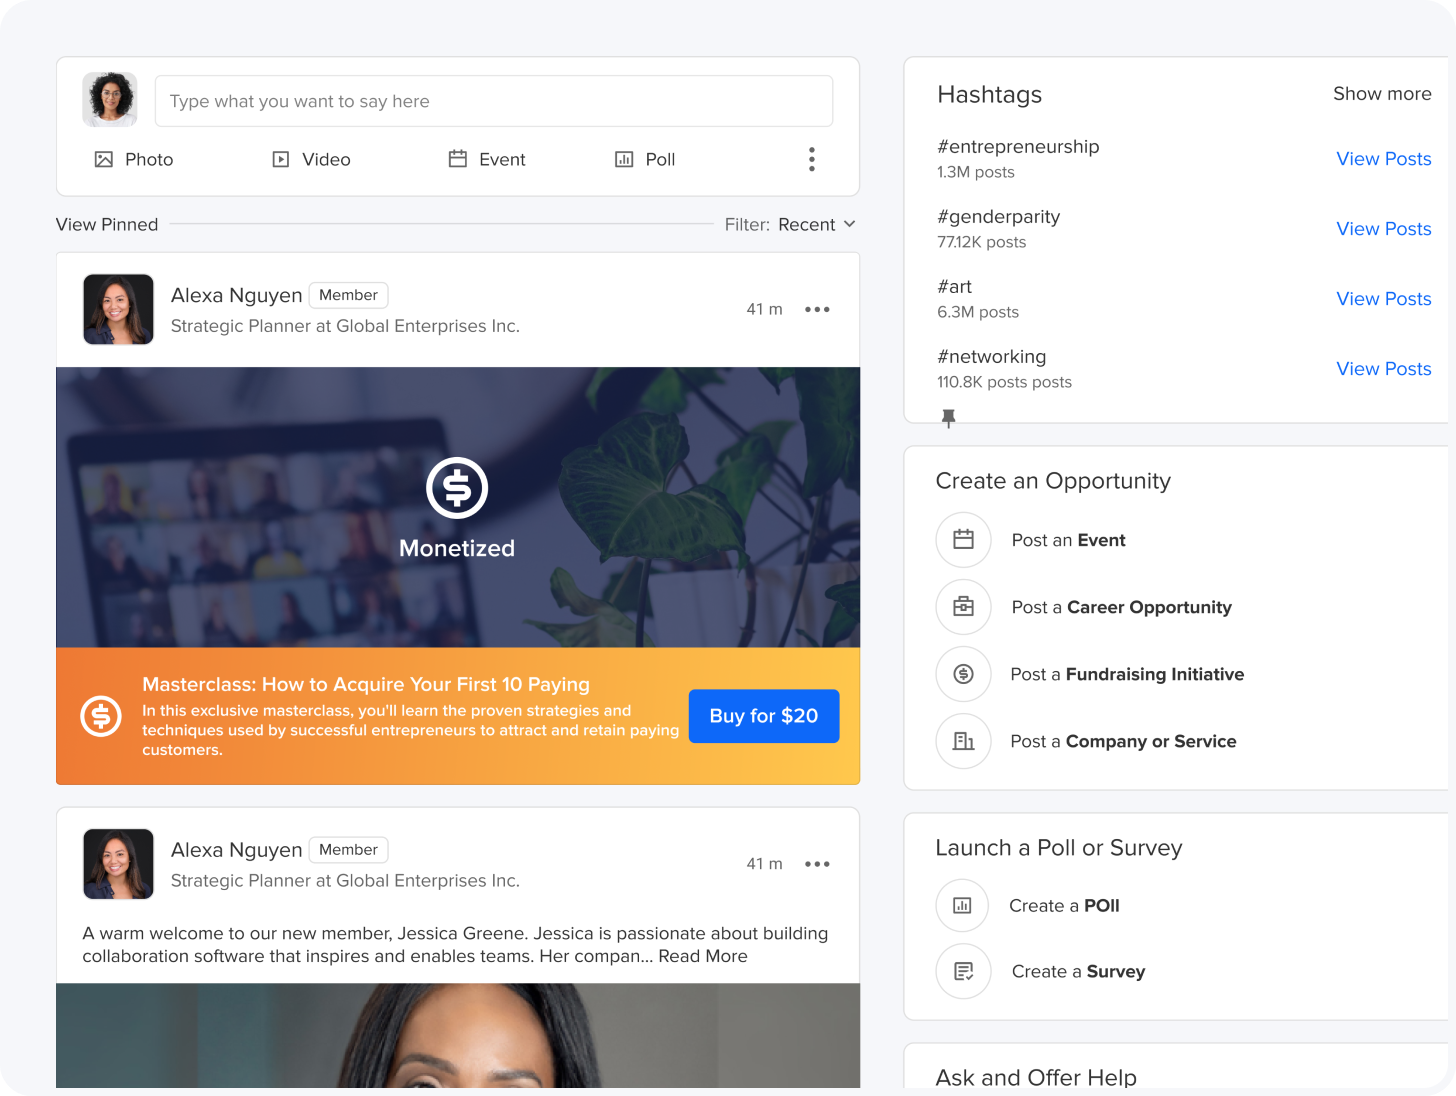
Easily sell memberships, sell access to premium content, or even run ads.
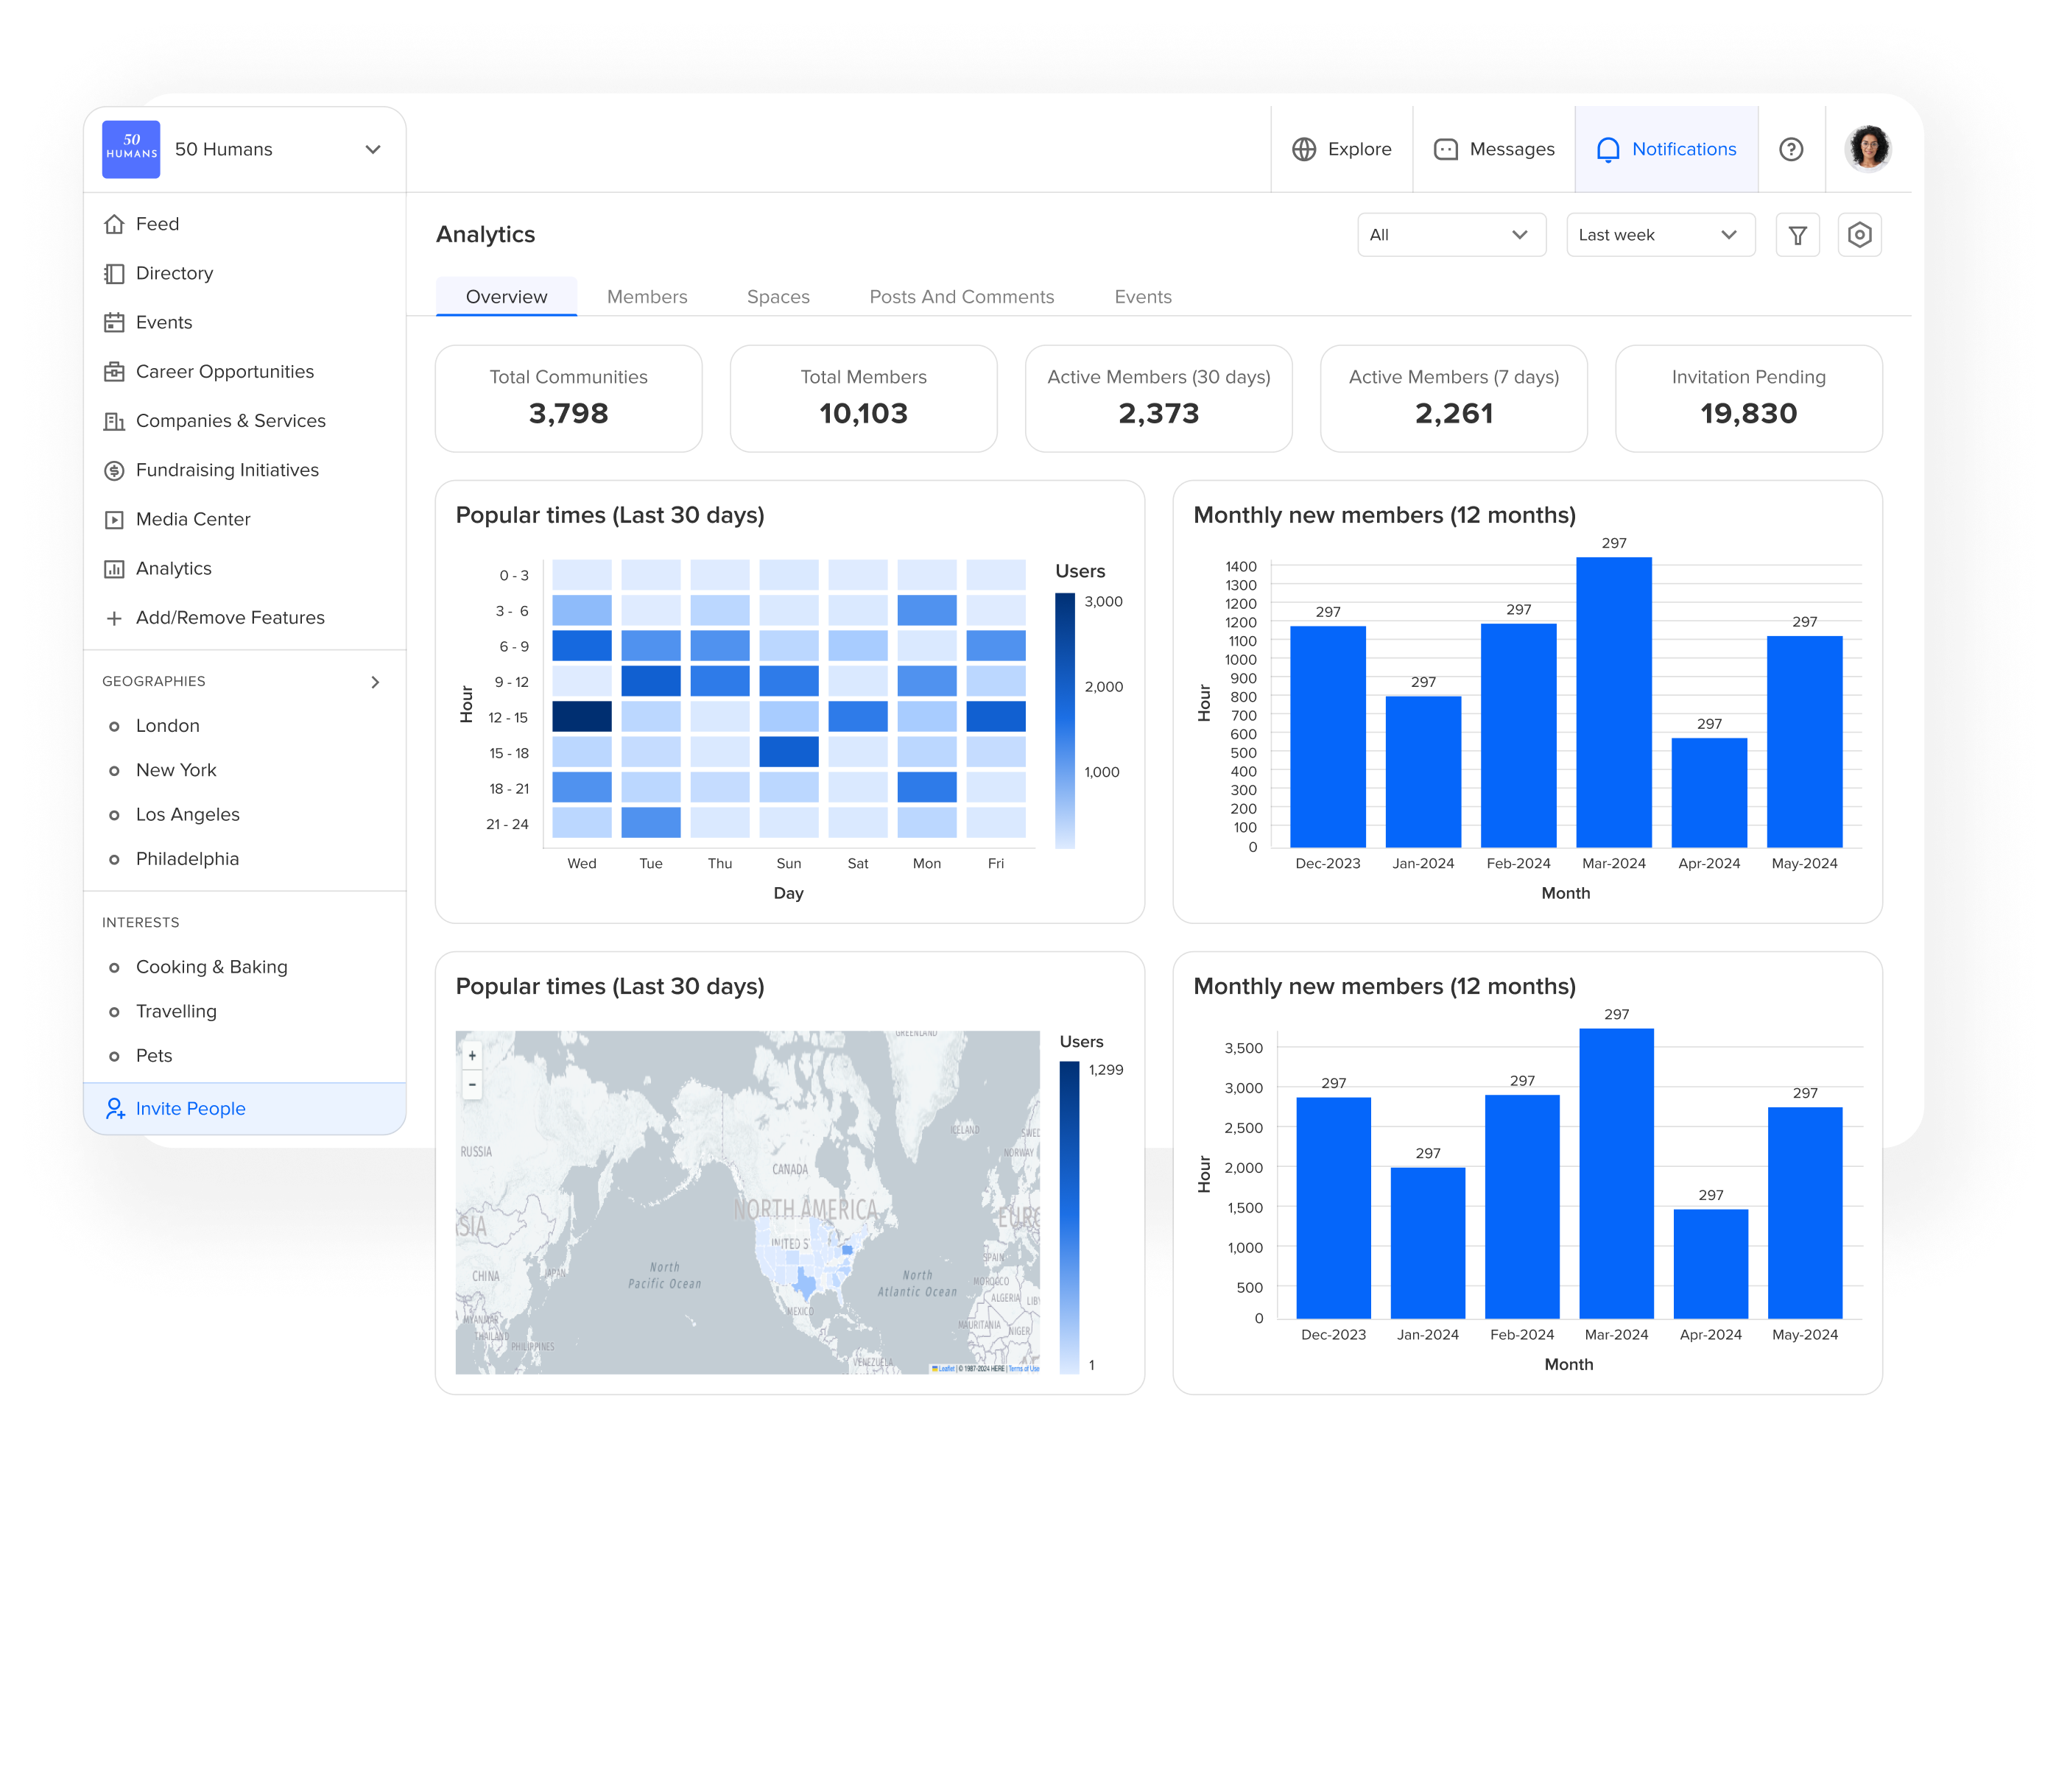
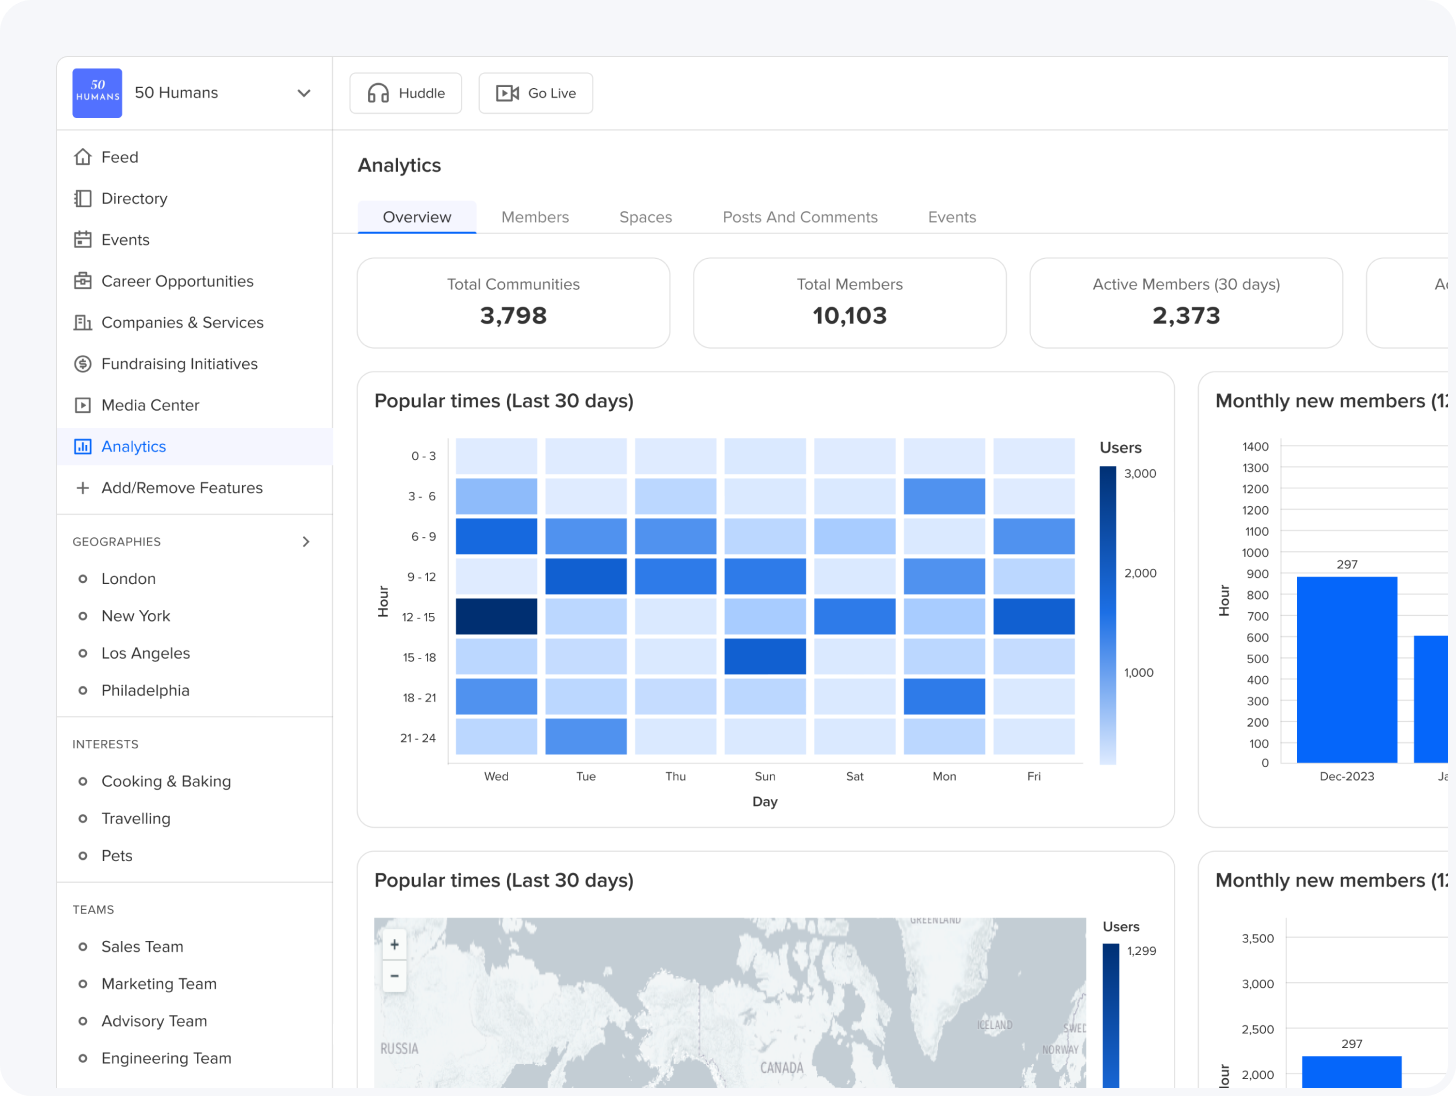
Own your data and your future. Access insights to grow your influence.
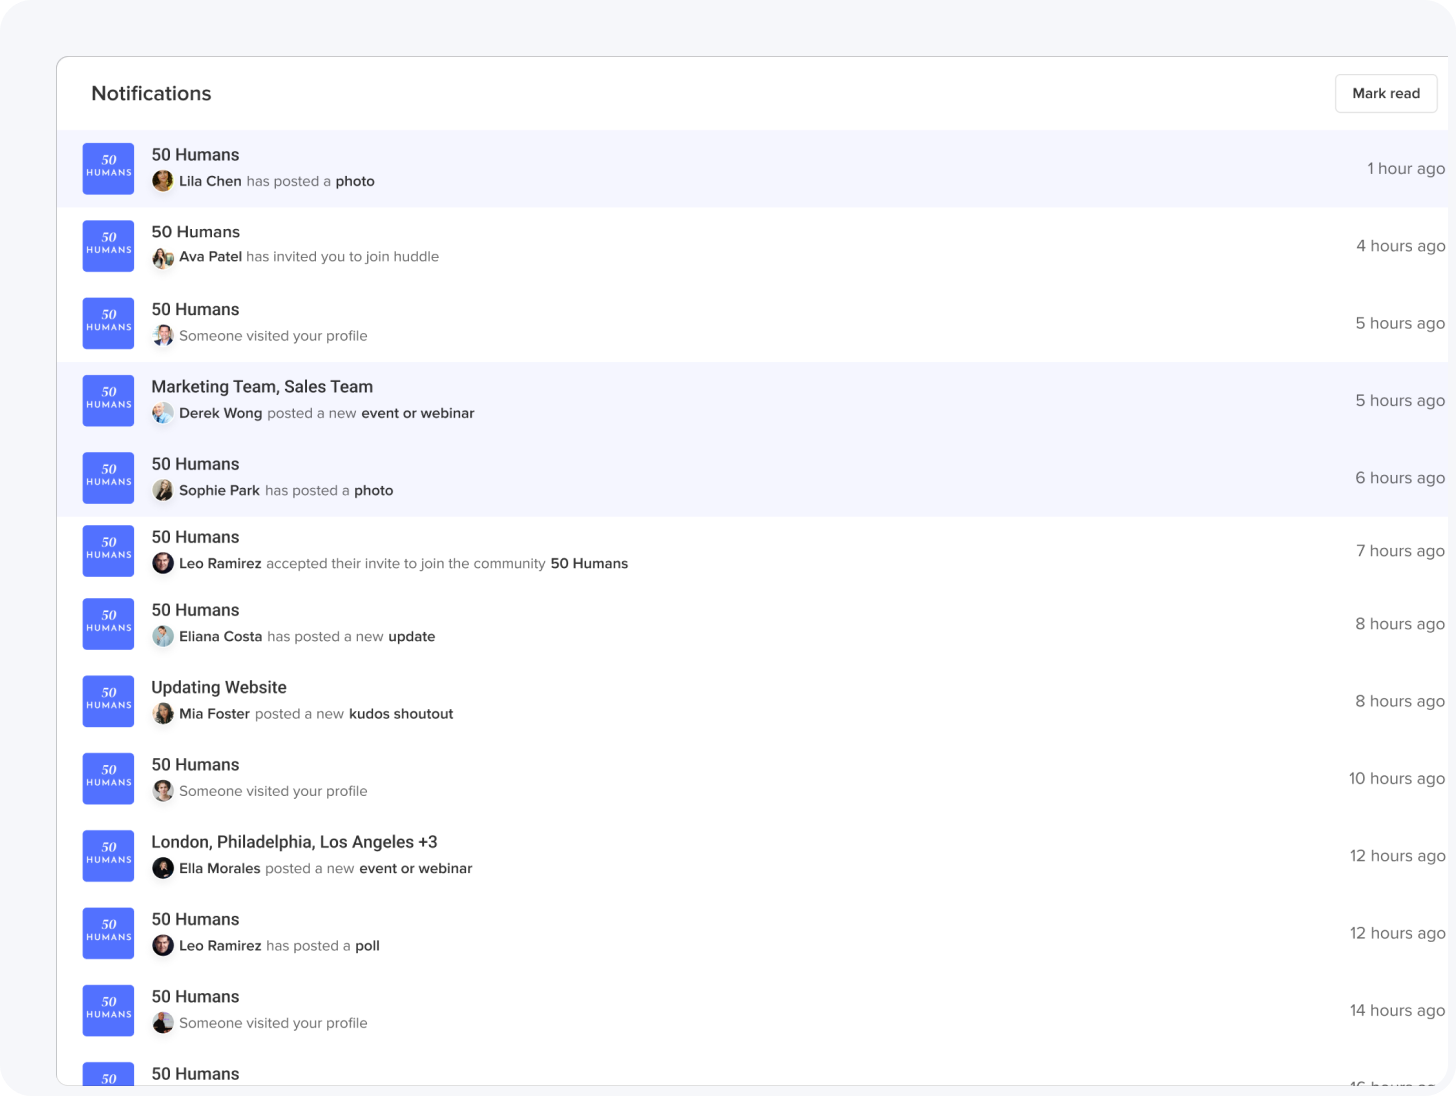
Create deeper connections and foster meaningful interactions within your community.
Brand your platform with full customization to reflect your unique style.
Streamline content creation and distribution to focus on your creativity.
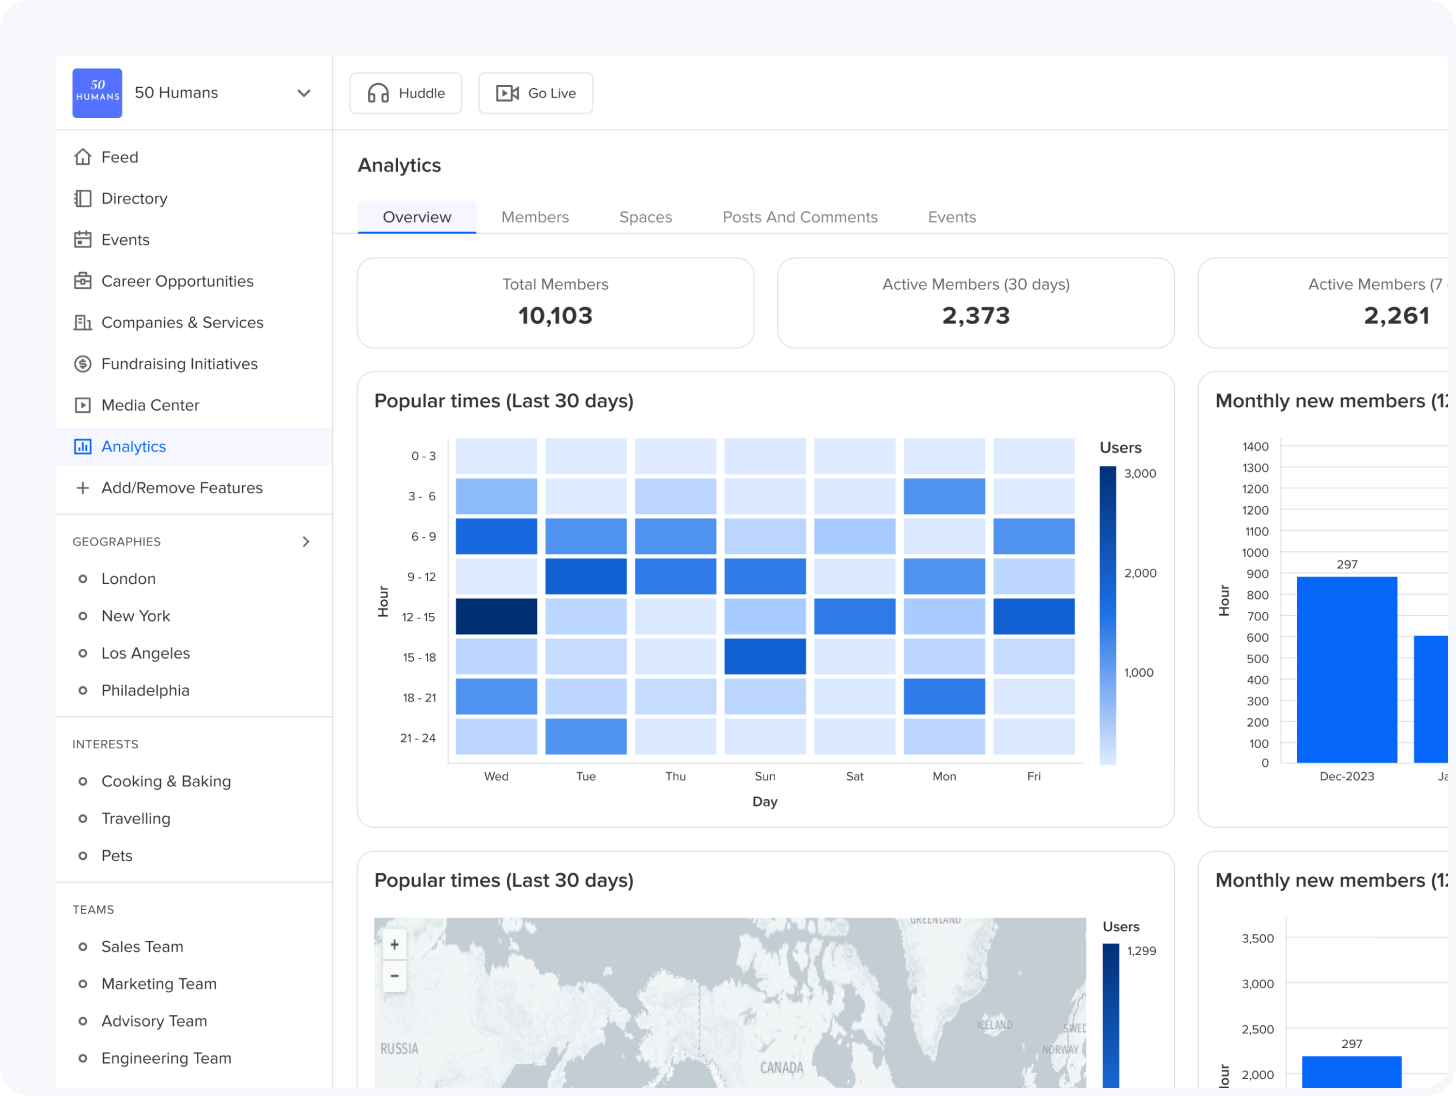
Track success in real-time and optimize your content strategy.
Protect your content and audience with built-in security for peace of mind.
"Networked has become the backbone of our online community, supporting us in bringing more diversity to boards and executive leadership."
Gabriella Serrato - Beyond Board
"Networked is an essential catalyst in our quest to create a more inclusive and equitable world for women in business."
Gwen K. Young - Women Business Collaborative
“With its powerful features, Networked has helped us create a vibrant community that encourages women to break barriers”
Nicole Style - How Women Lead
"VLF members have leveraged the platform to connect with potential investors and gain access to crucial capital and financing."
Christina Bui - Vietnamese Leaders Forum
“I found invaluable connections that turned into partnerships.”
Avery Johnson
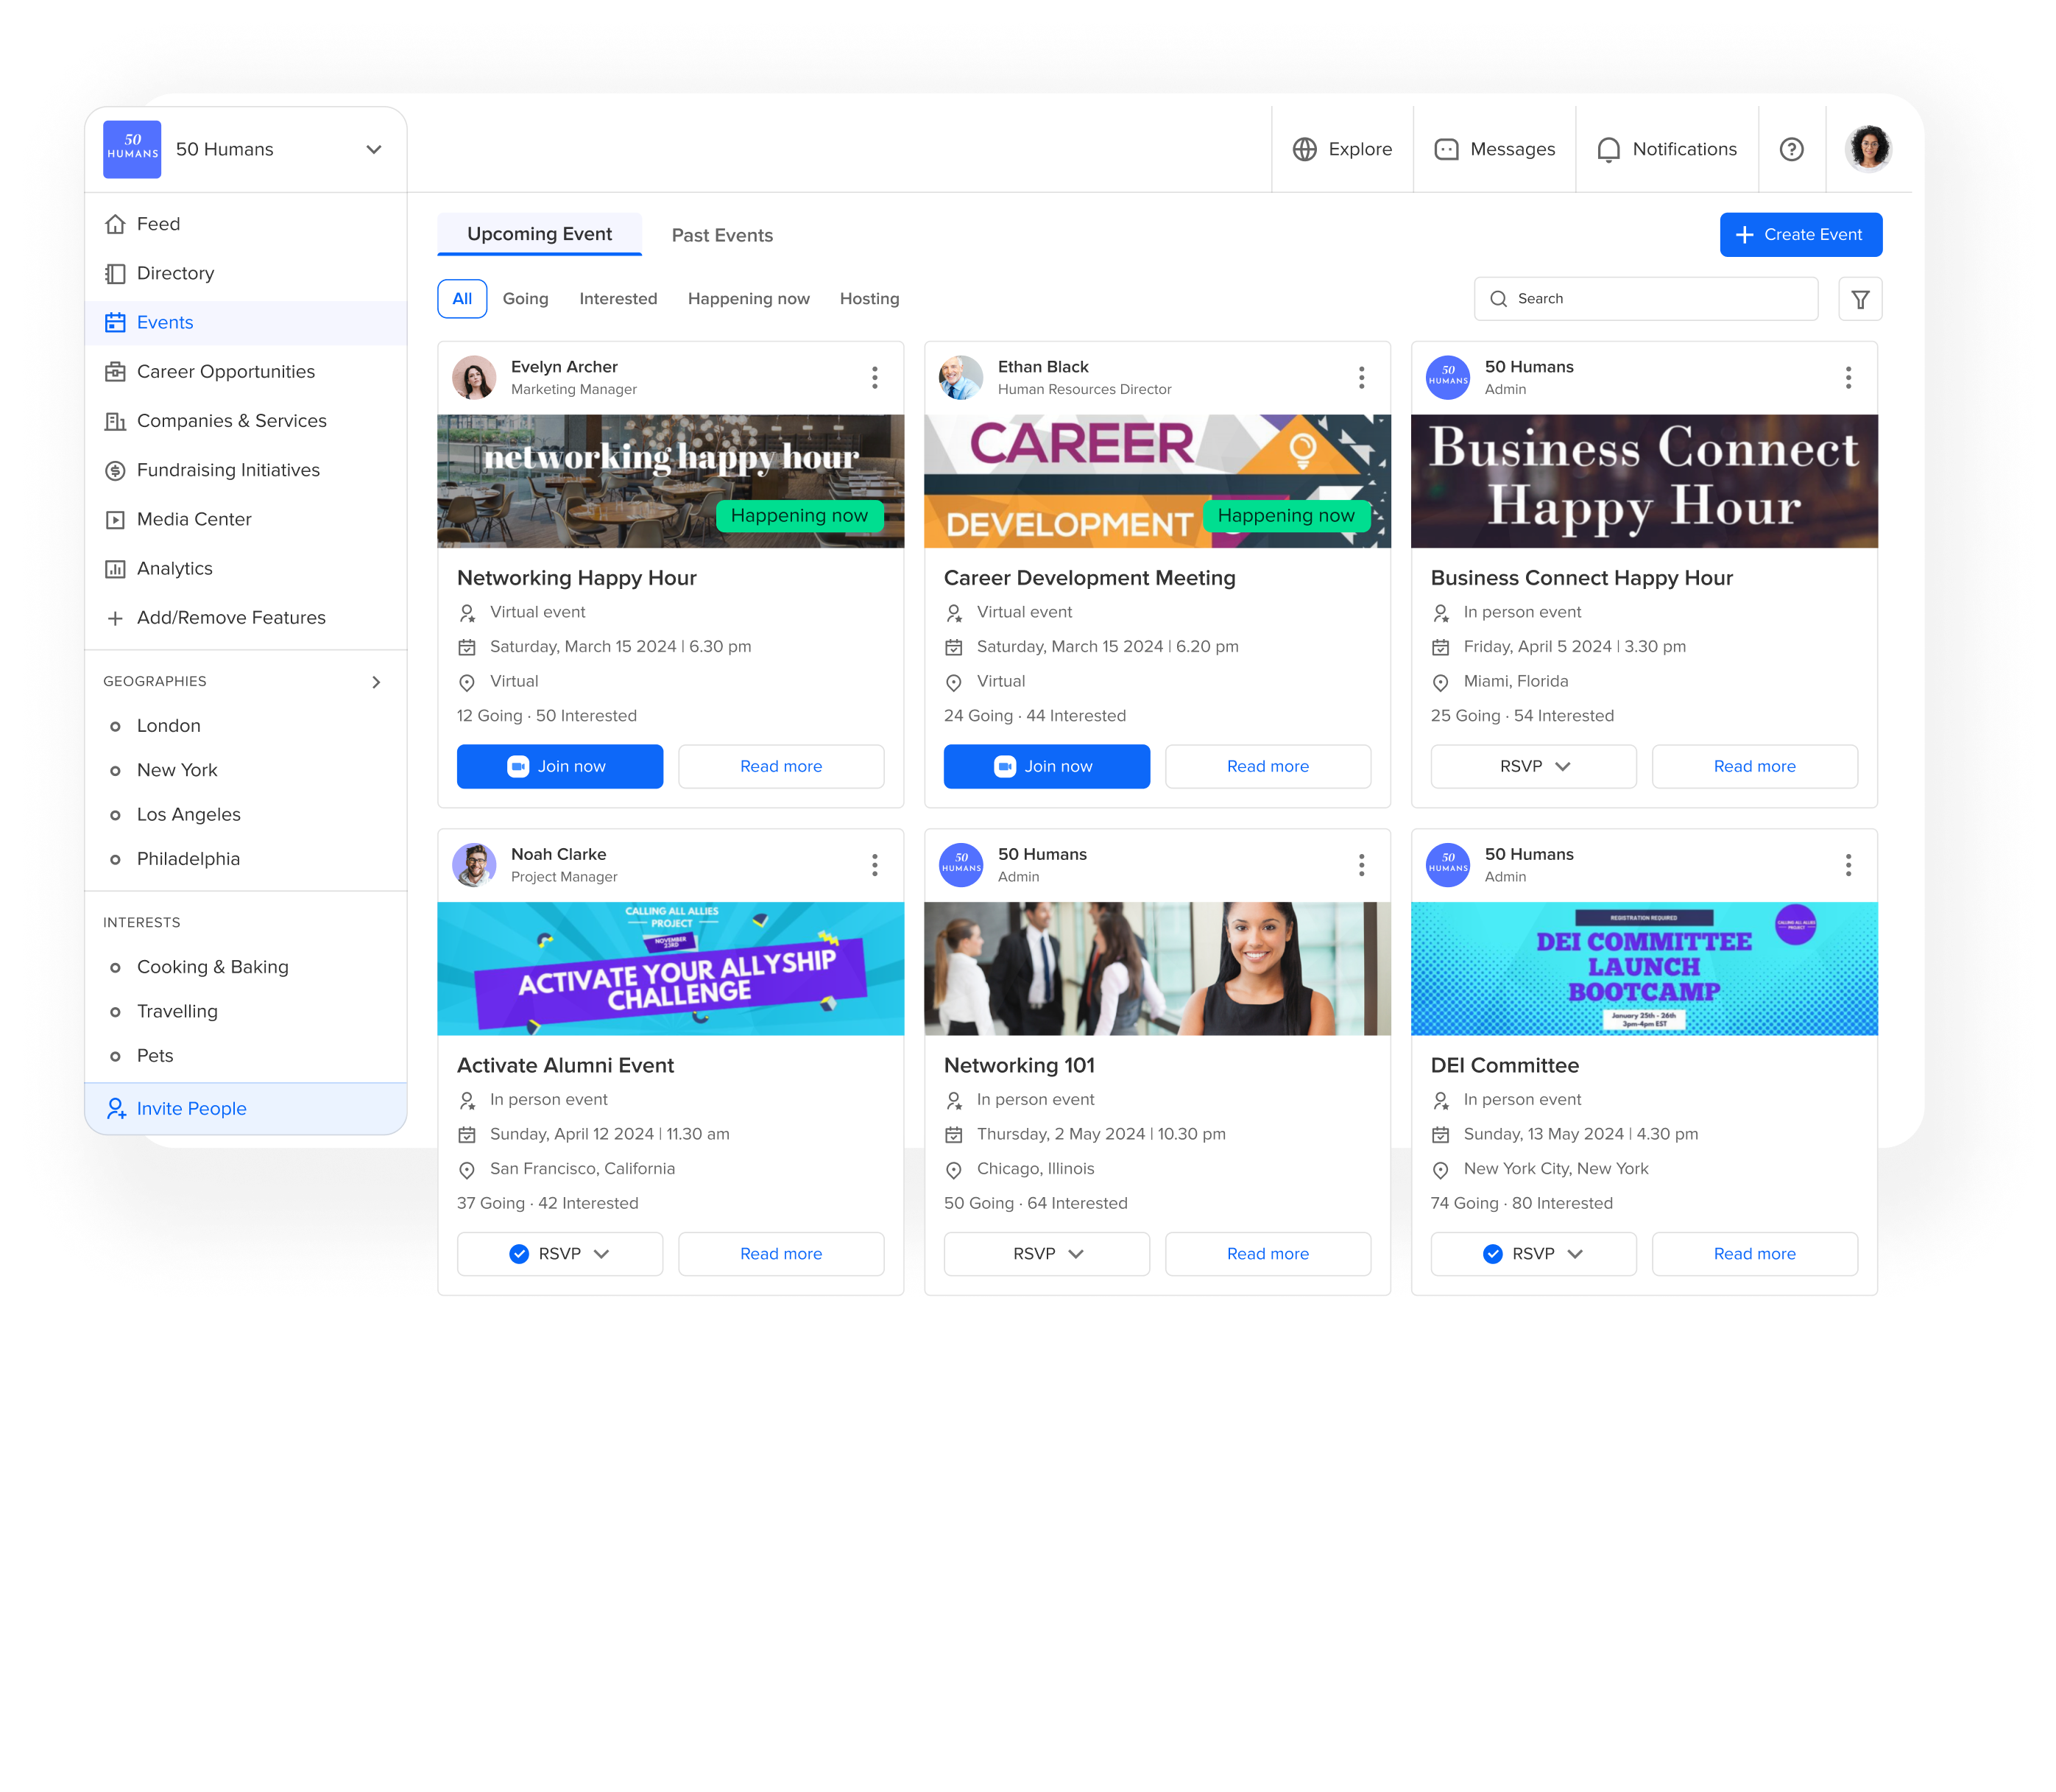
"Networked’s intuitive RSVP system helps us effortlessly organize events and foster networking opportunities."
Jim Graham - Felix Global
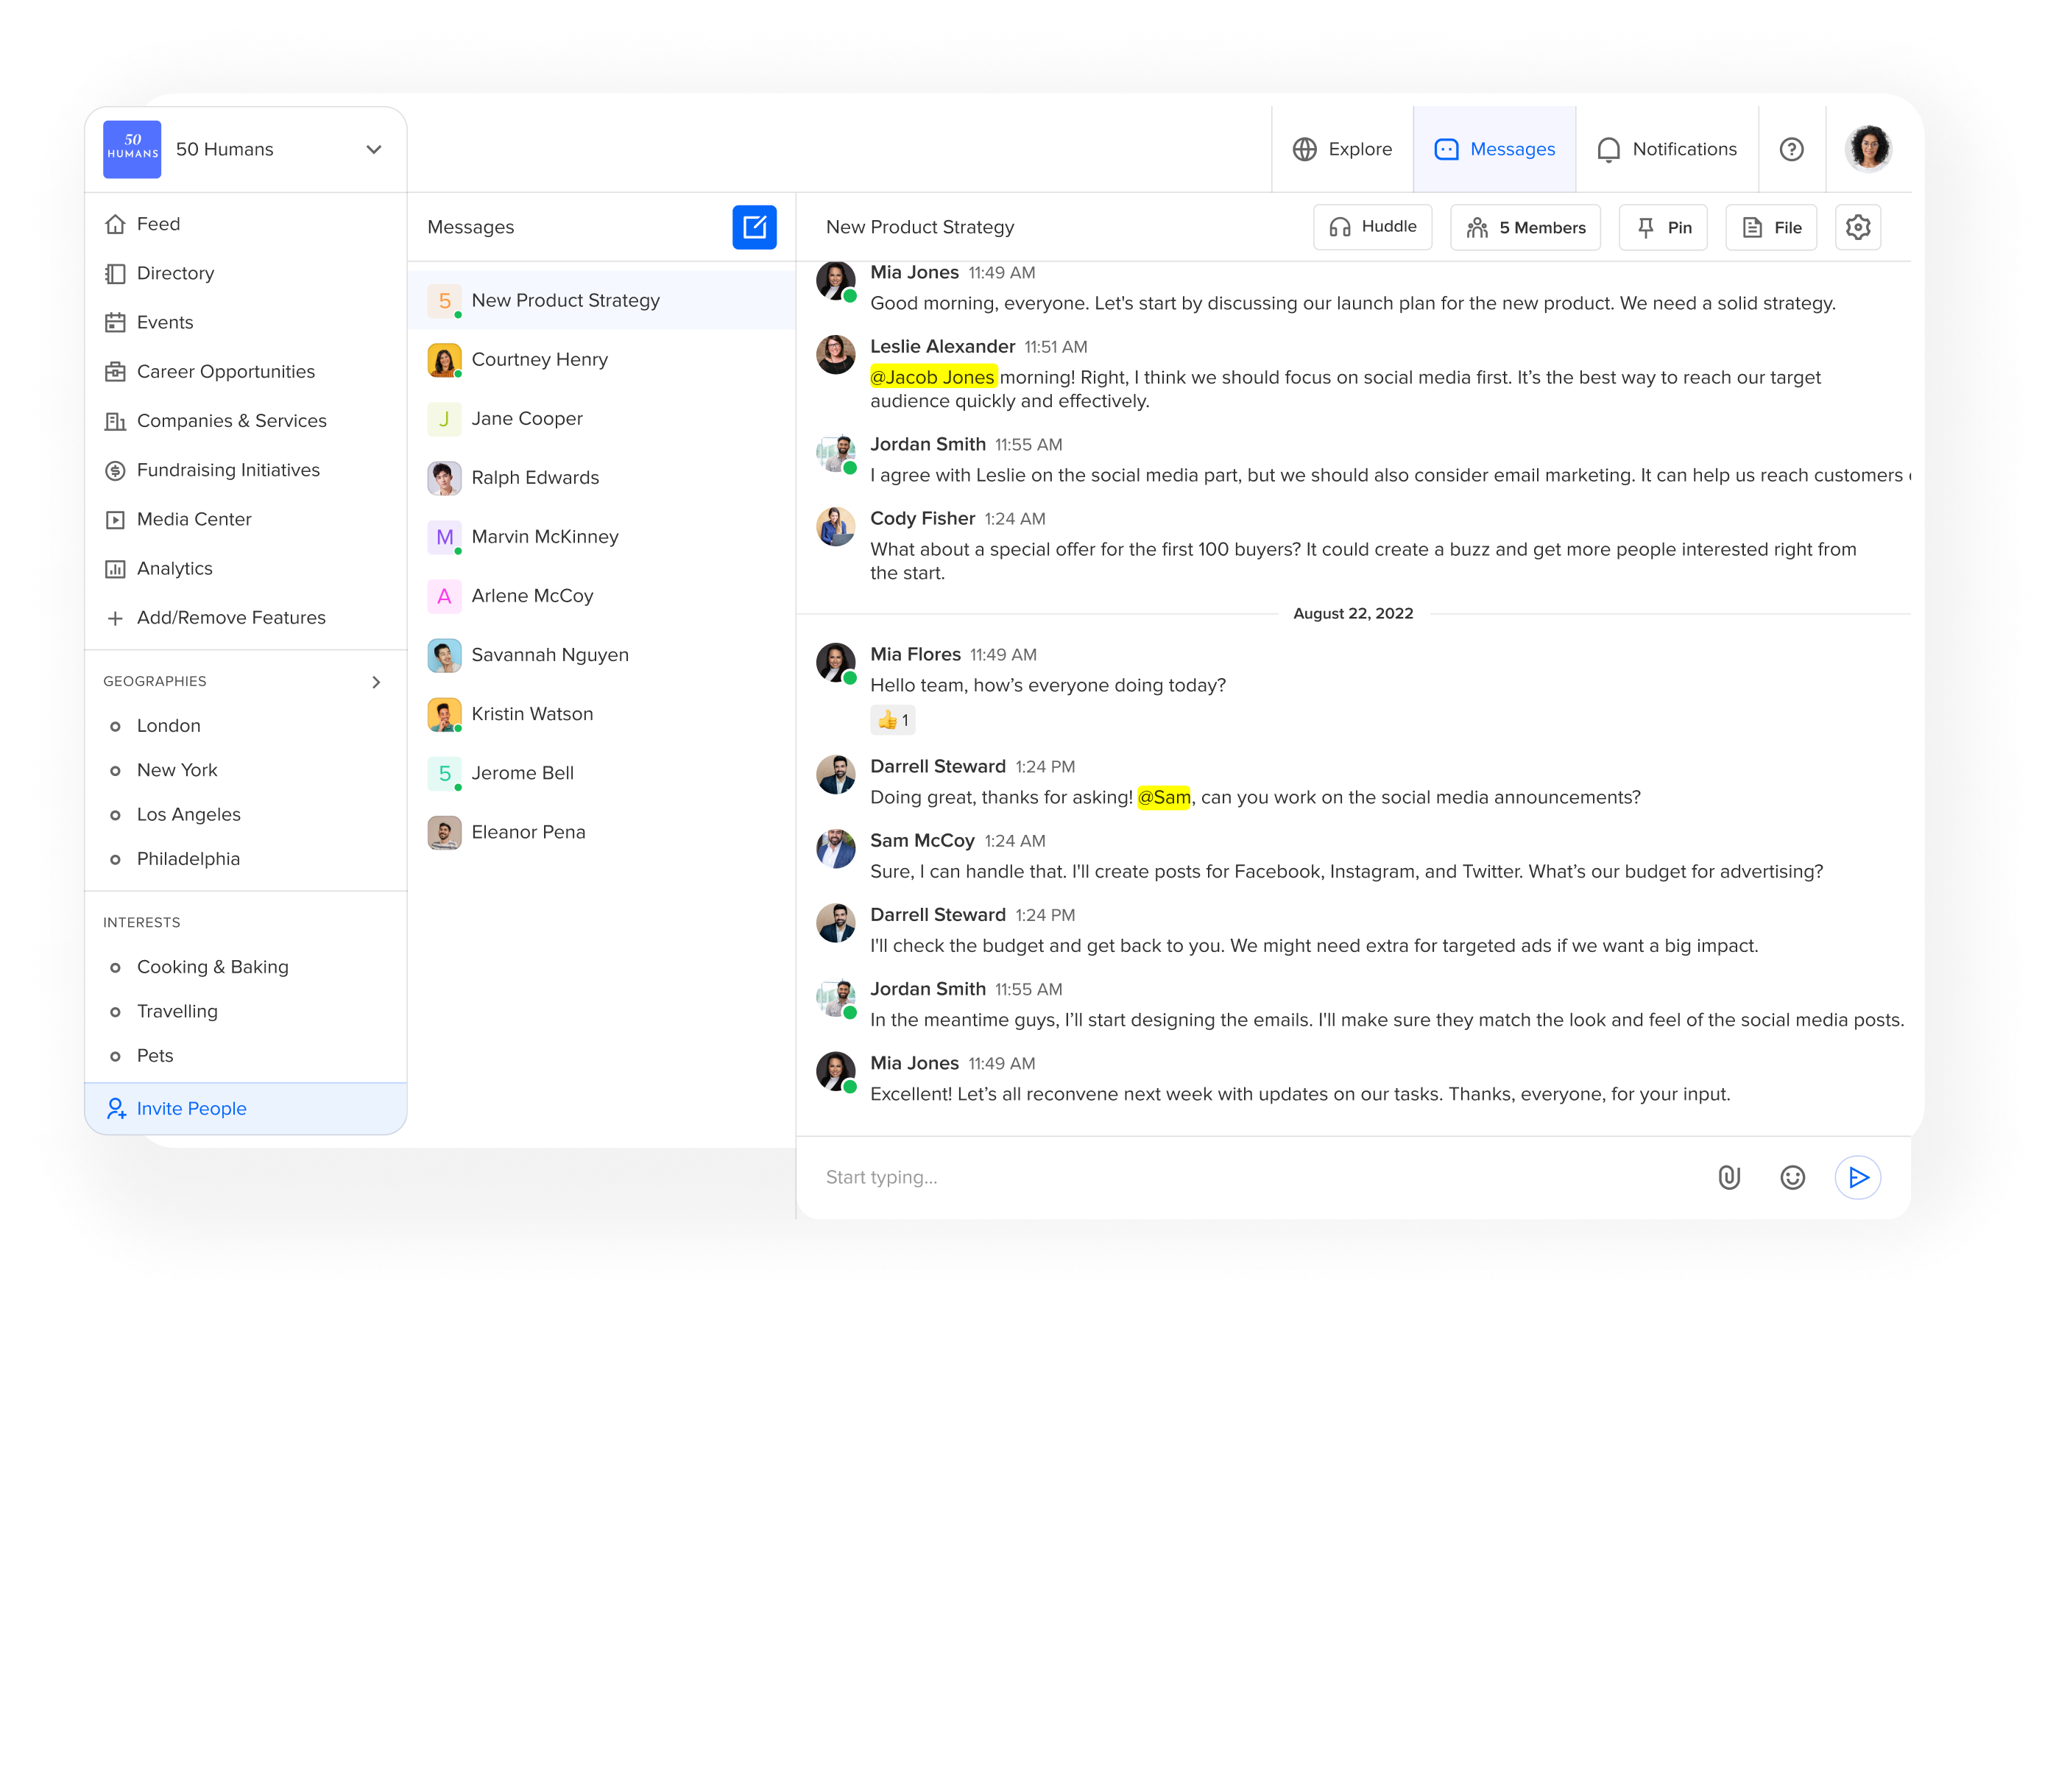
"Networked’s intuitive interface enables our members to engage in rich conversations and forge valuable relationships."
"Networked elevates the 'PGA Golf Professional of the Year' conference by providing an intuitive, all-encompassing virtual space."
Rick Summers - PGA Magazine
“Networked is easy to set up and intuitive to use. Everything is organized and in one place. We love it!”
Paul Slack - Demand Gen Jammers
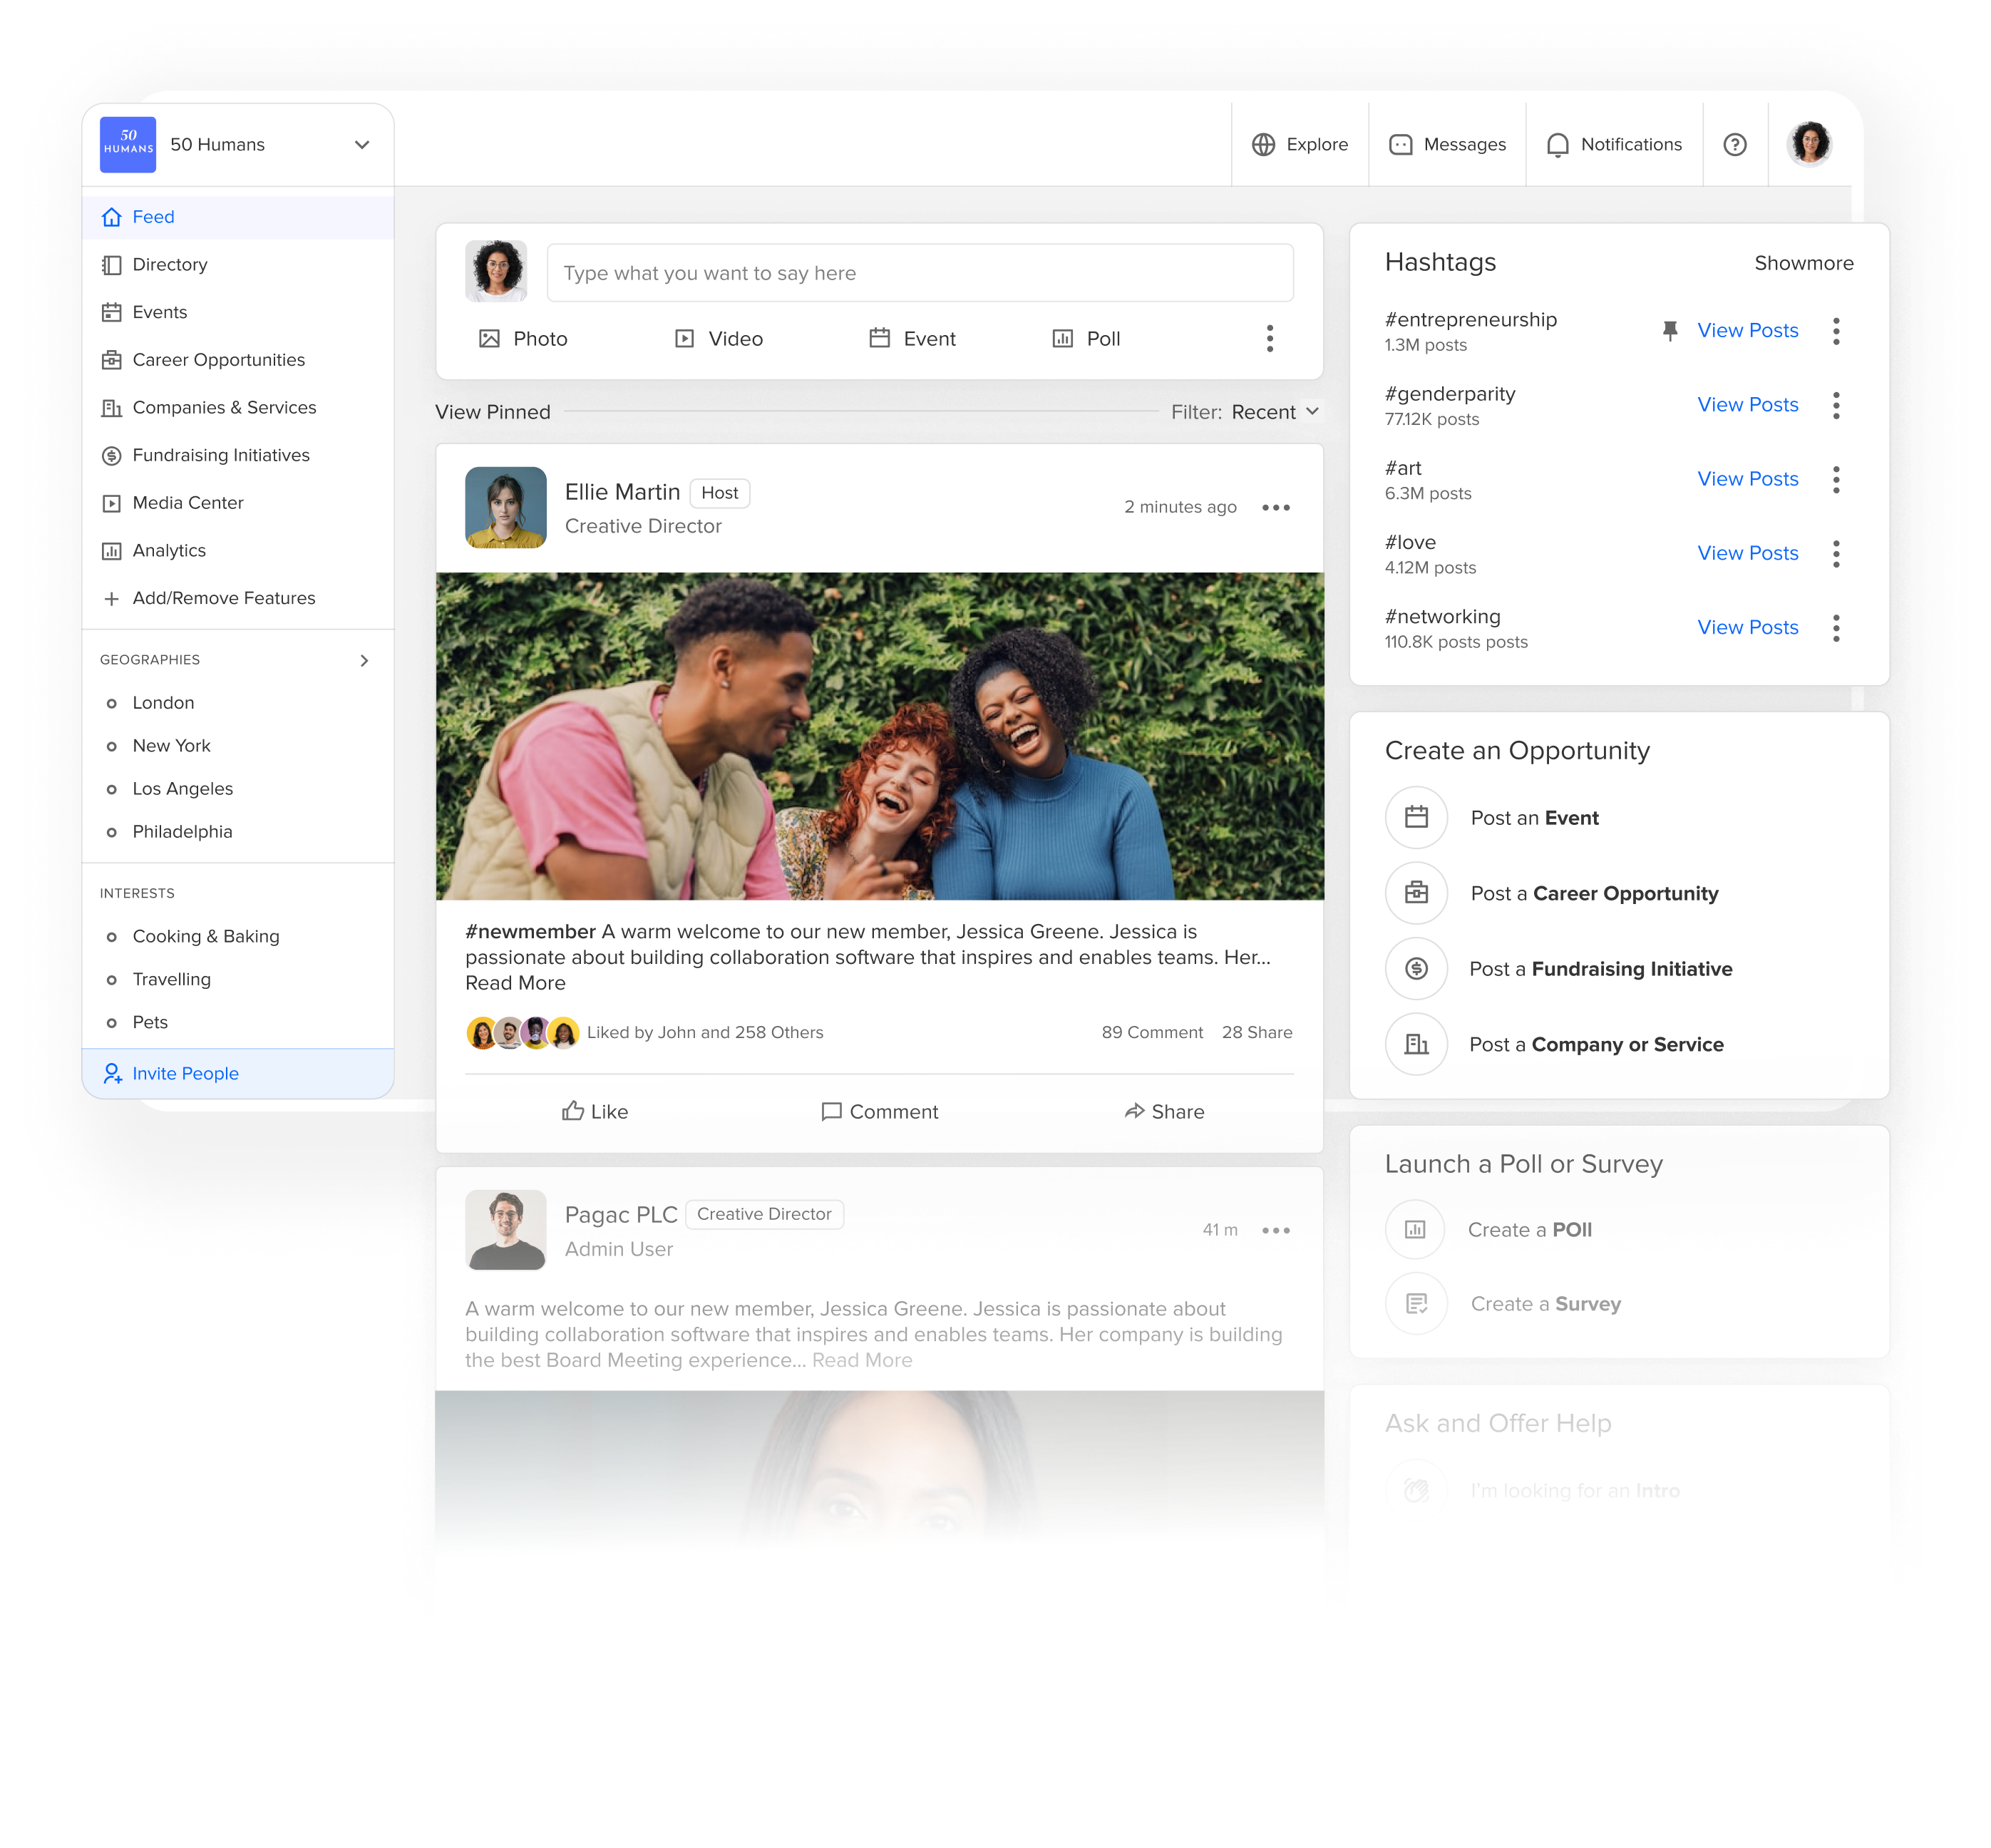
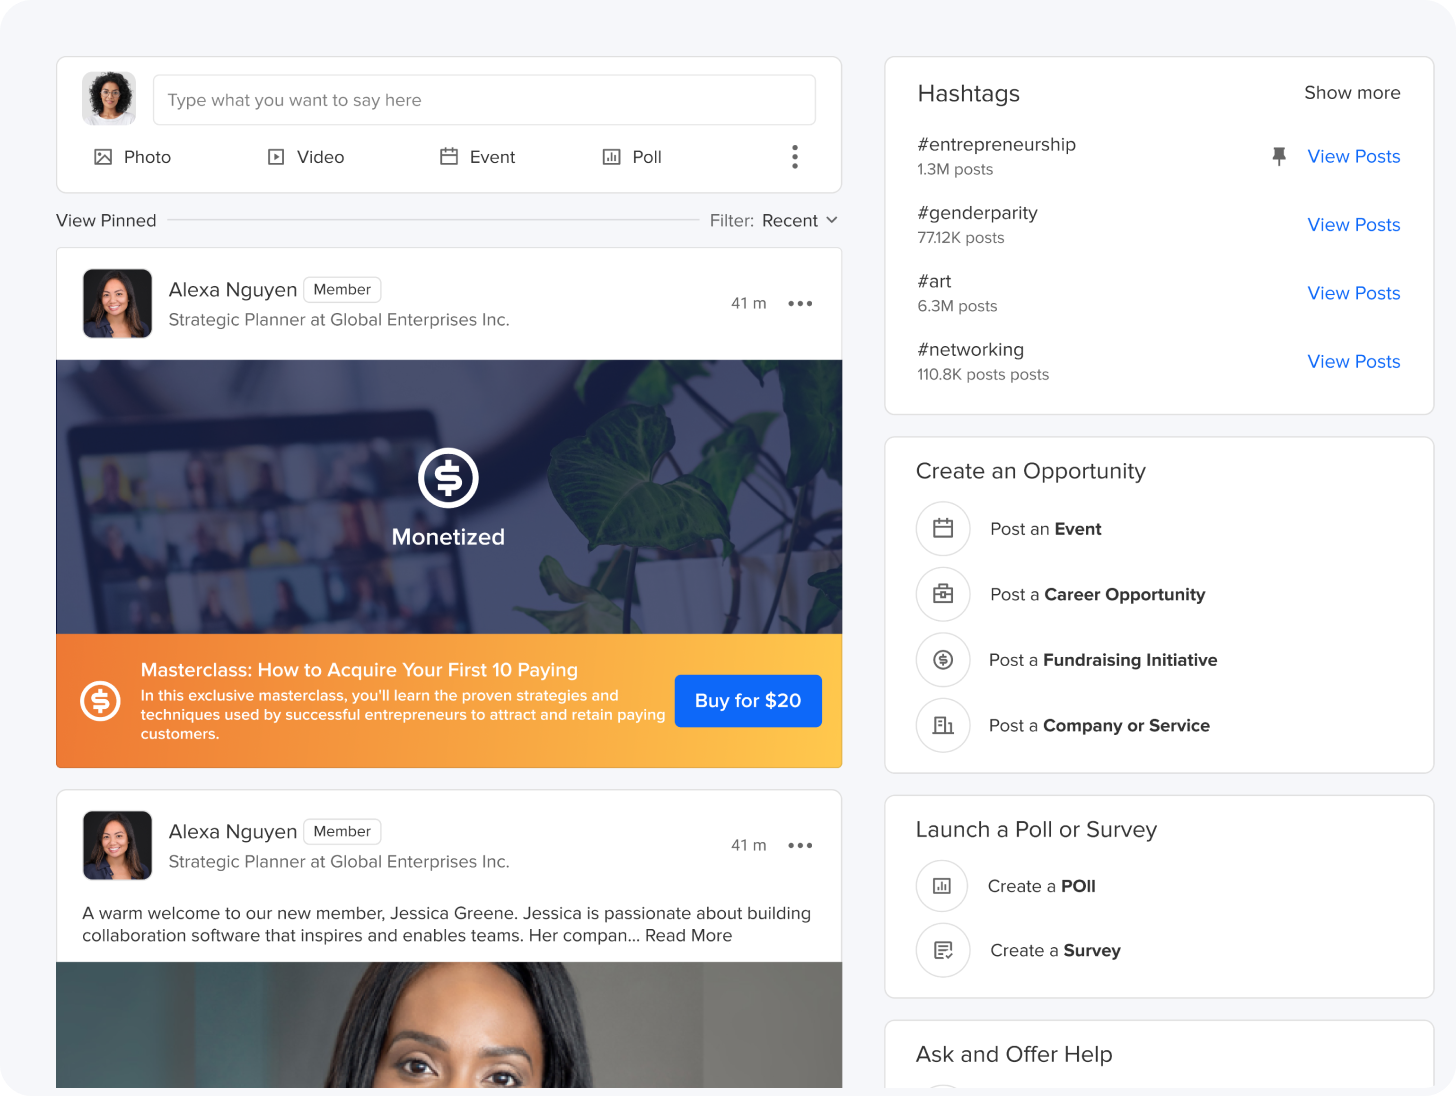
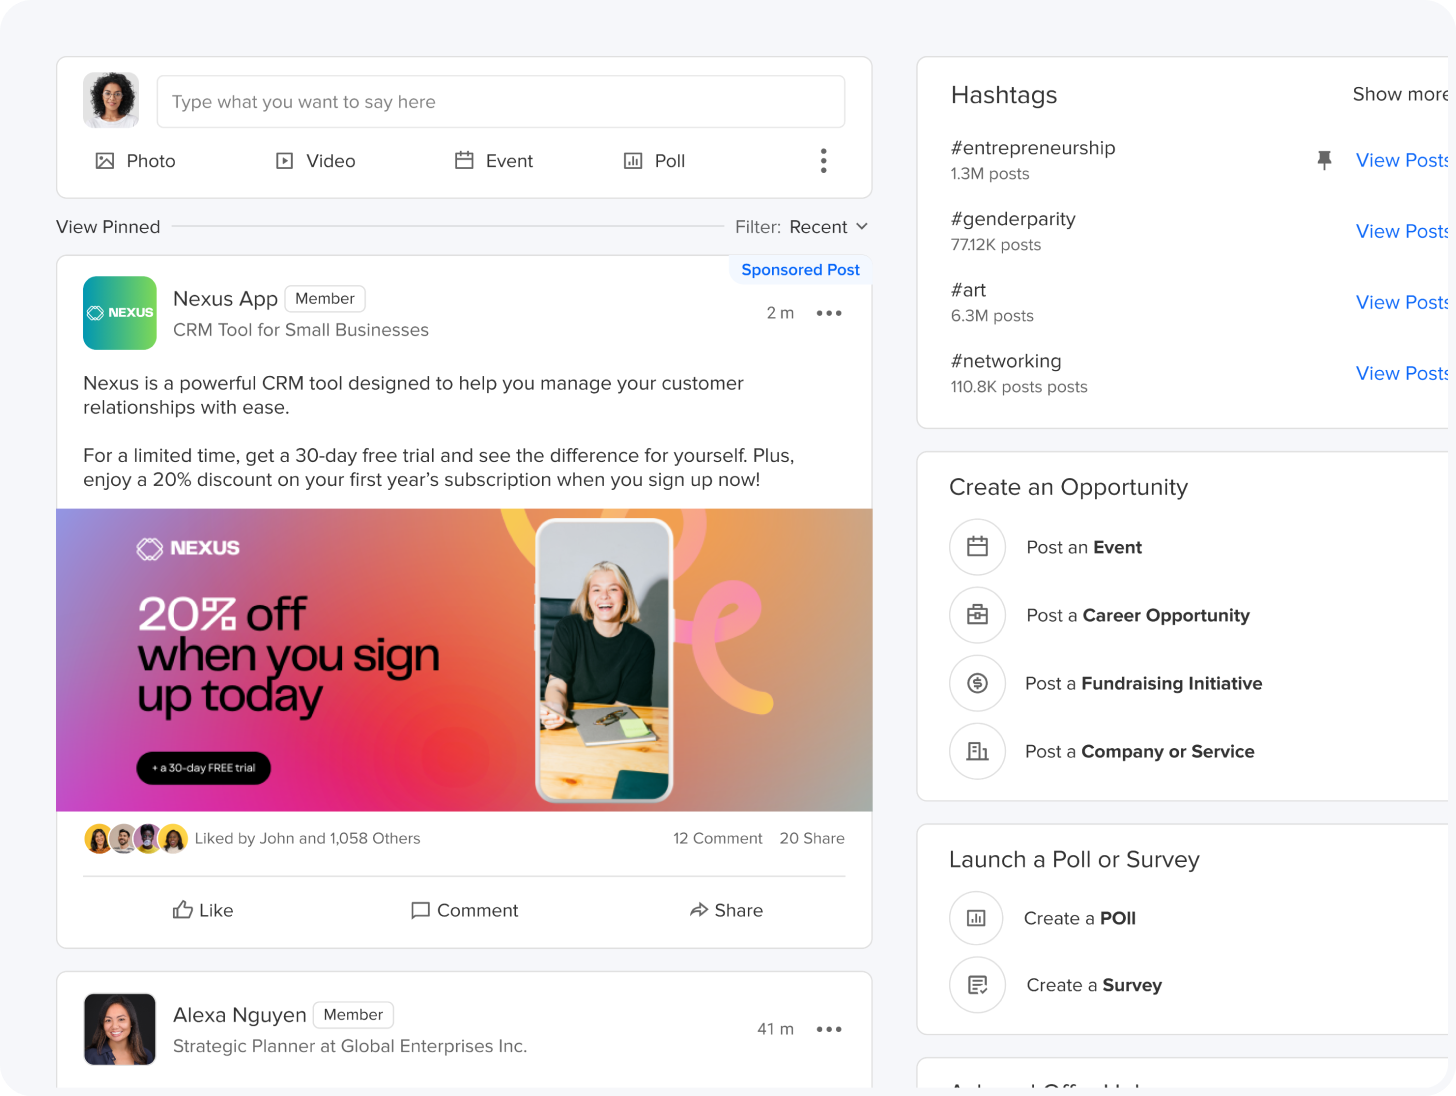
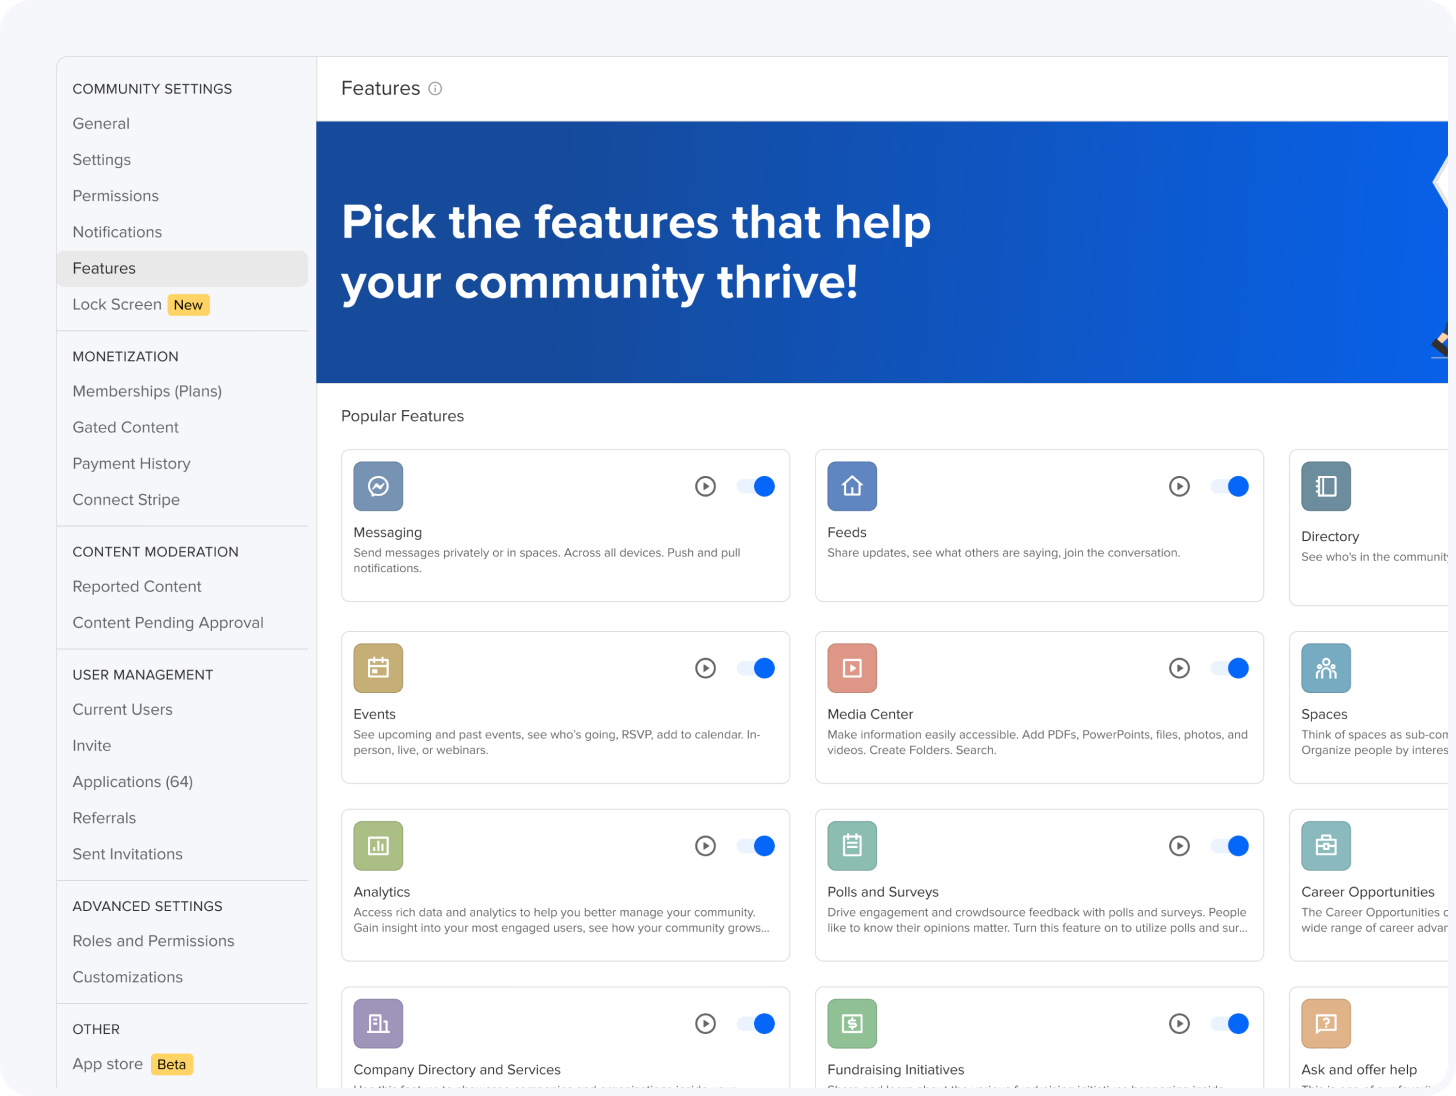
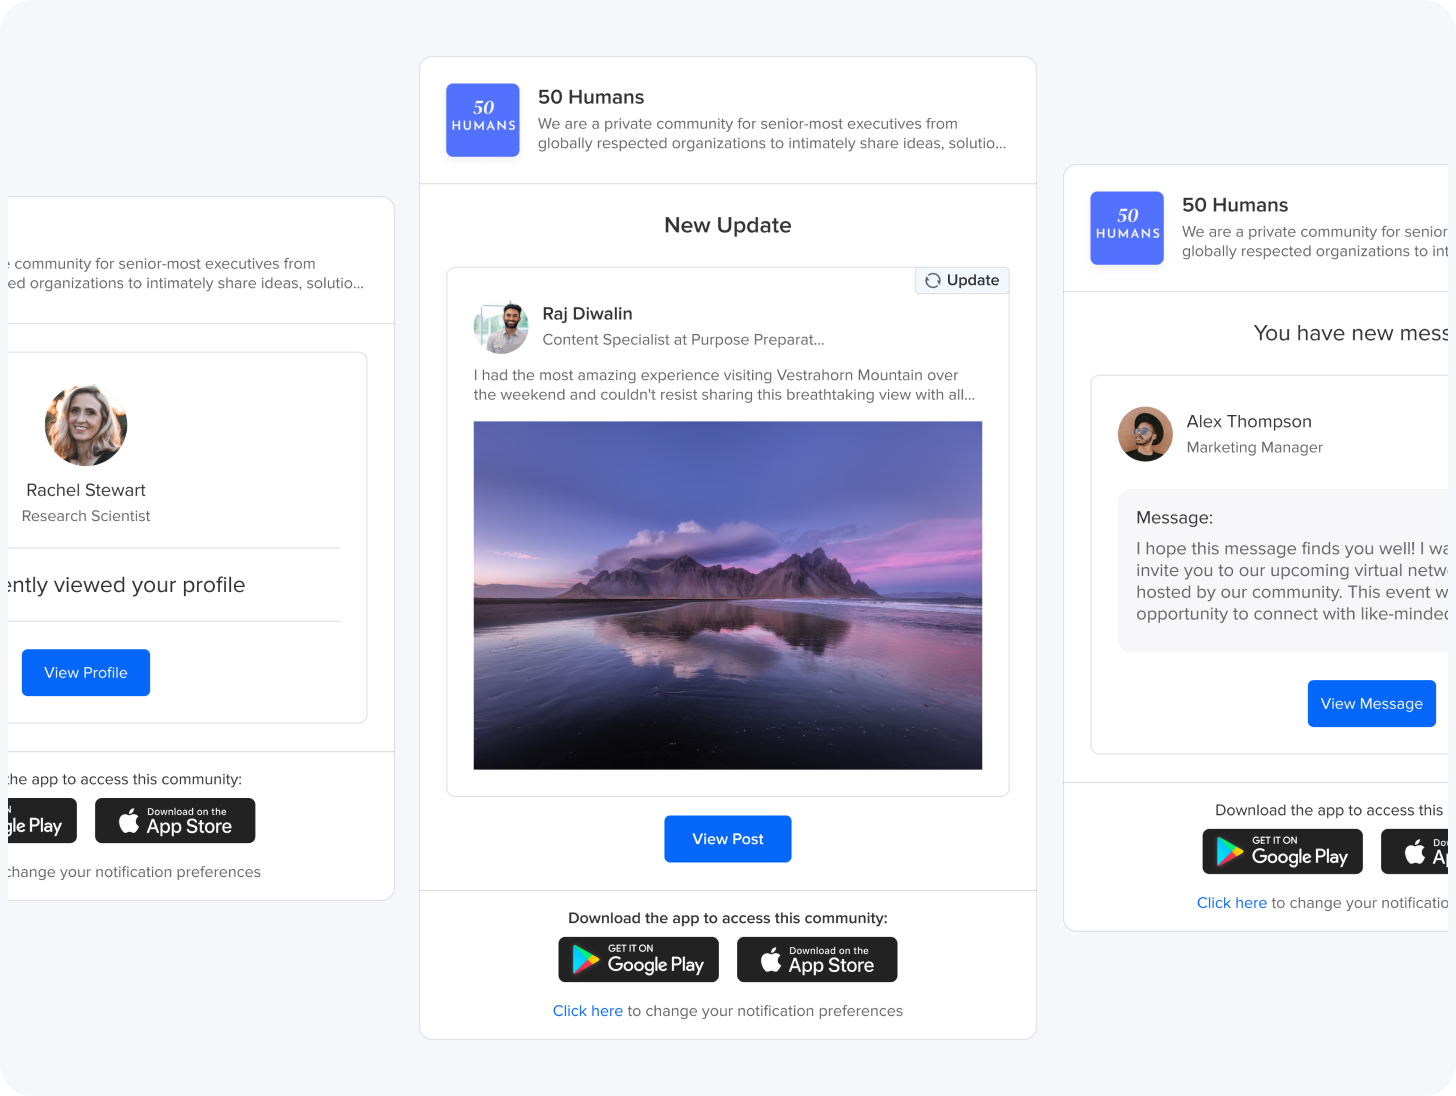
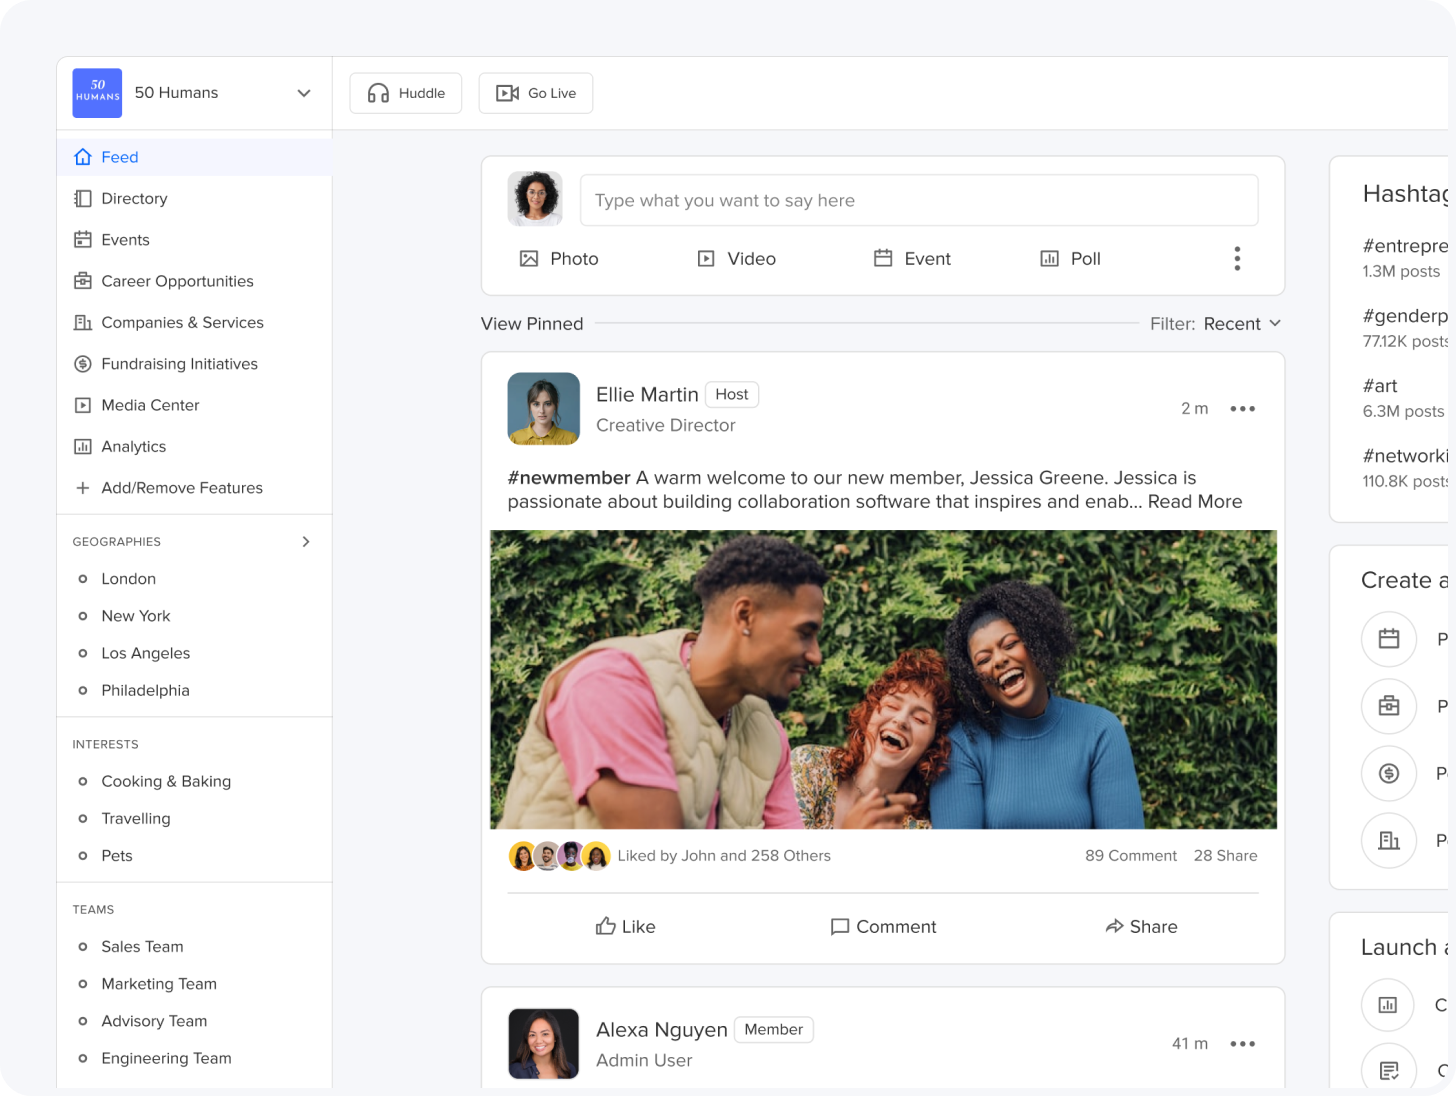
Share updates, engage in conversations, and keep the vibe alive.
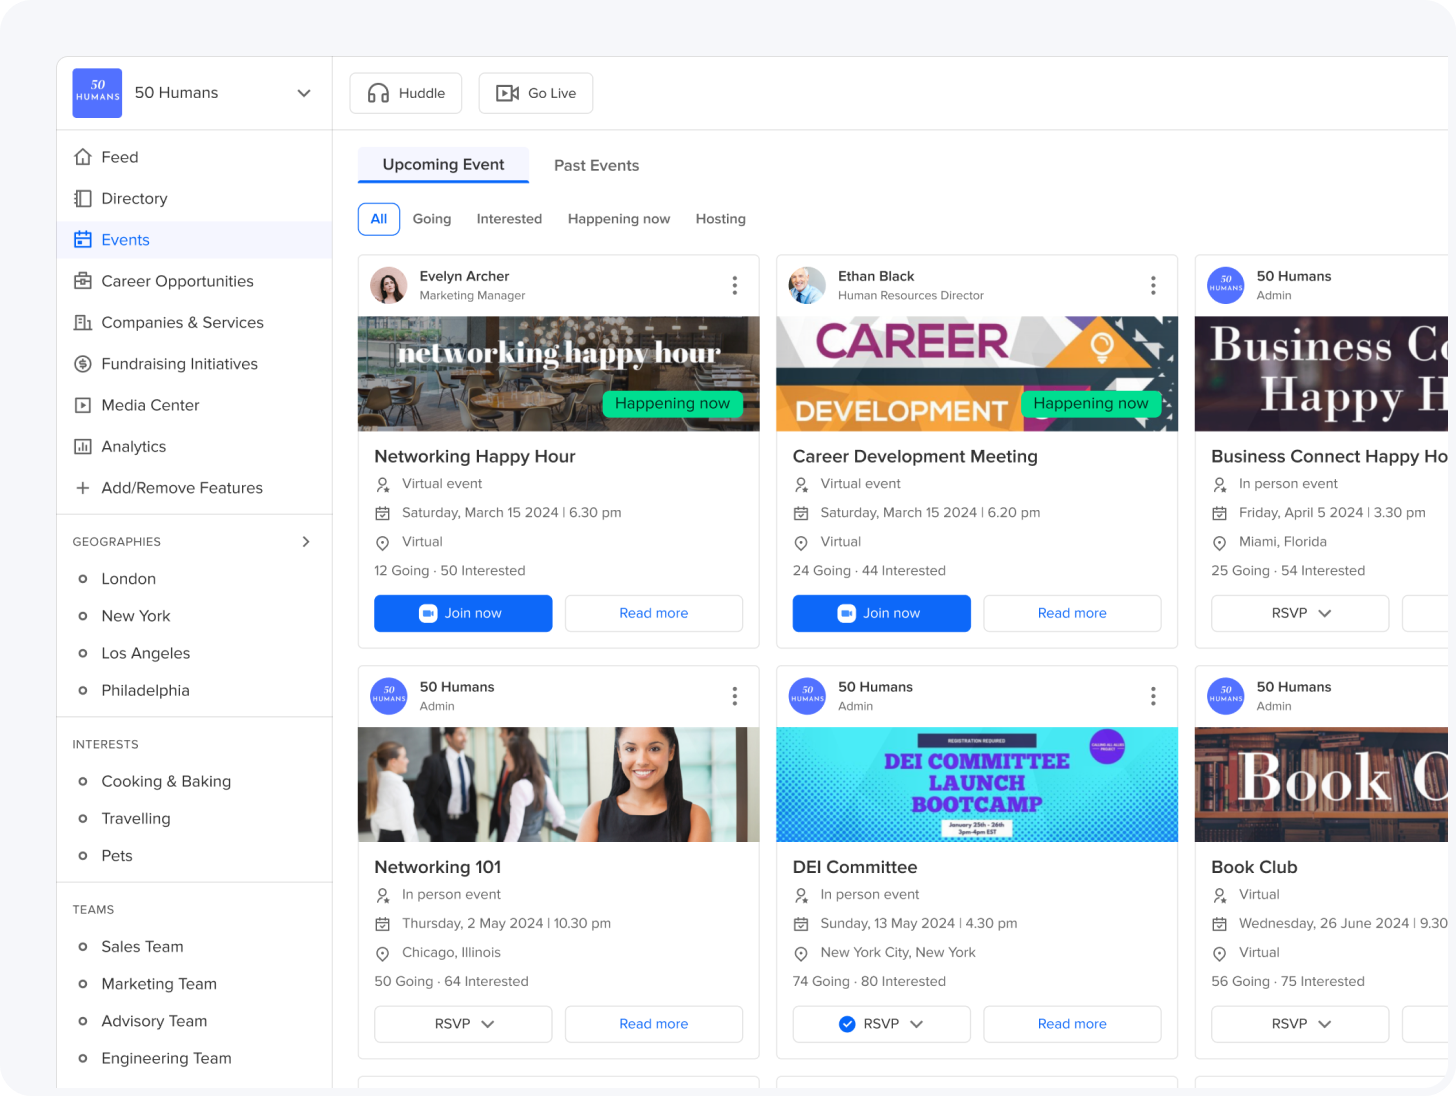
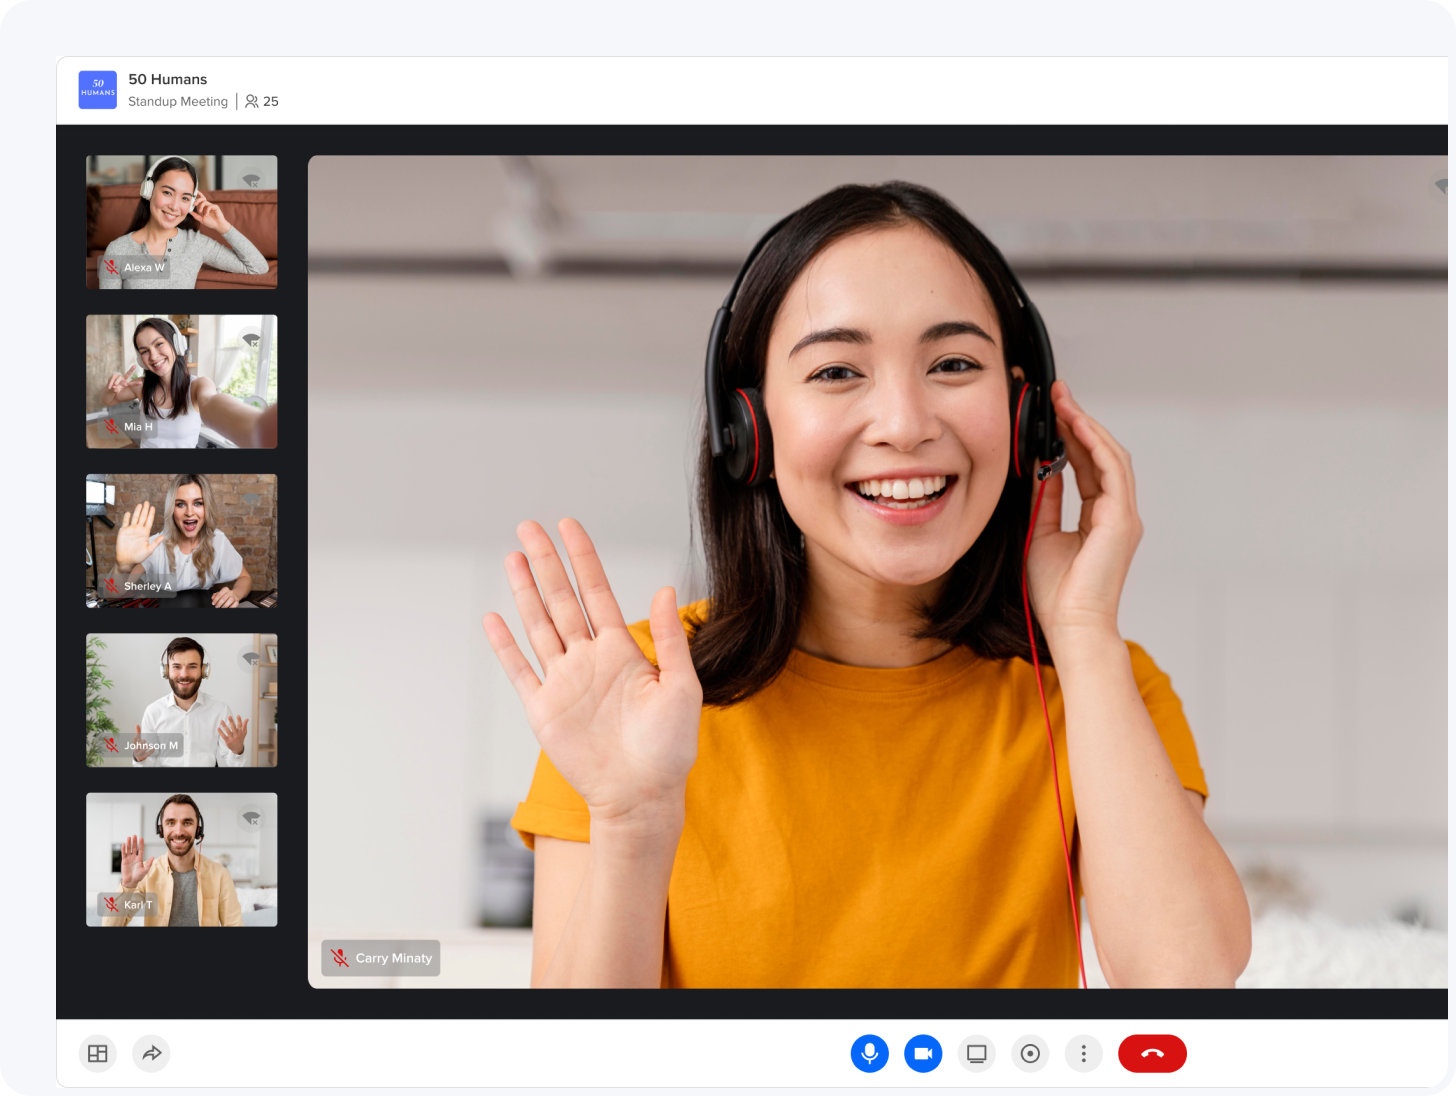
Host meetings or broadcast live to engage and inspire.
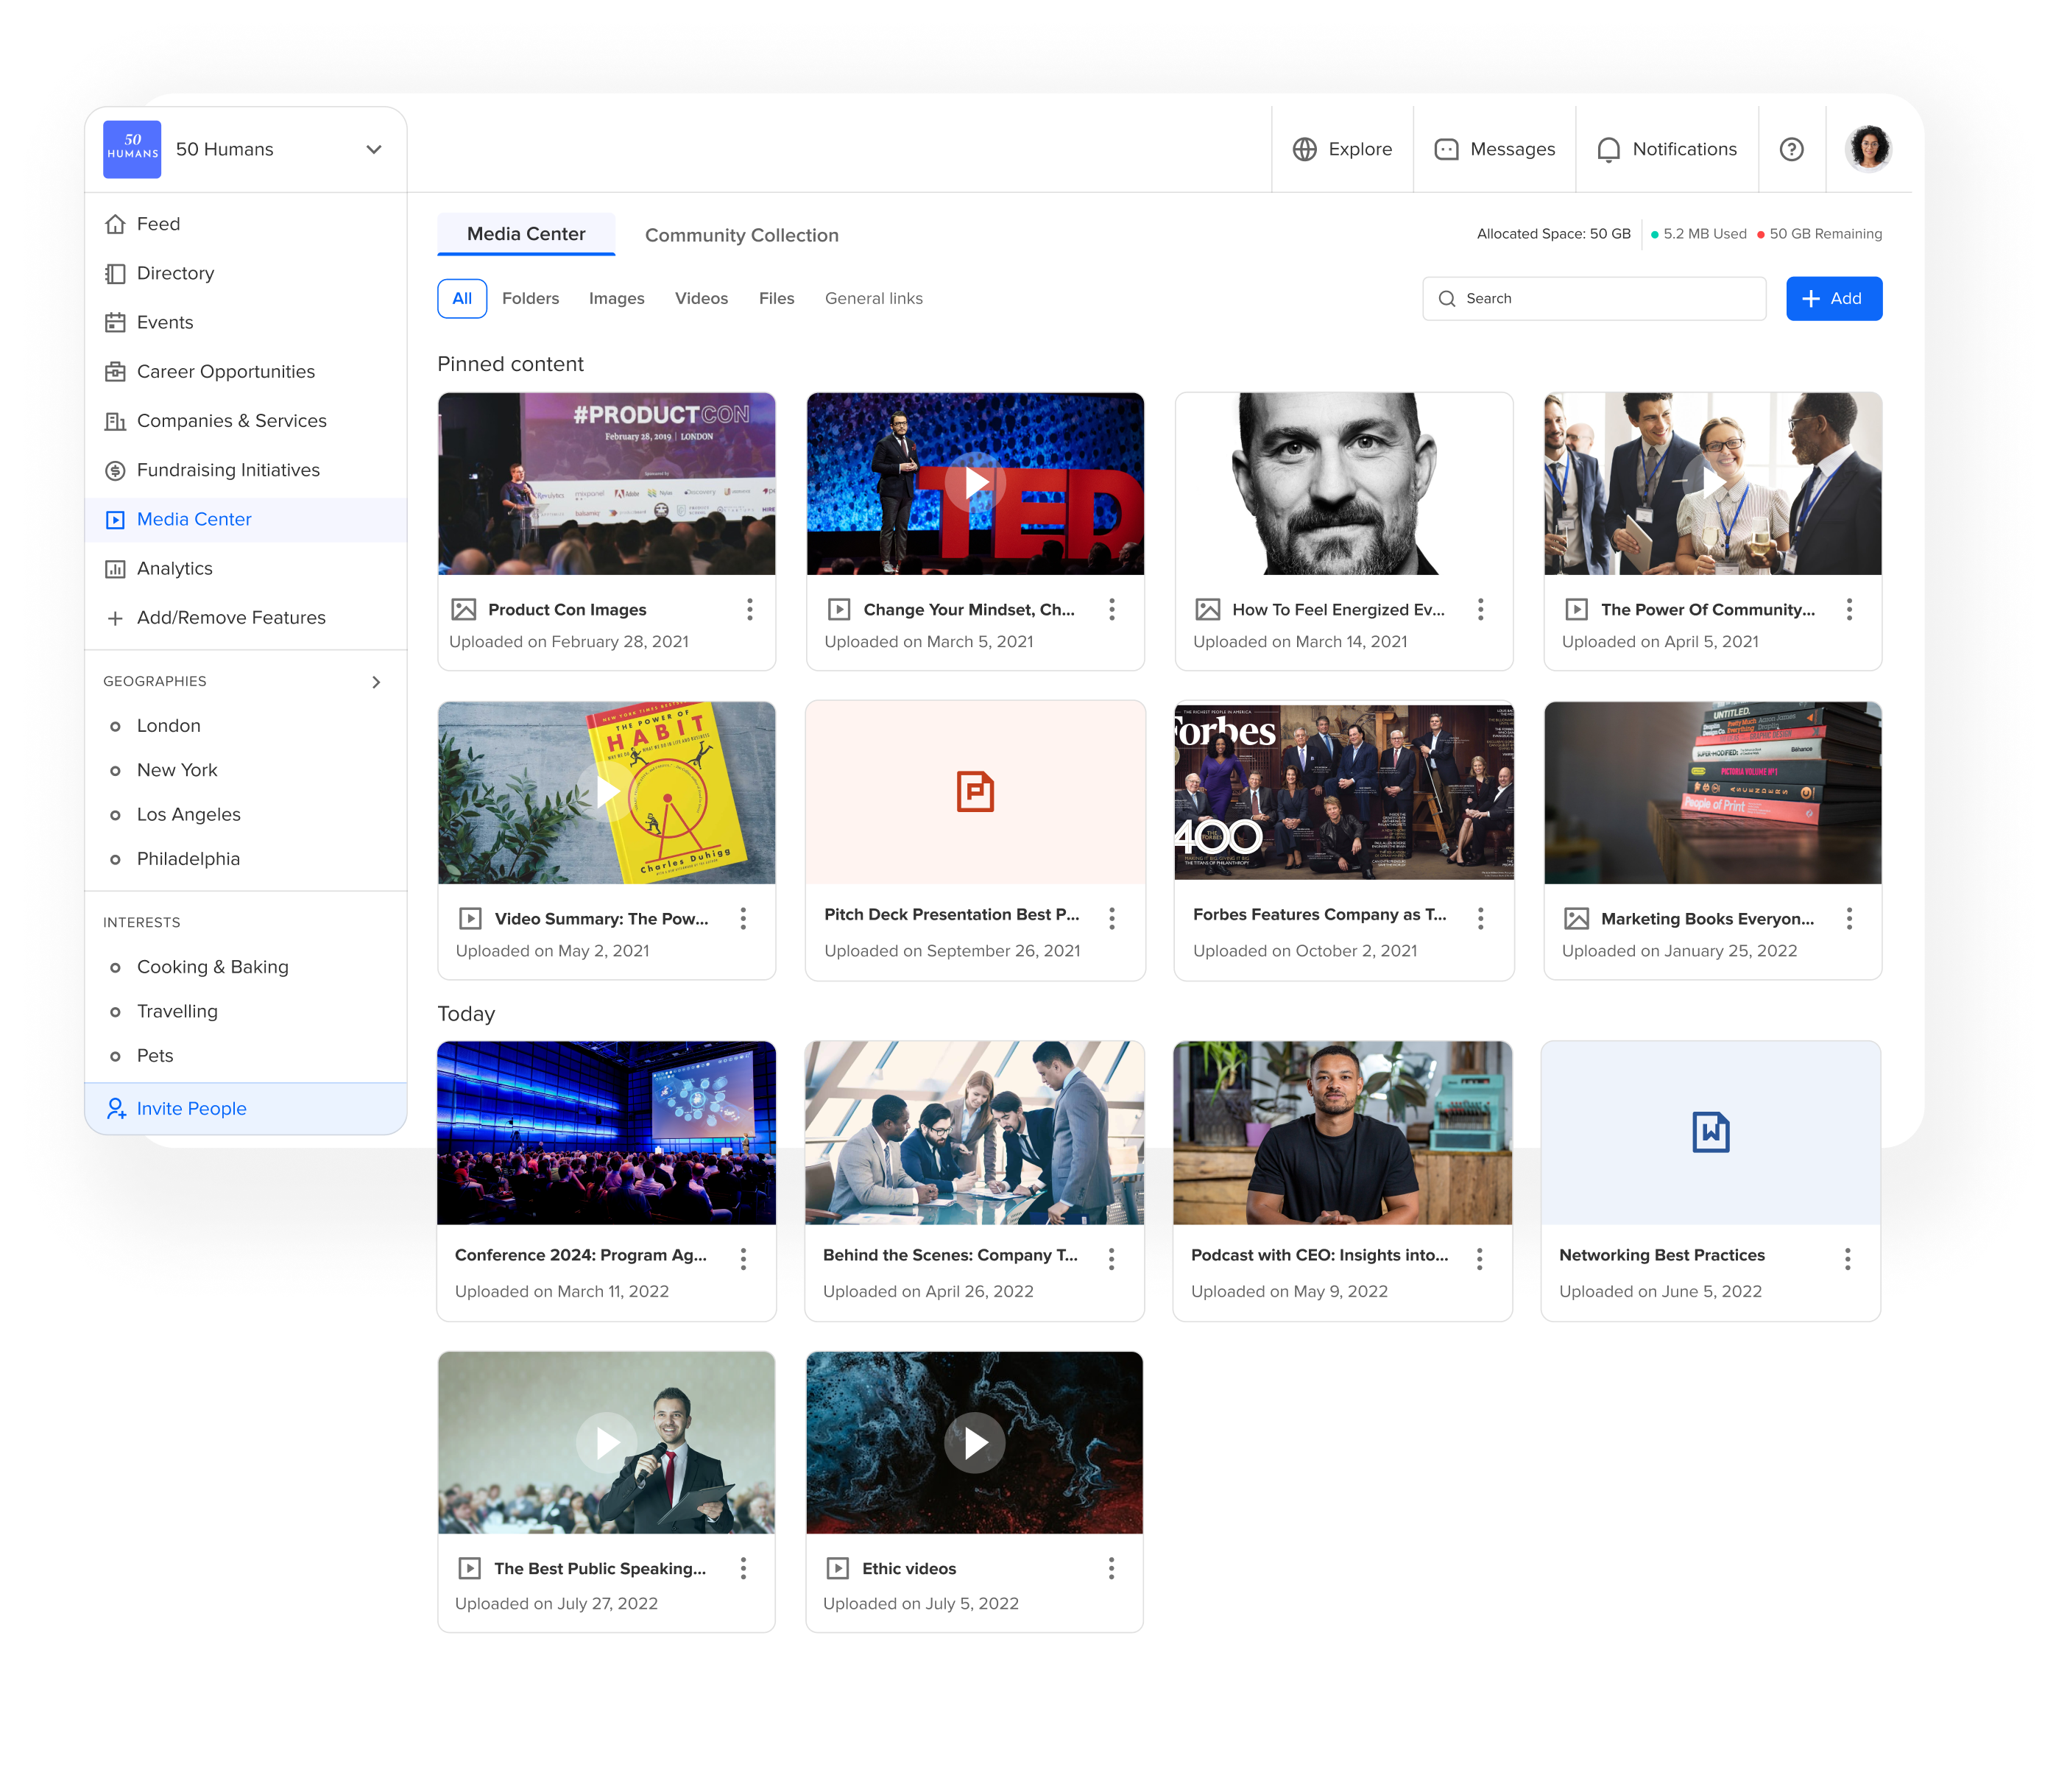
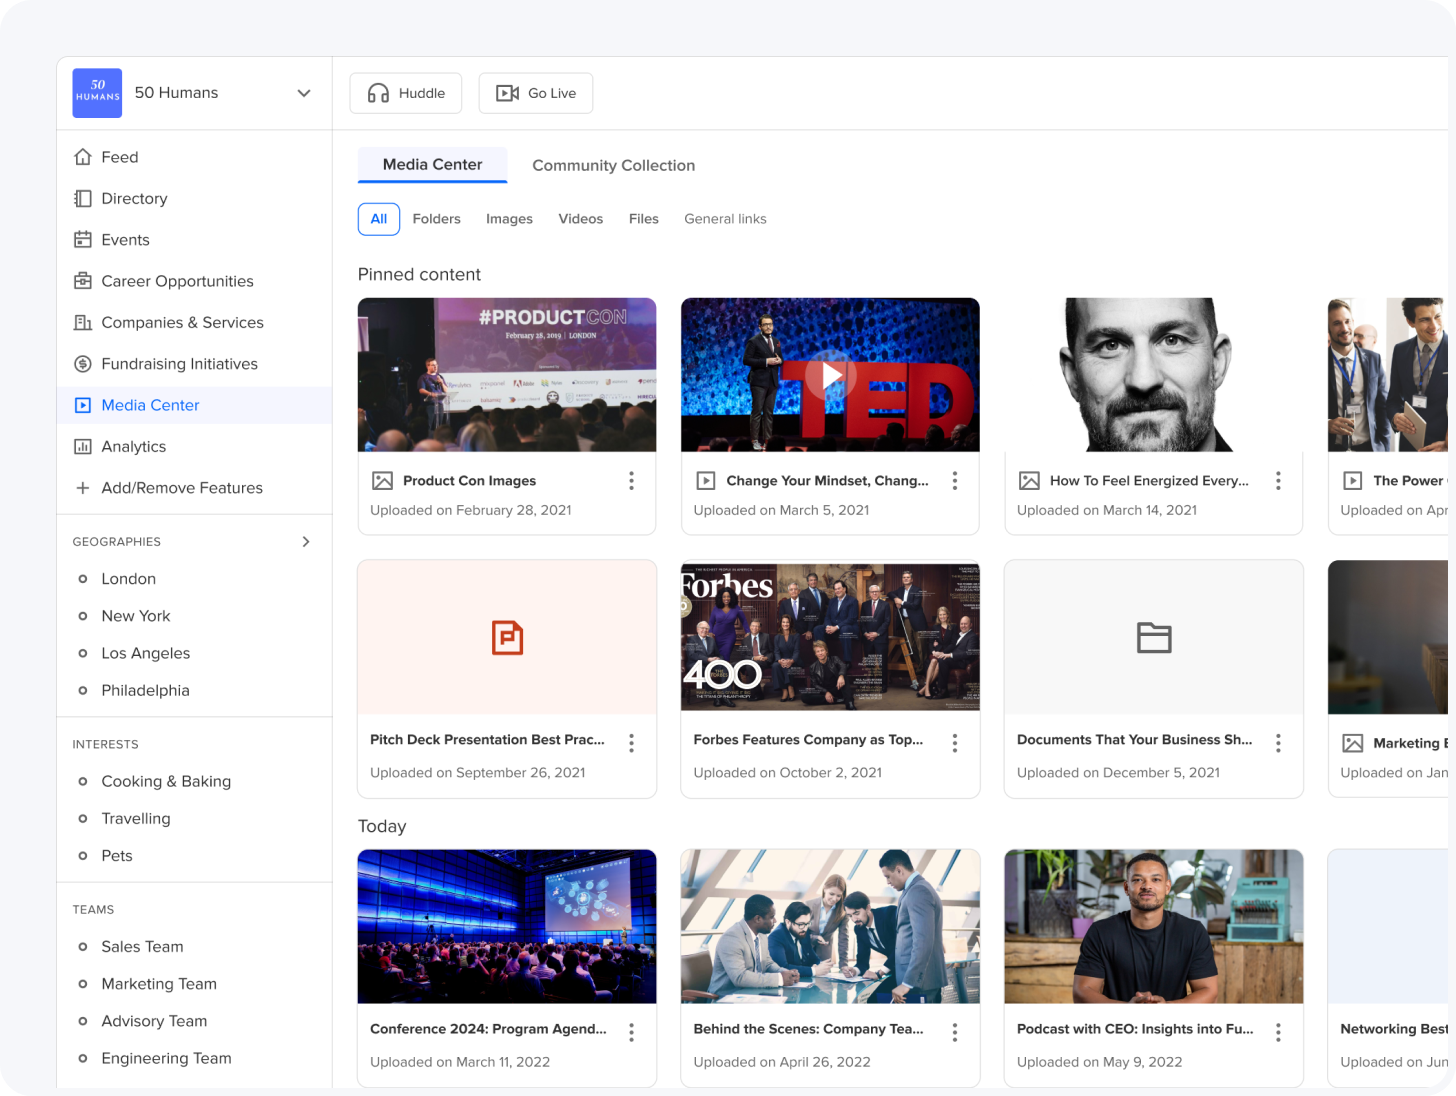
Share and explore images, videos, and documents to enhance interactive experiences.
Host live events, webinars, and virtual meetups.
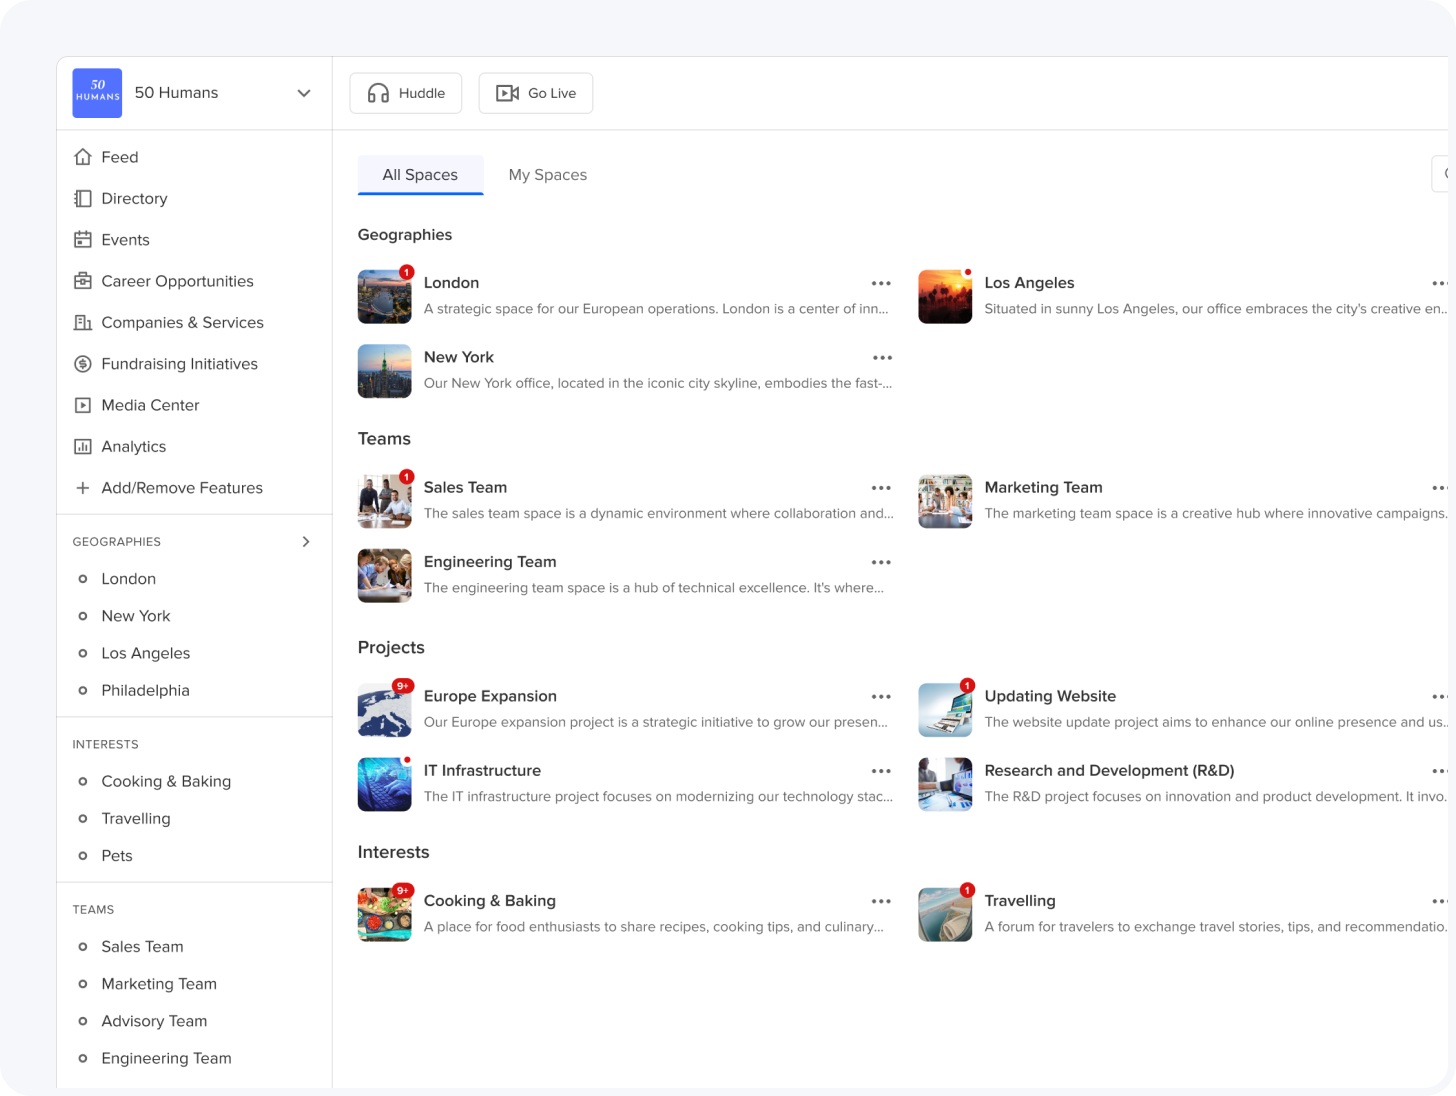
Create areas for discussions, collaborations, and topic-specific content sharing.
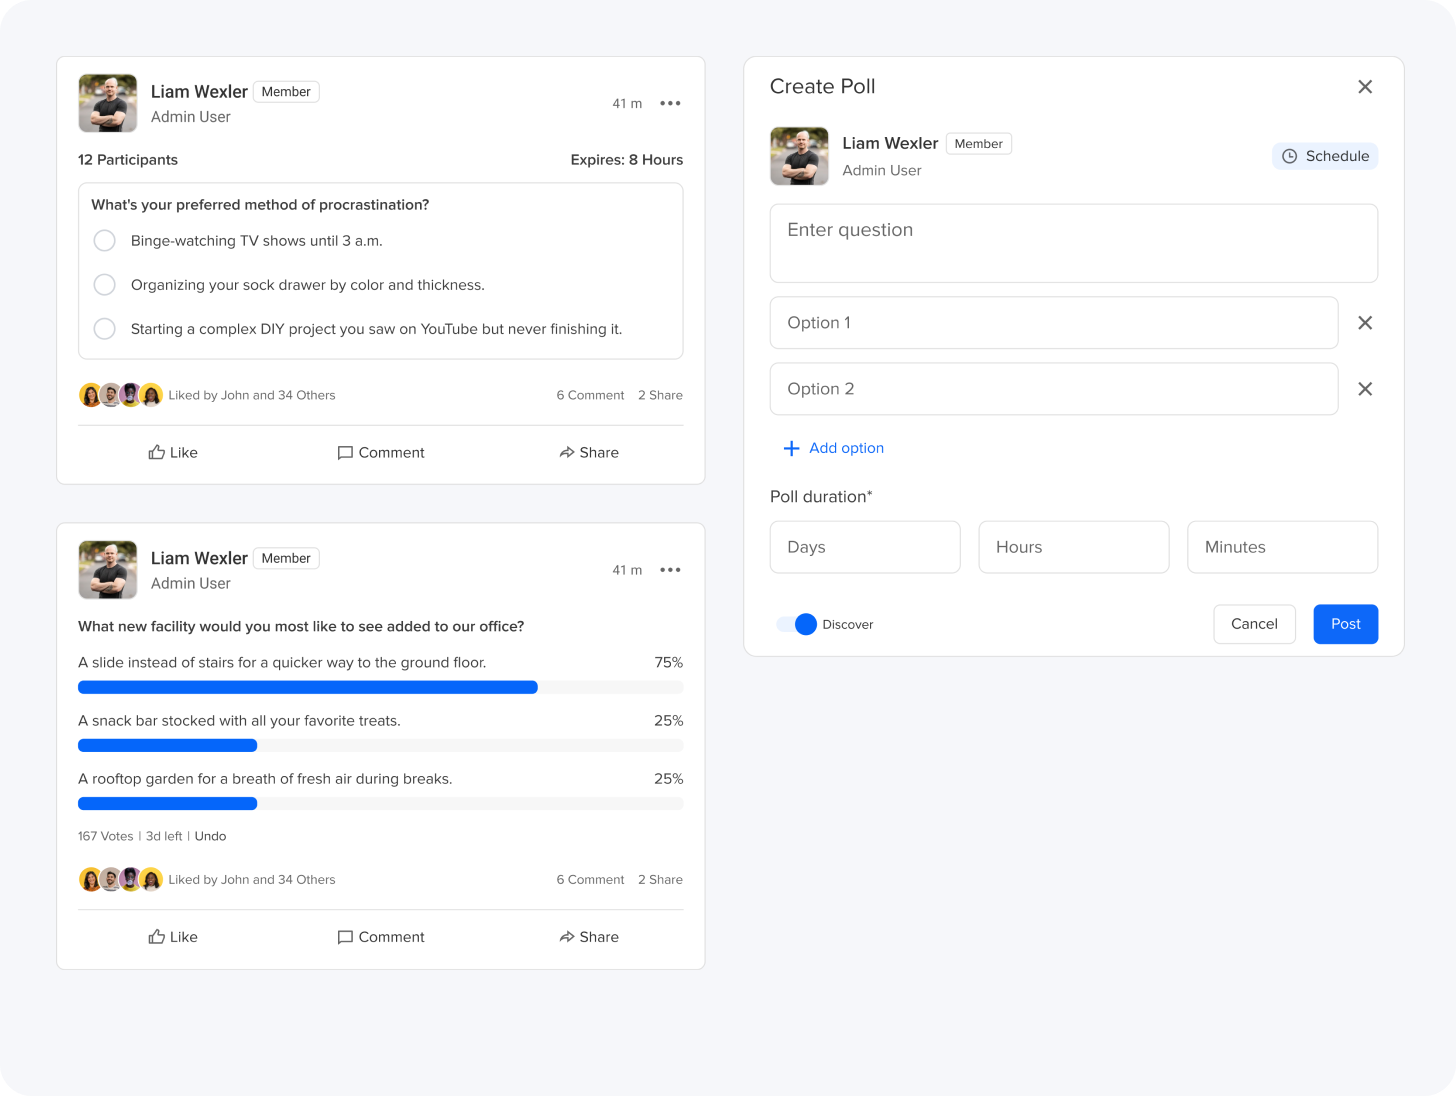
Gather feedback and opinions through polls.
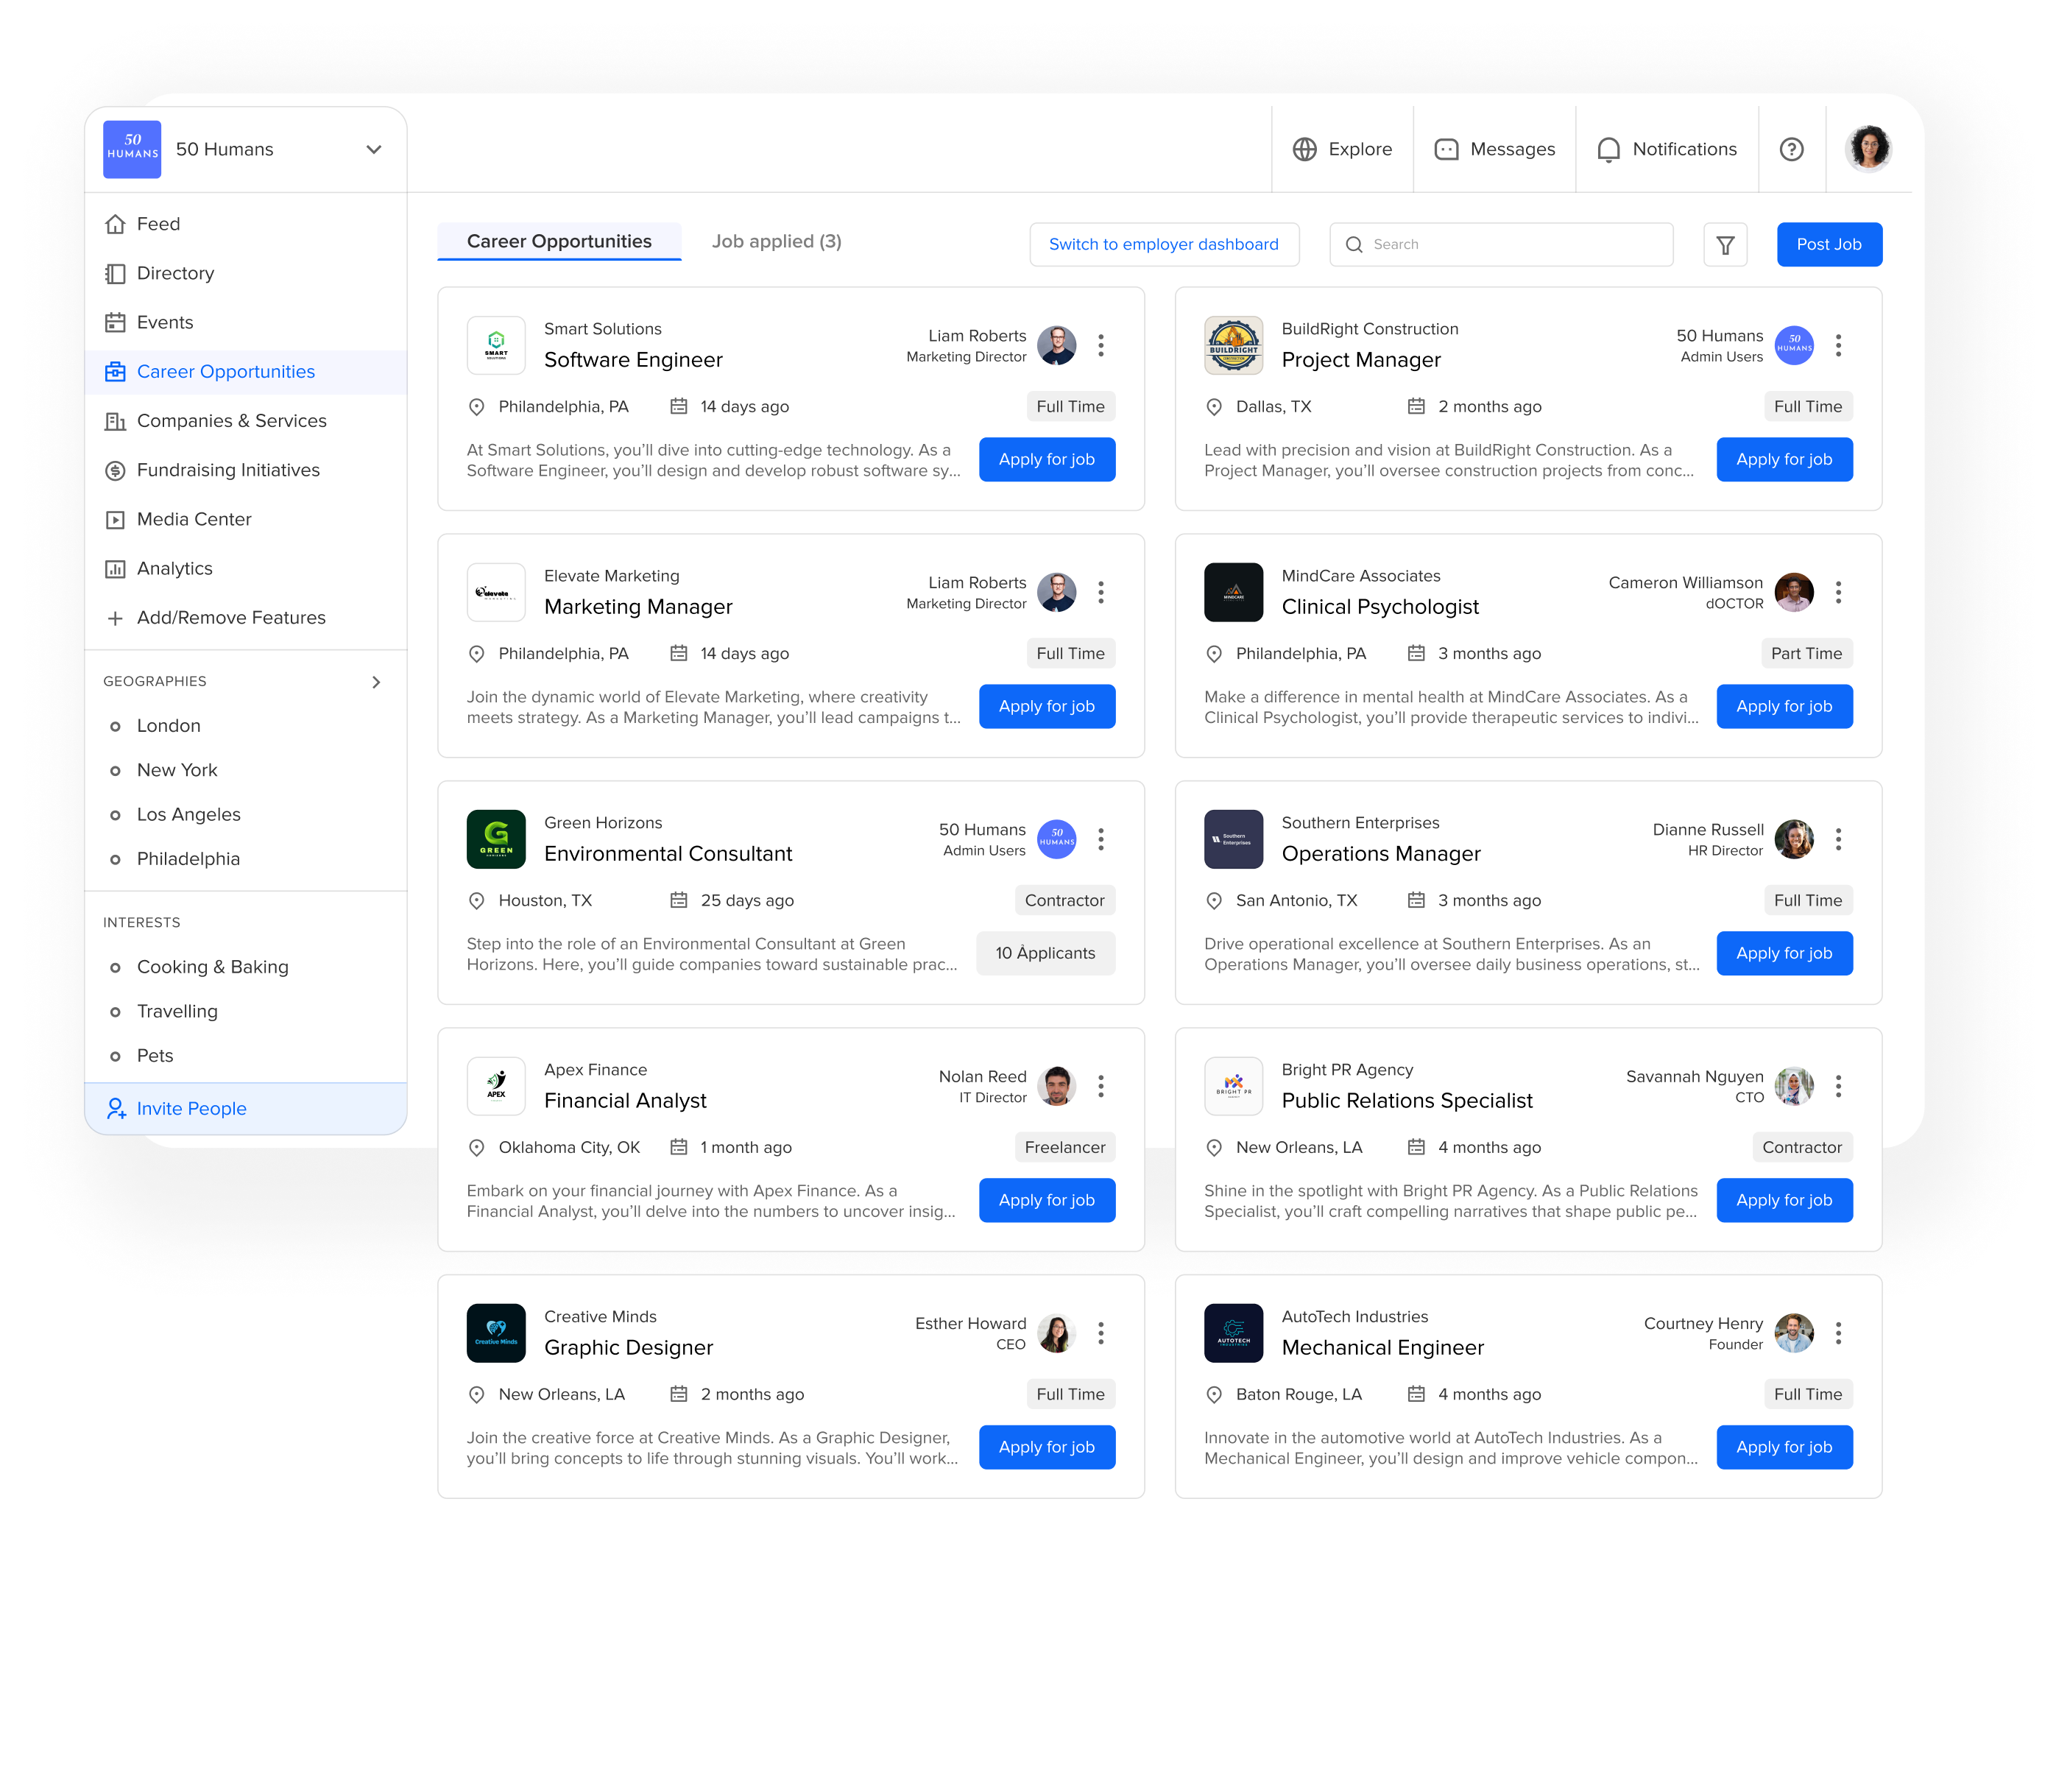
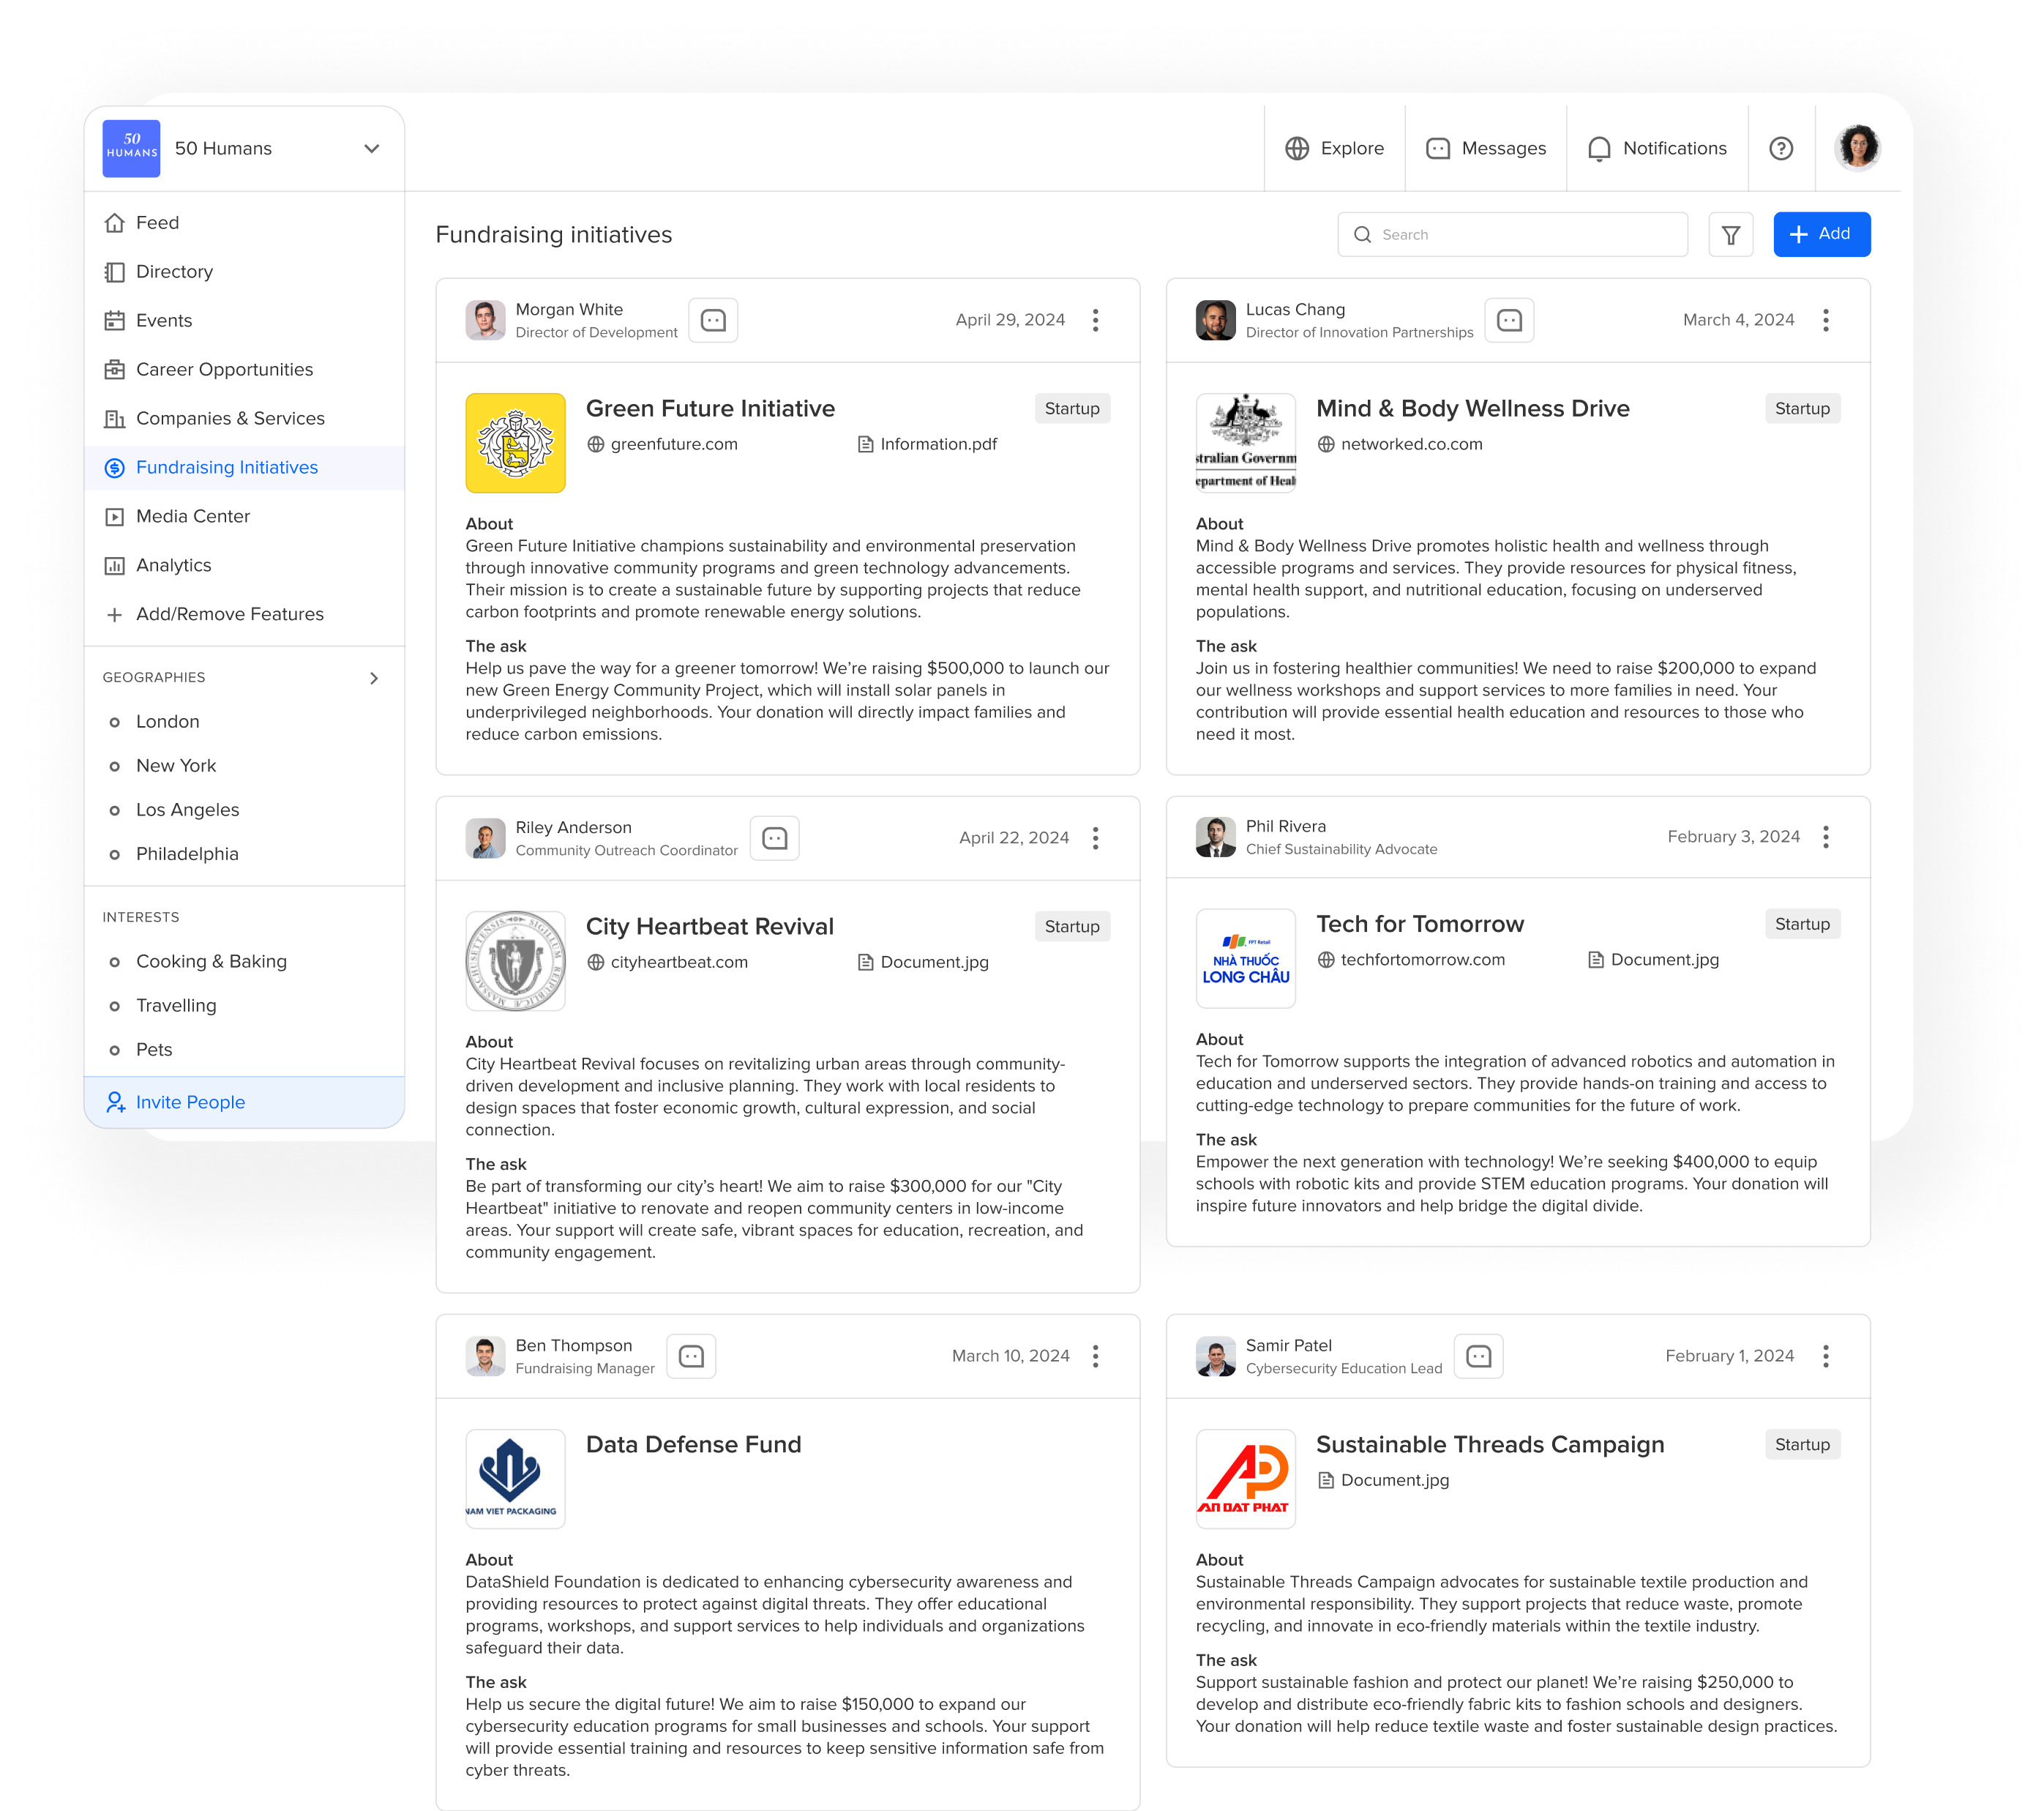
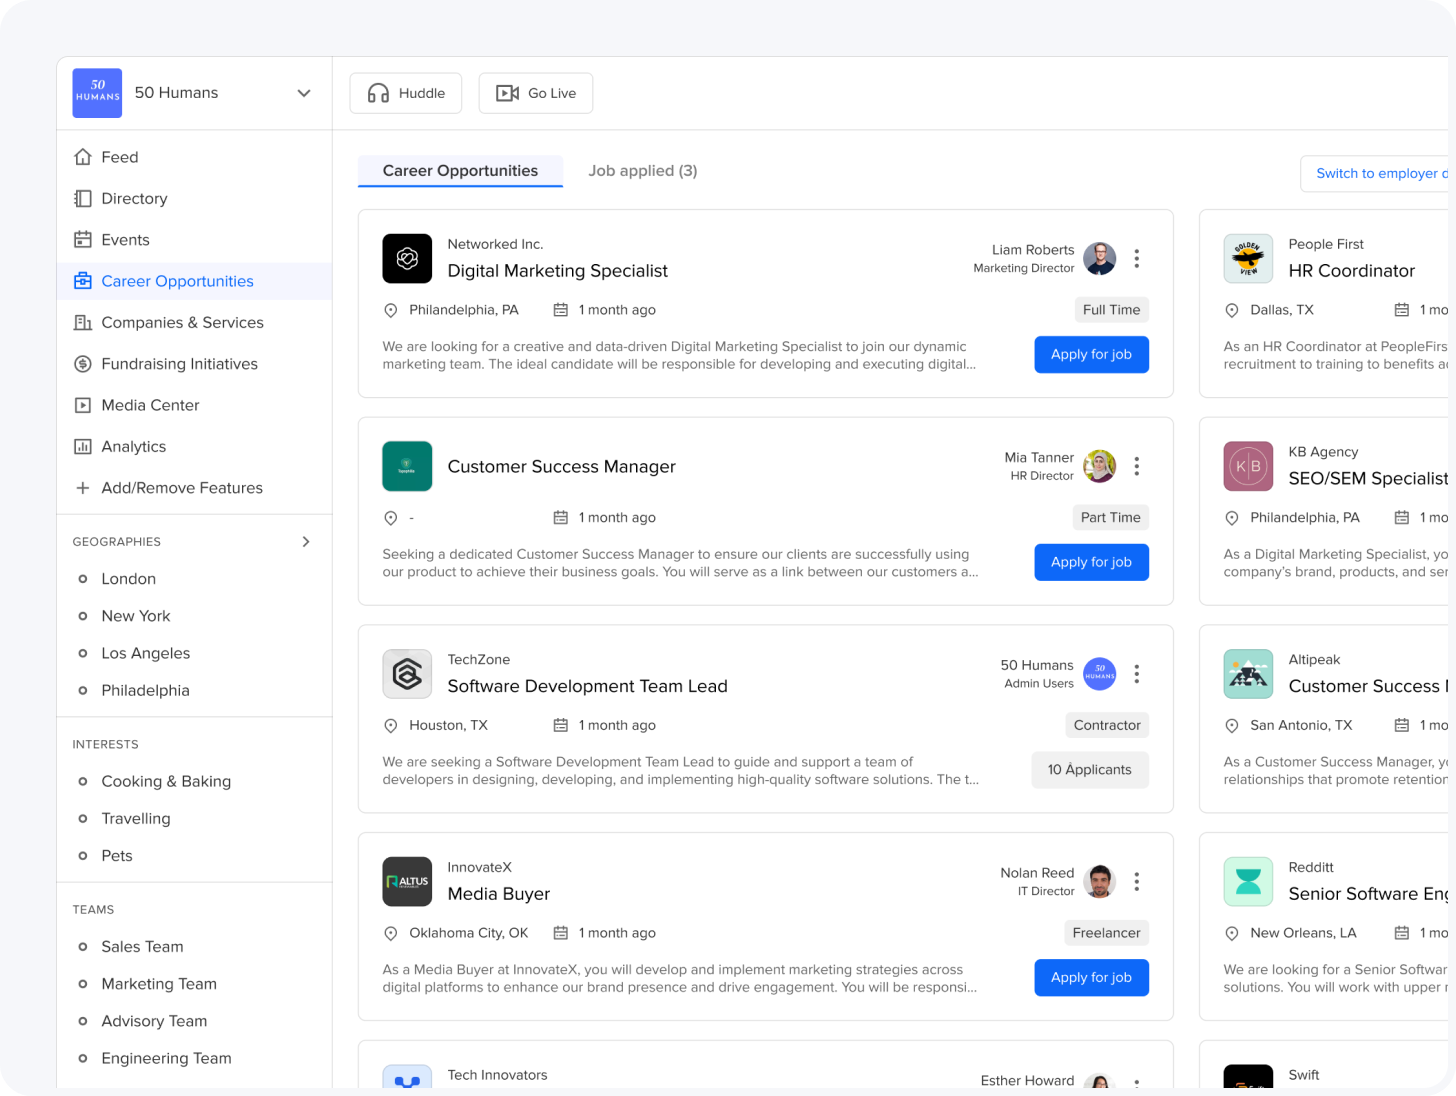
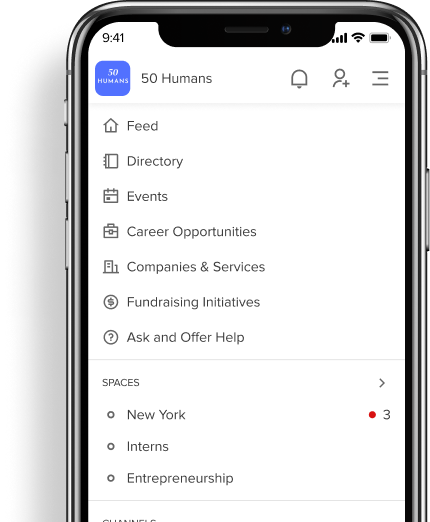
Share job postings, internships, and more.
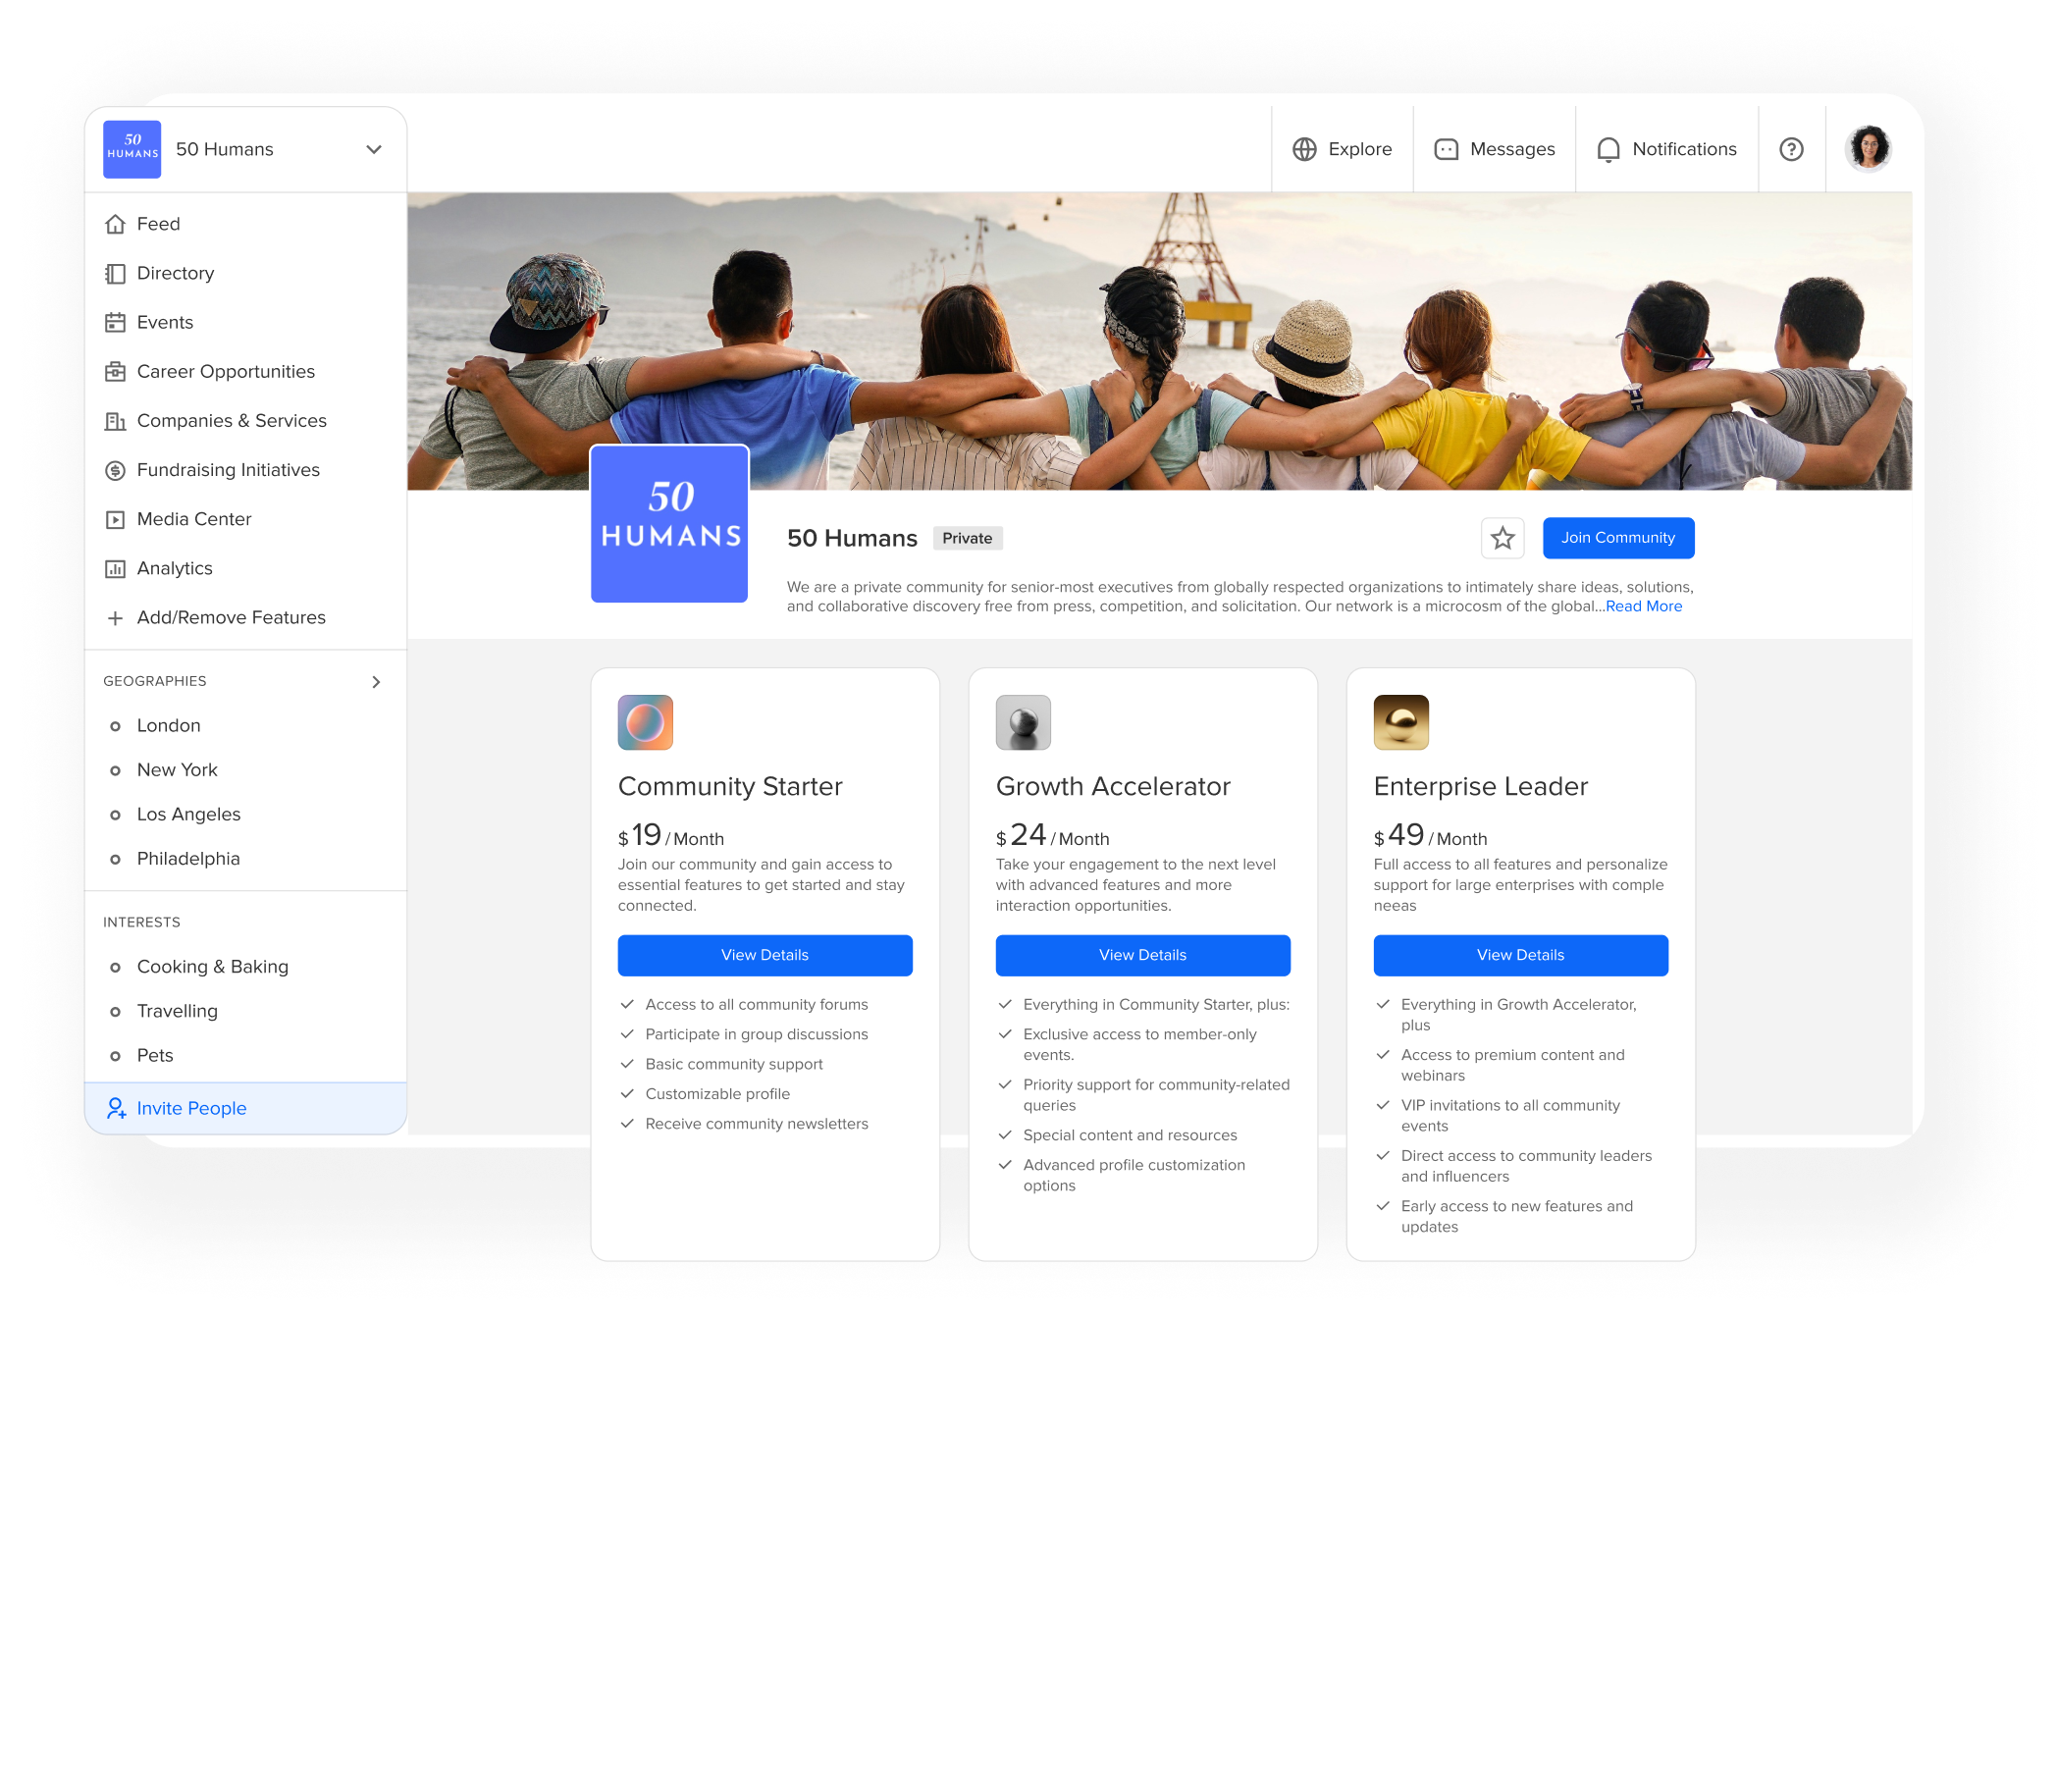
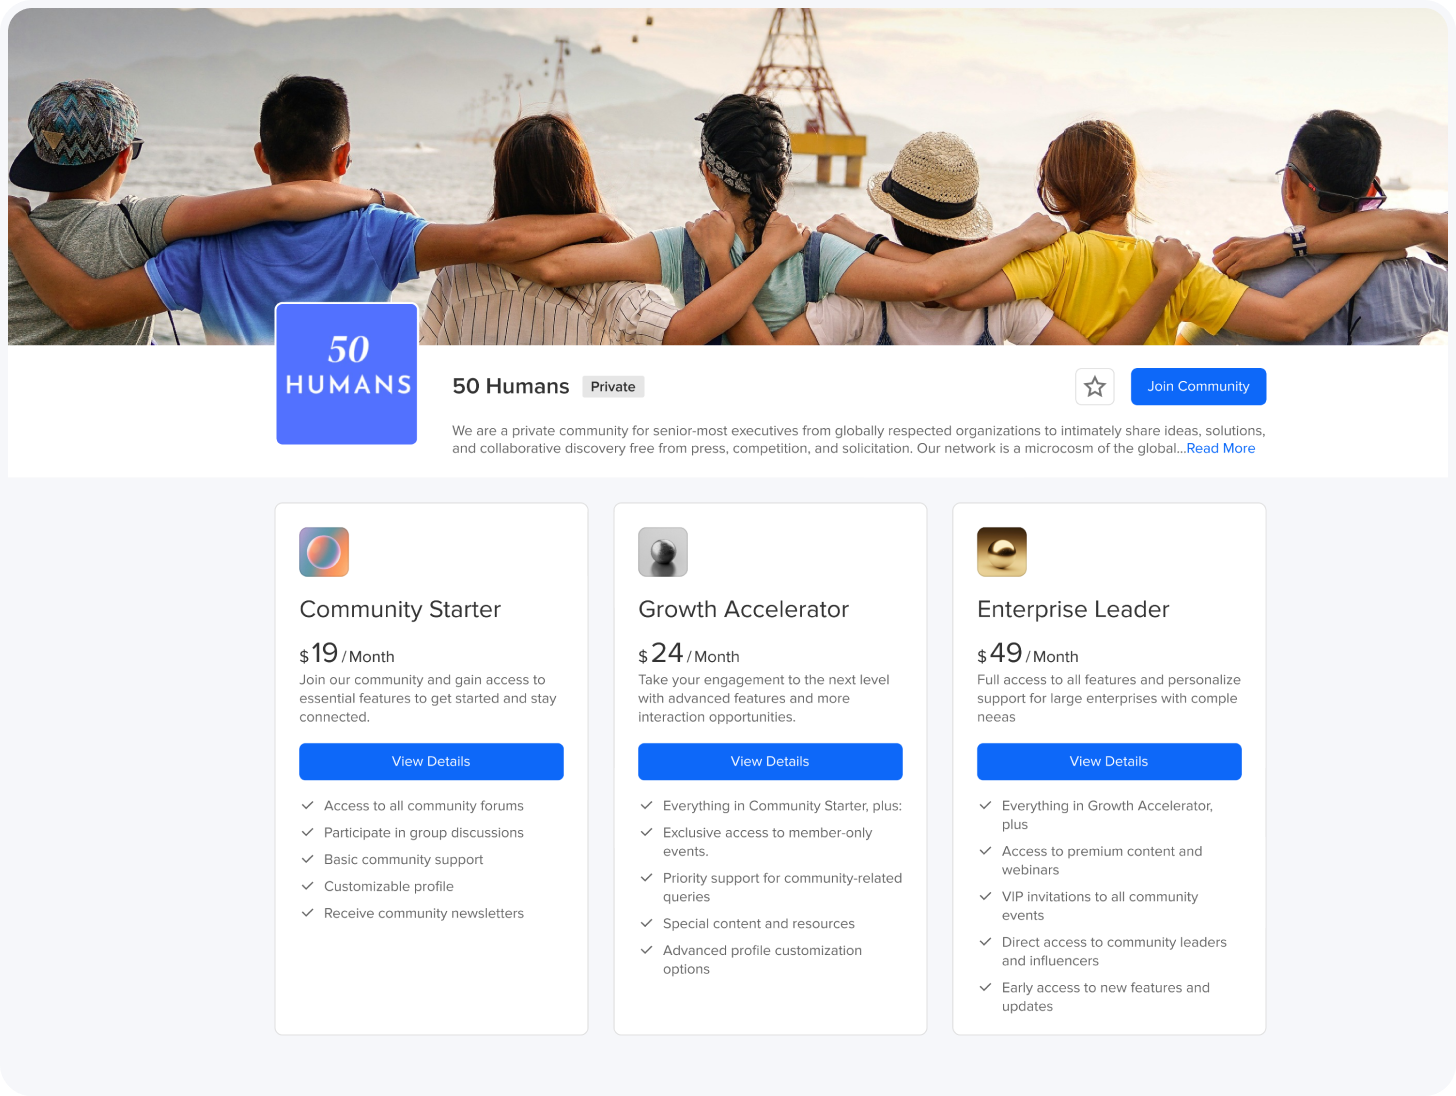
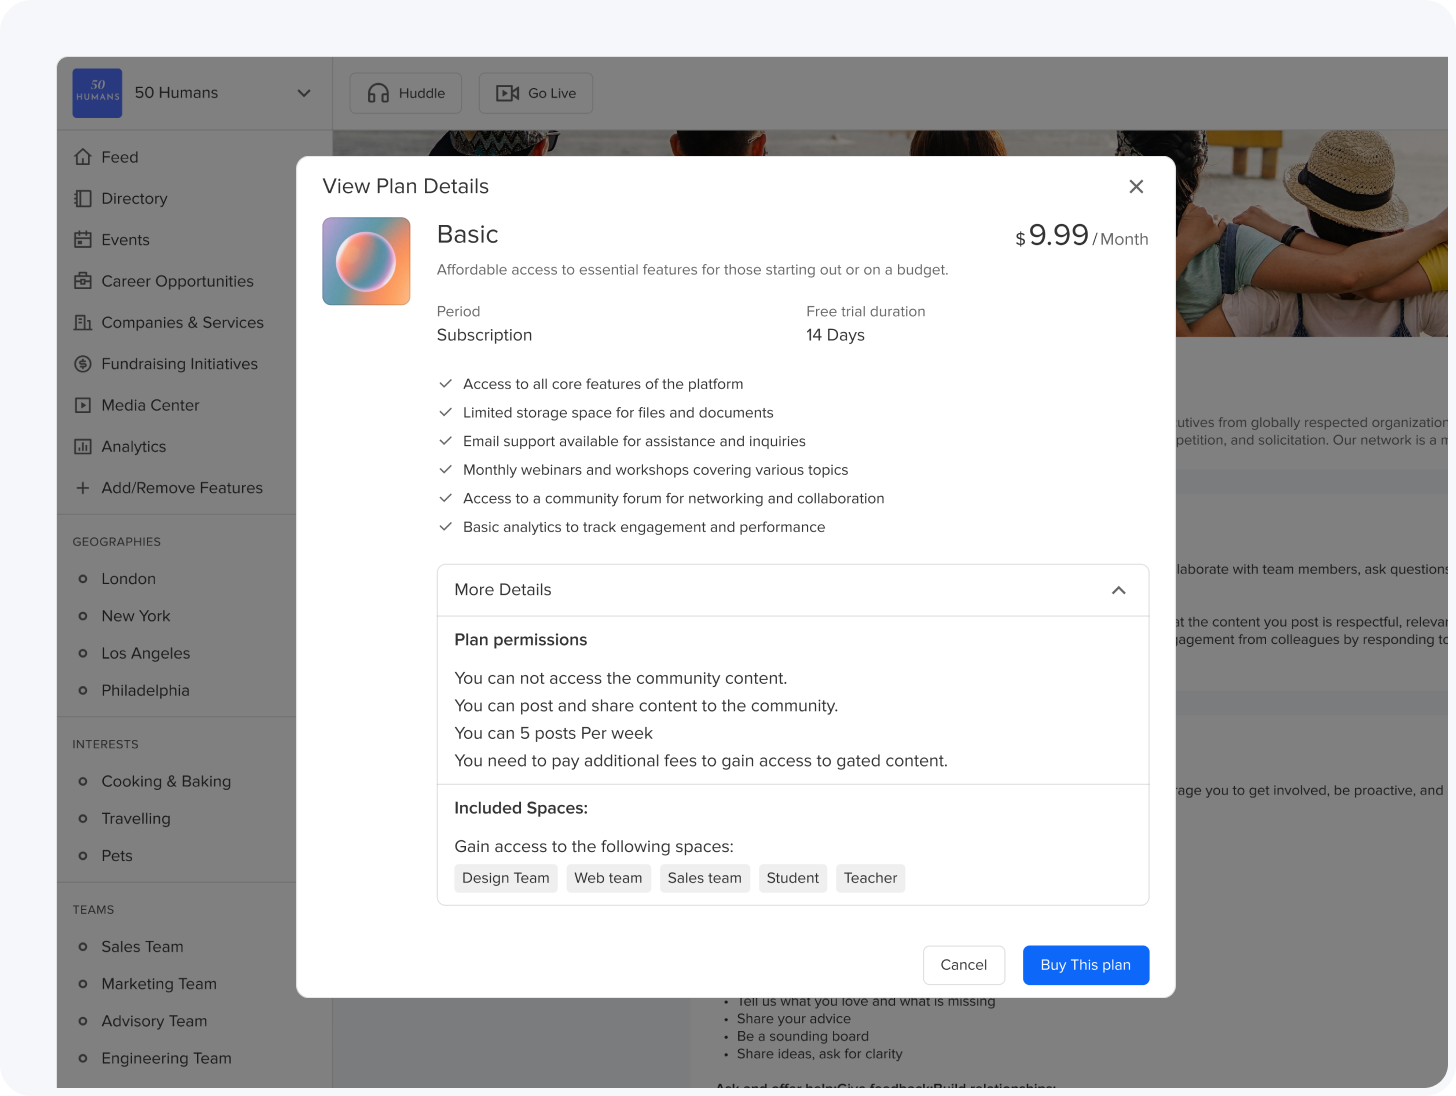
Sell memberships to generate recurring revenue.
Sell access to premium content.
Offer exclusive user rights and permissions.
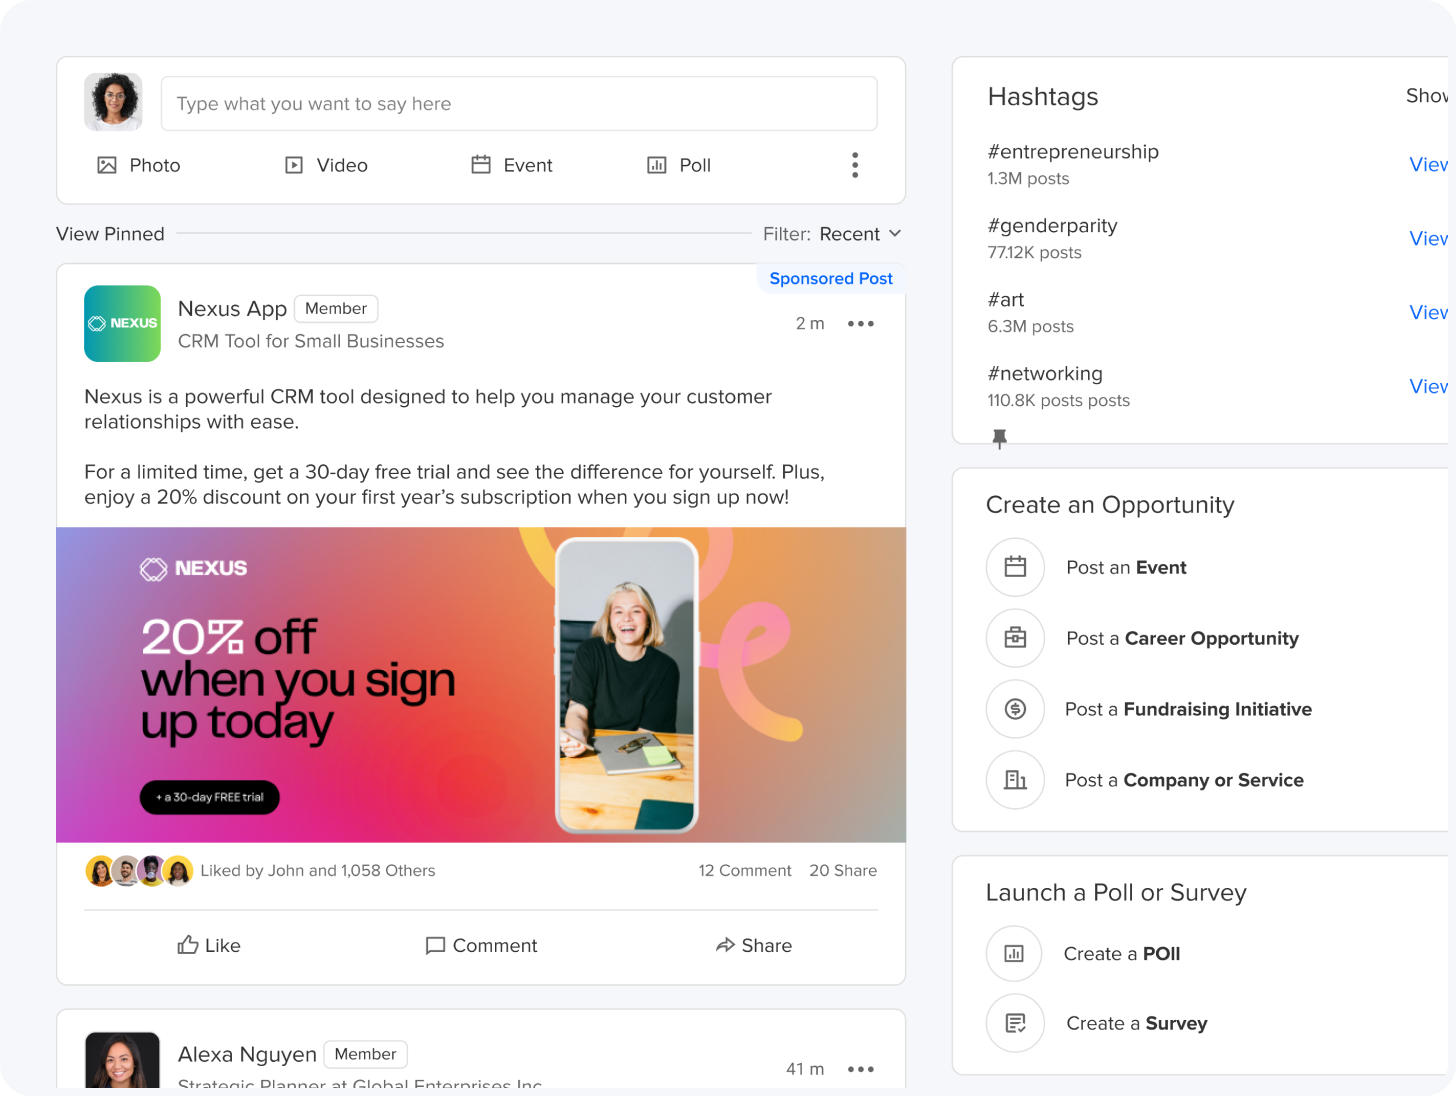
Choose to run ads within your community to make money.
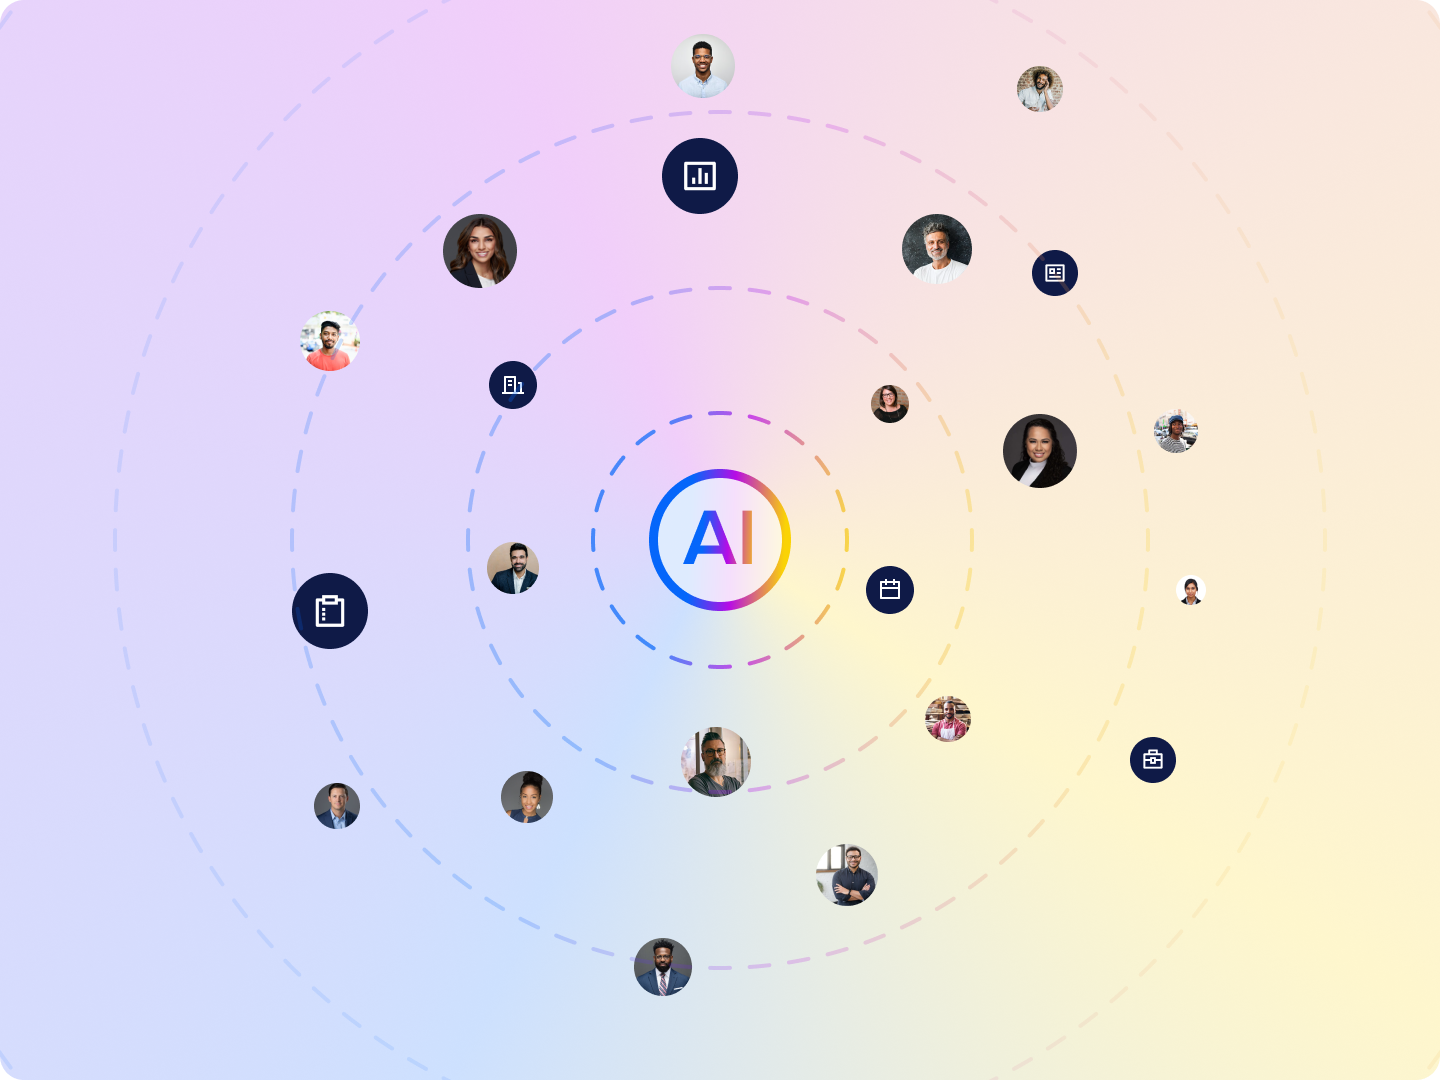
Leverage AI to create engaging and relevant content for your community.
Use AI algorithms to suggest relevant connections, content, and opportunities to users.
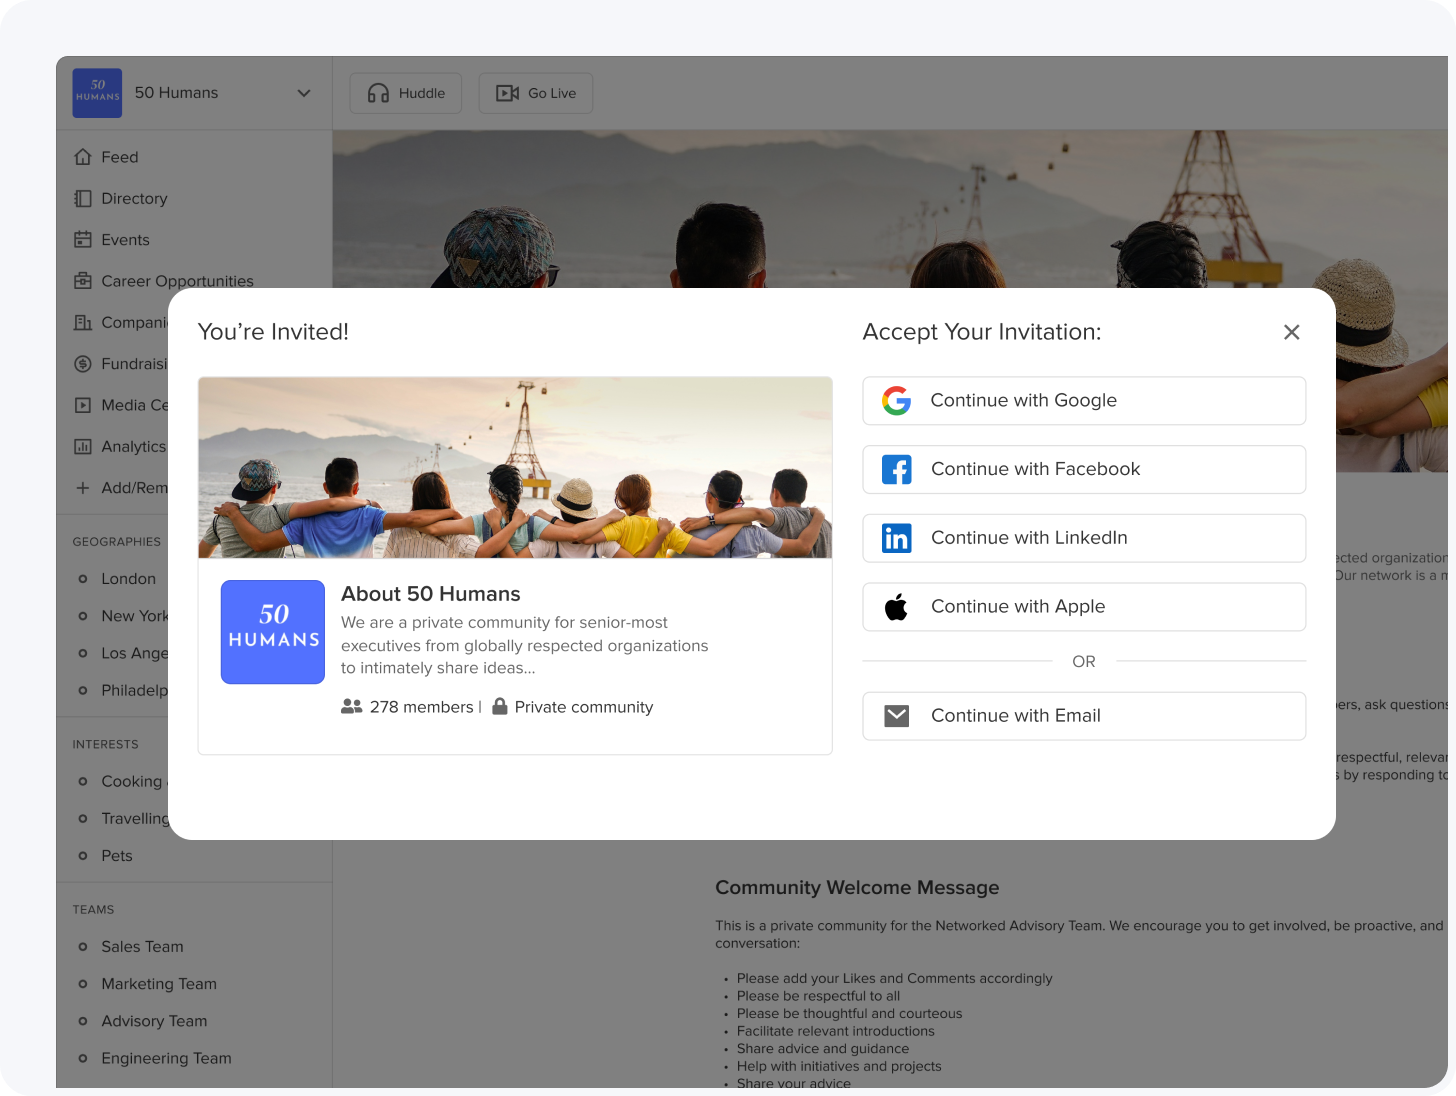
Register or log in using existing social media accounts.
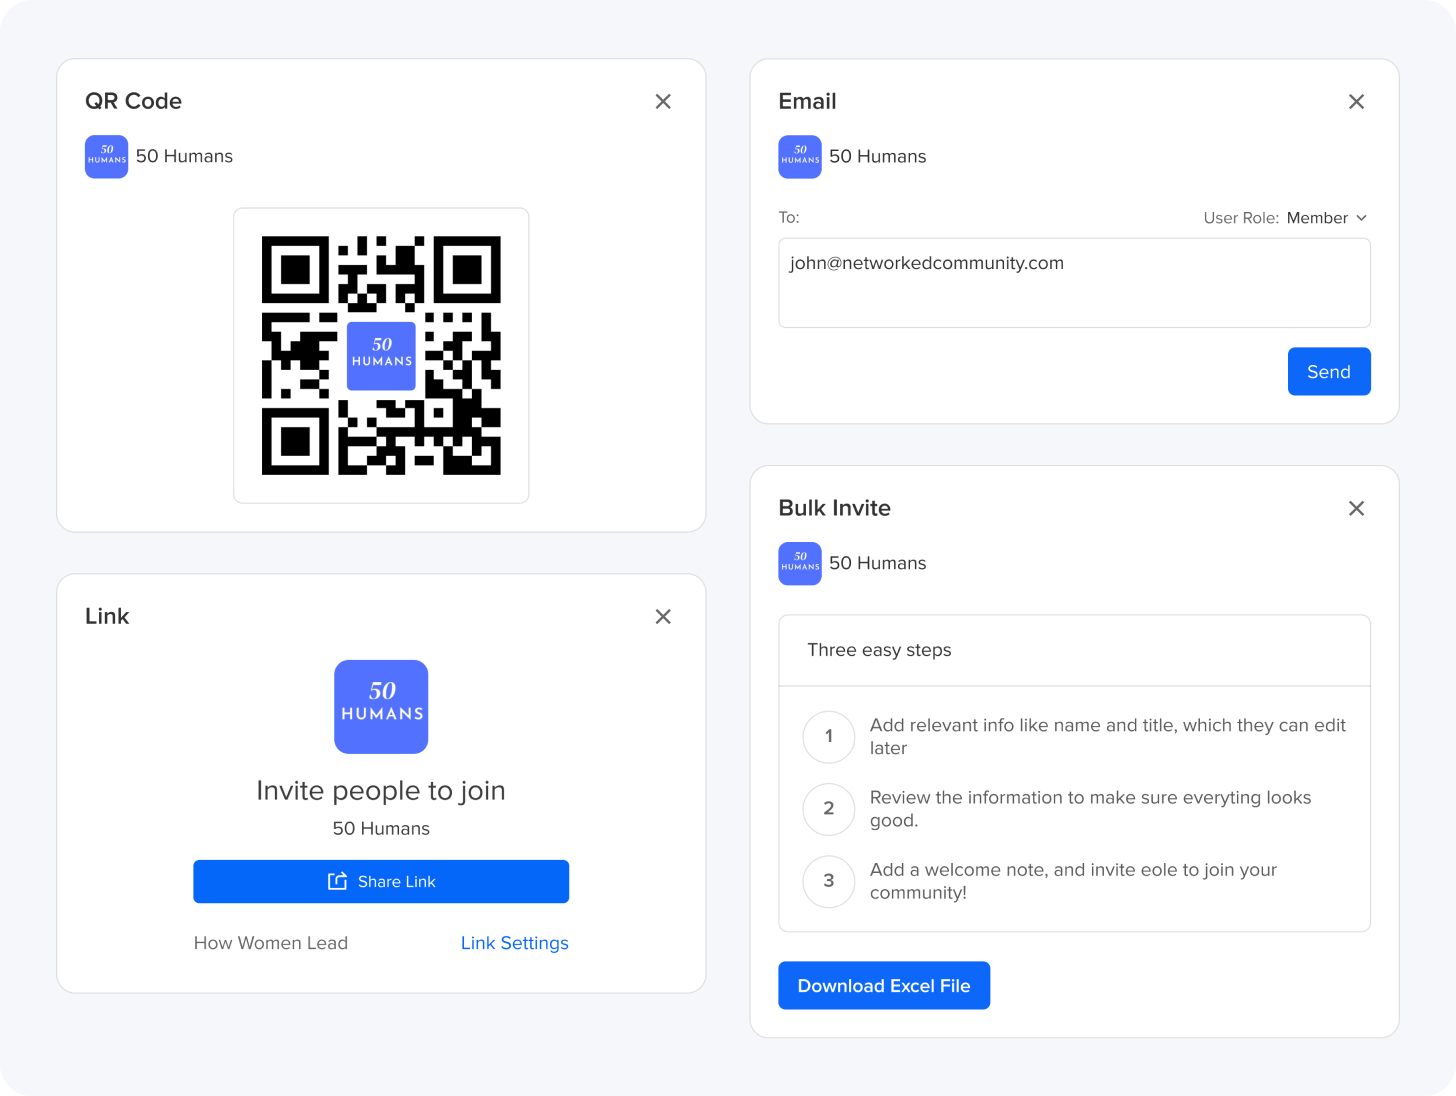
Simplify onboarding with easy invitations.
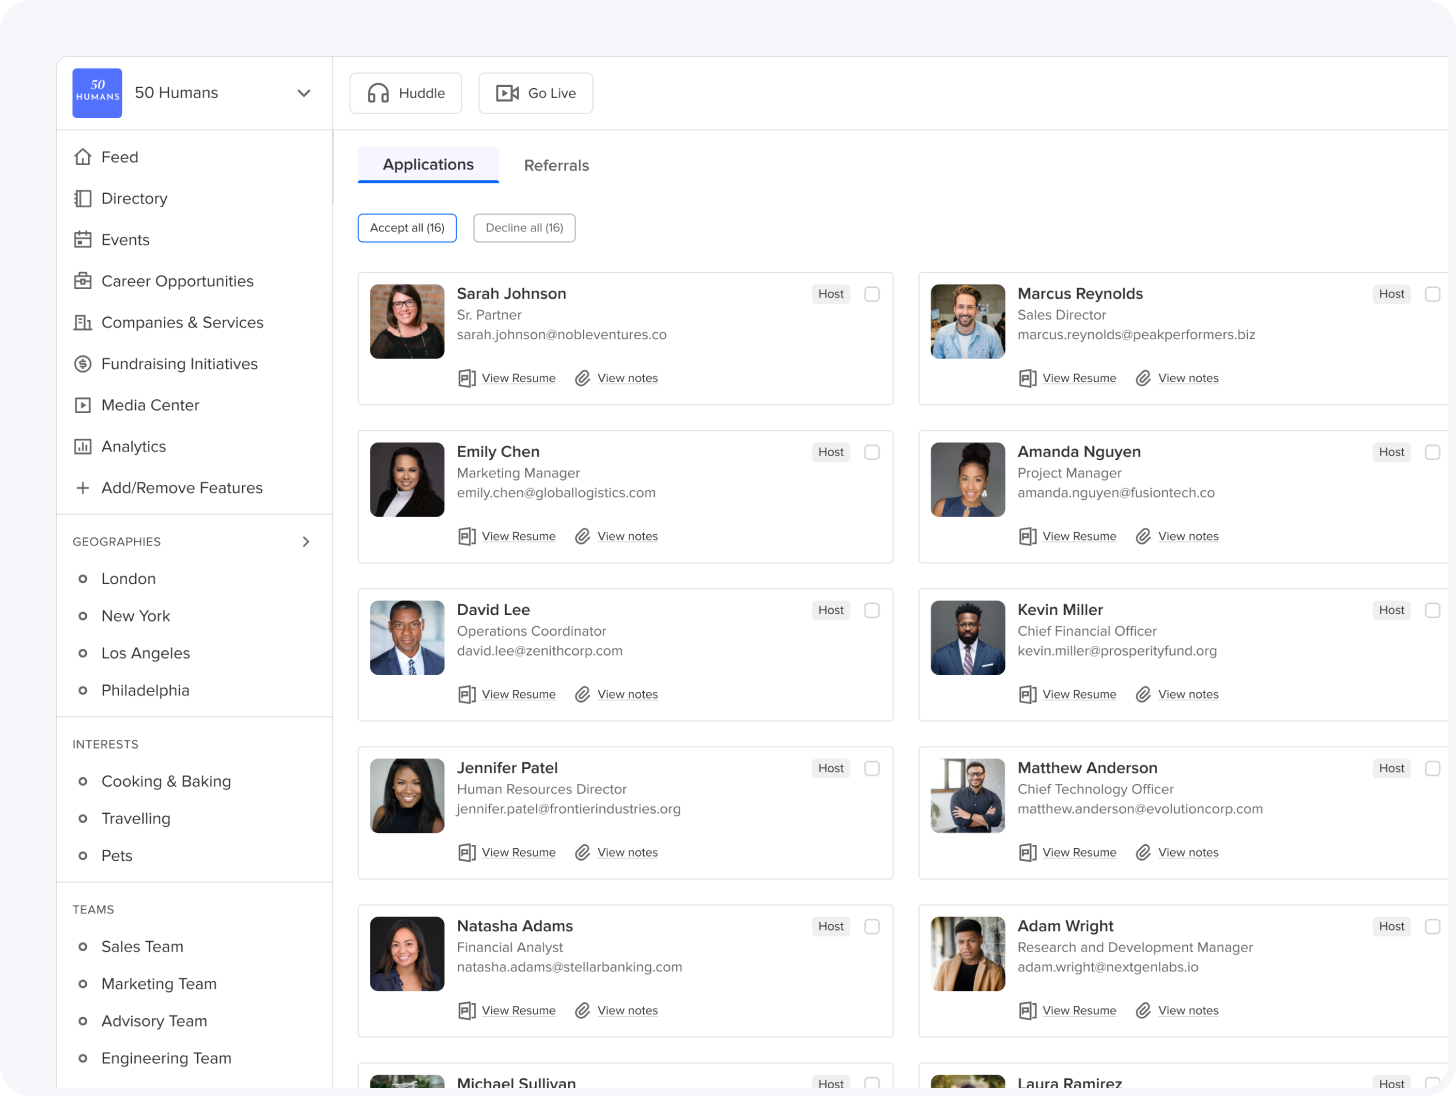
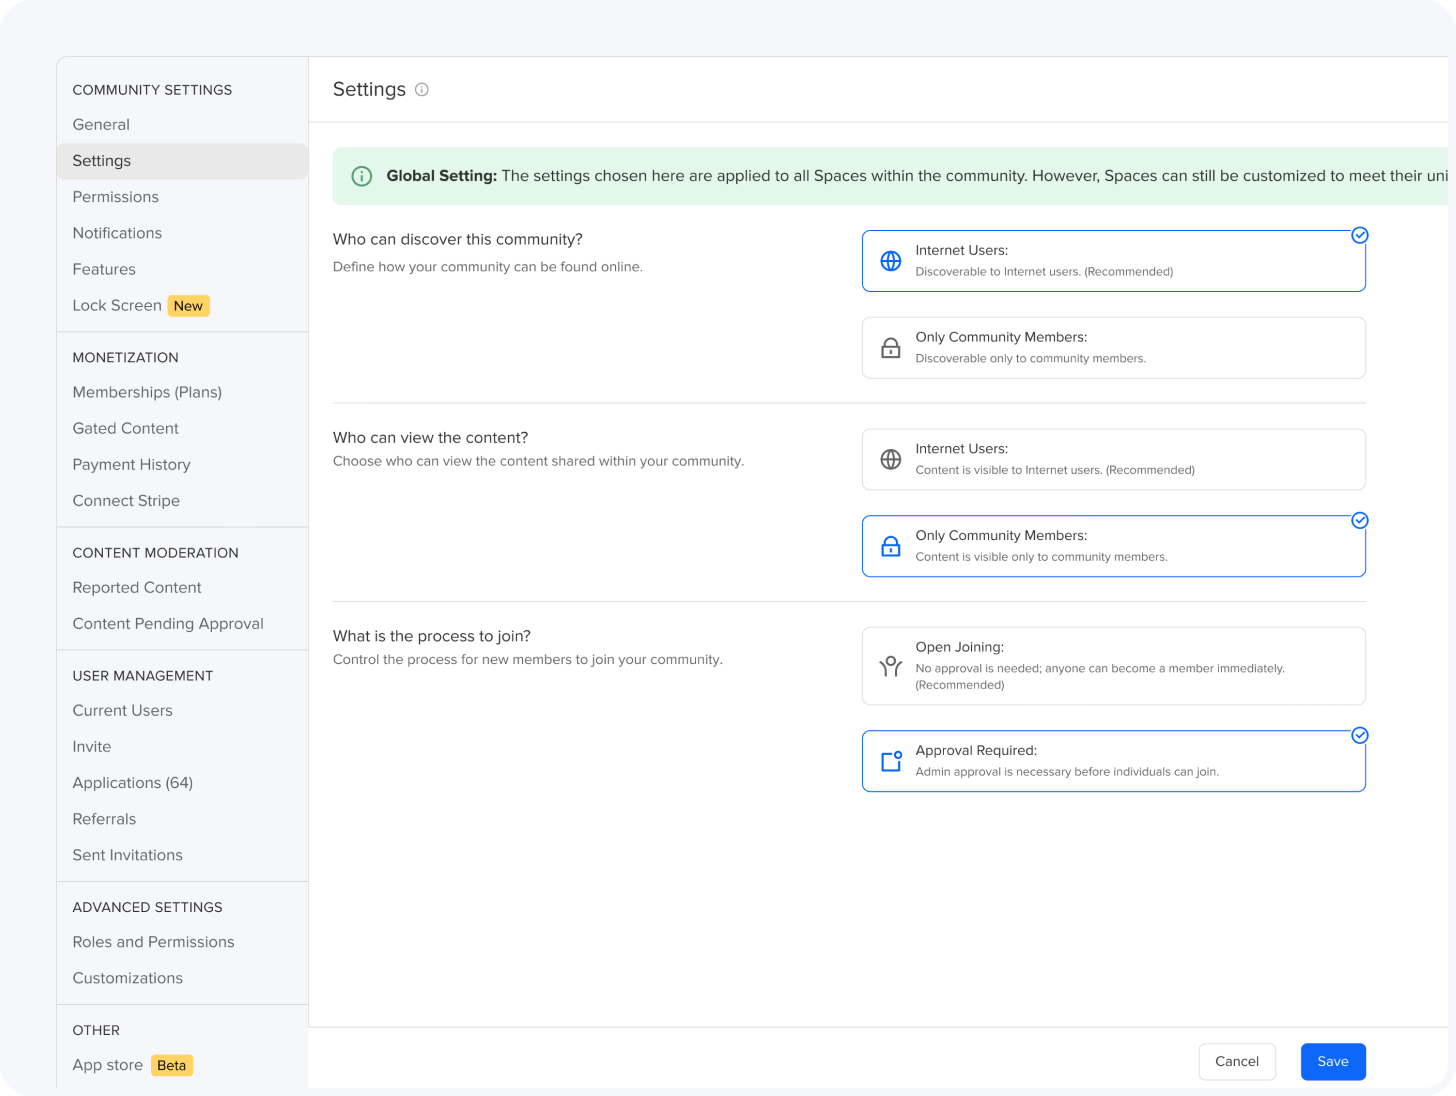
Efficiently manage interest in your community and review requests to join.
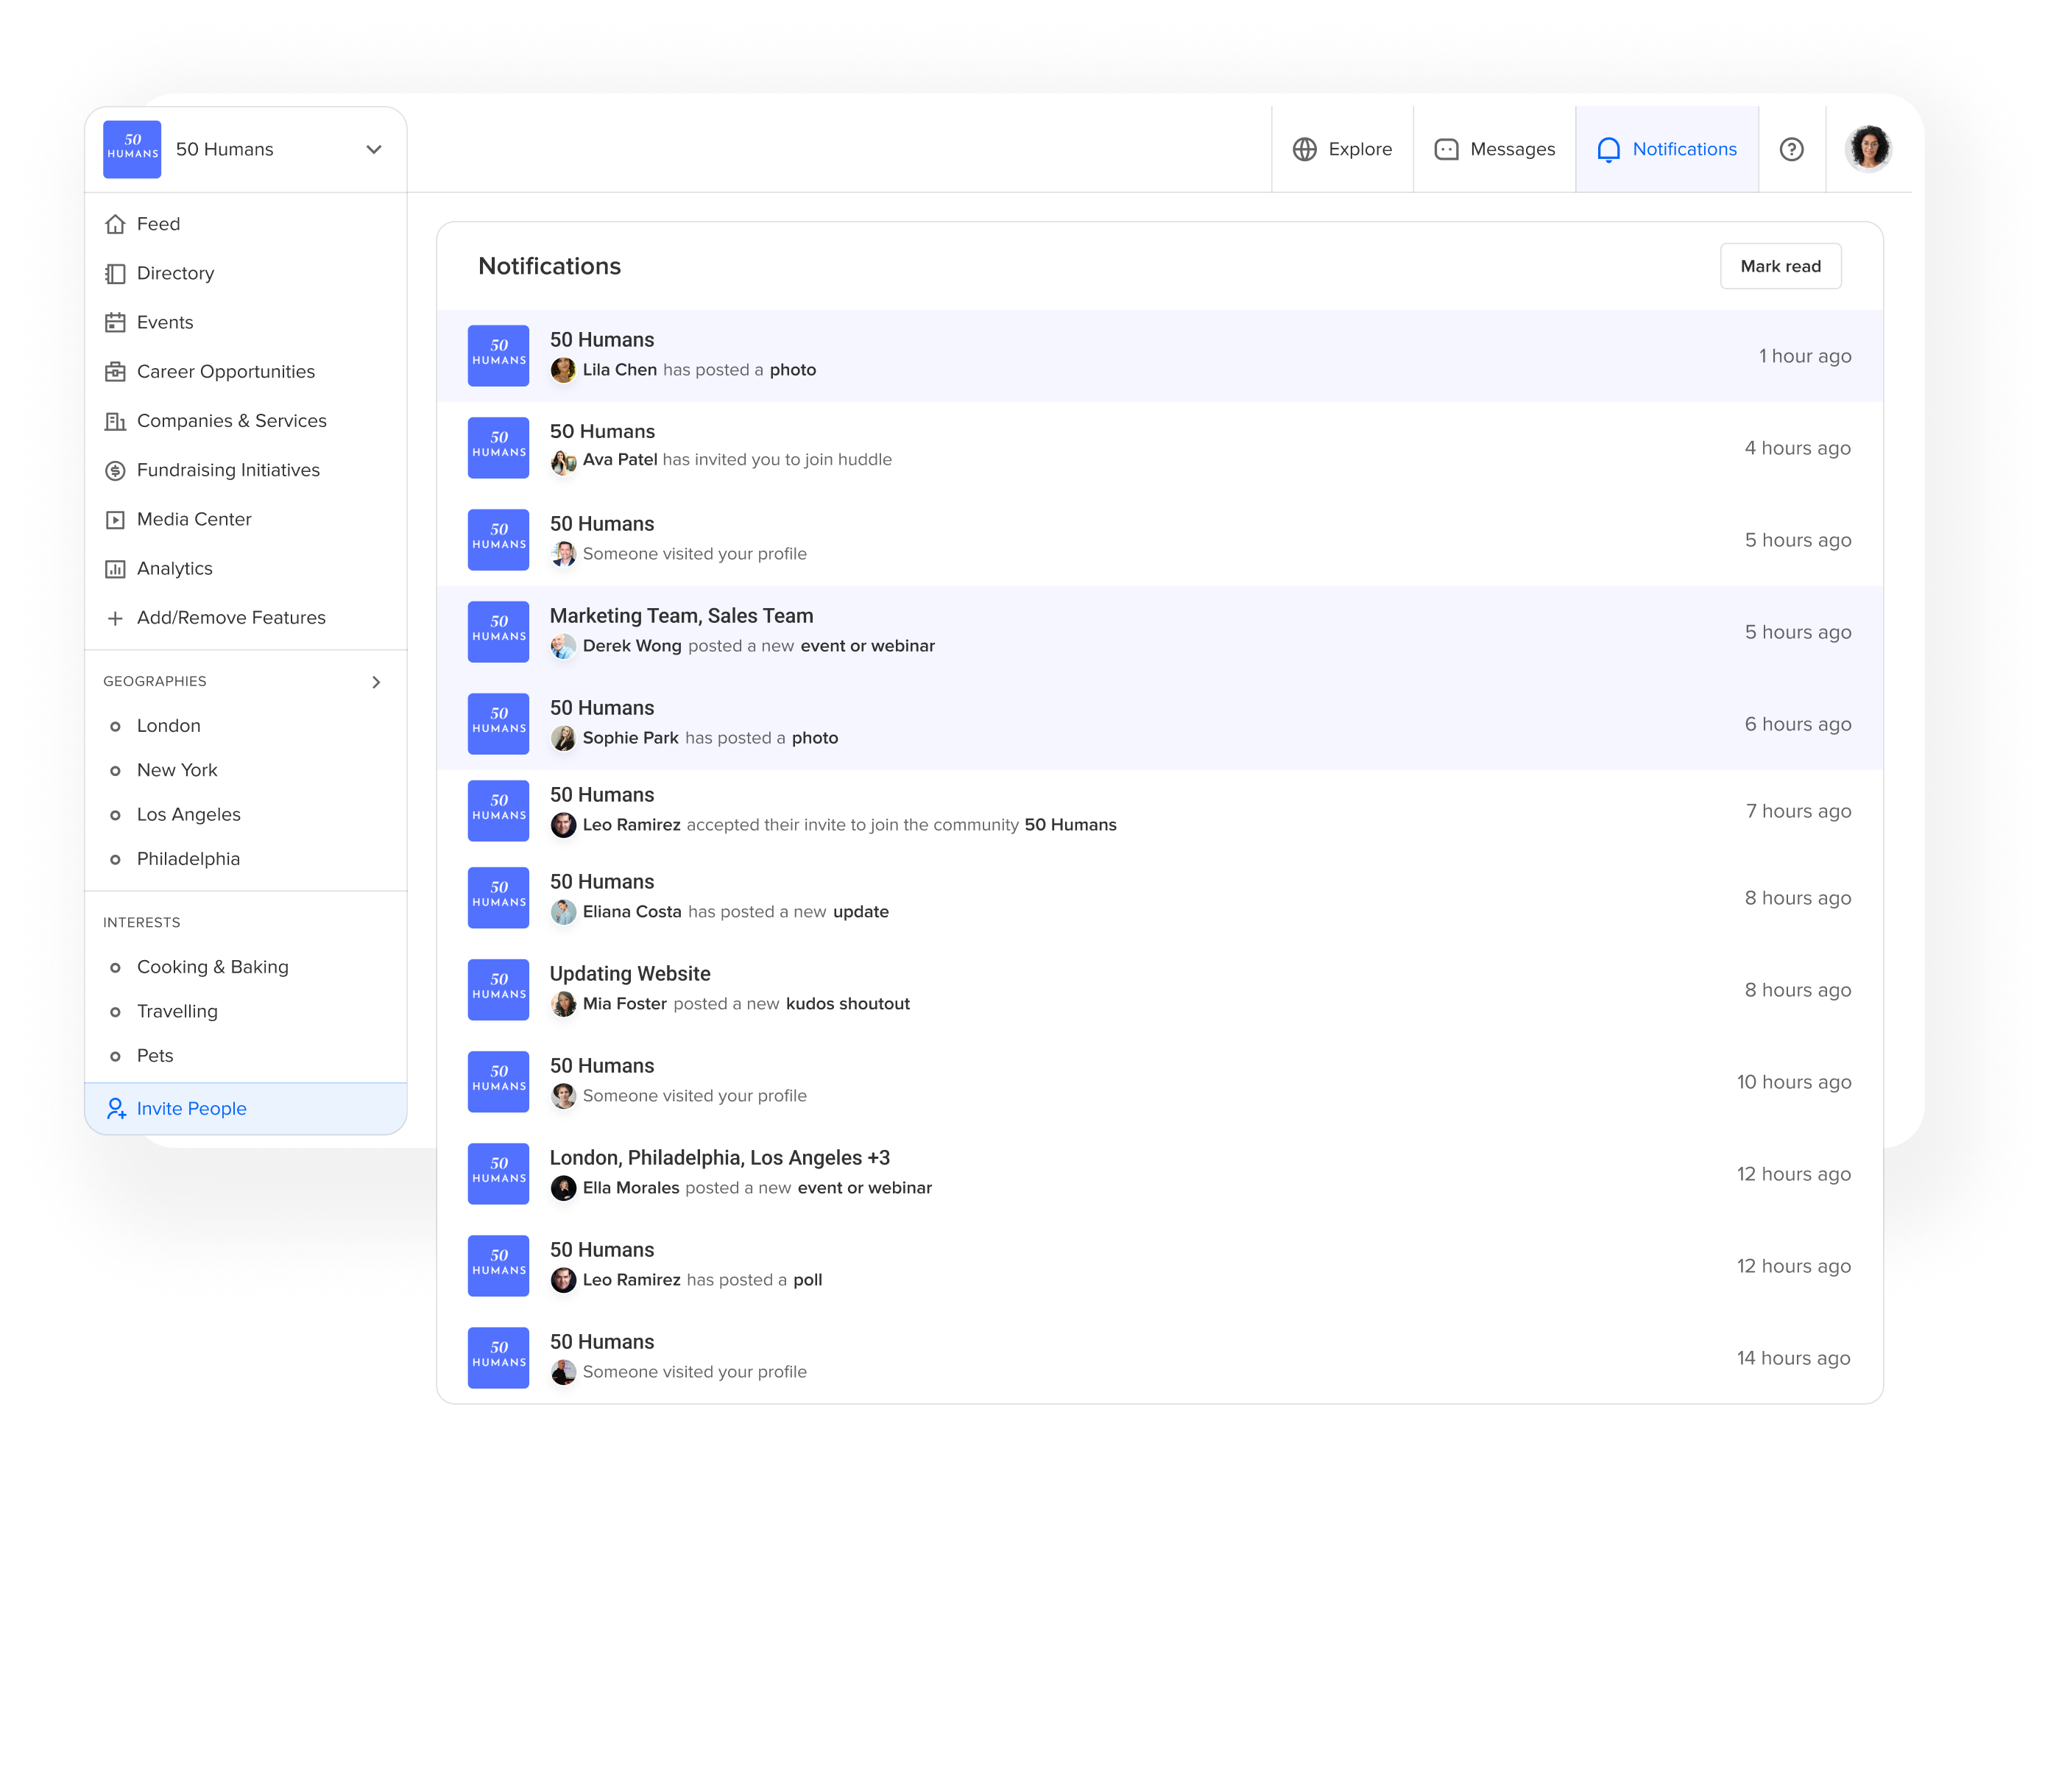
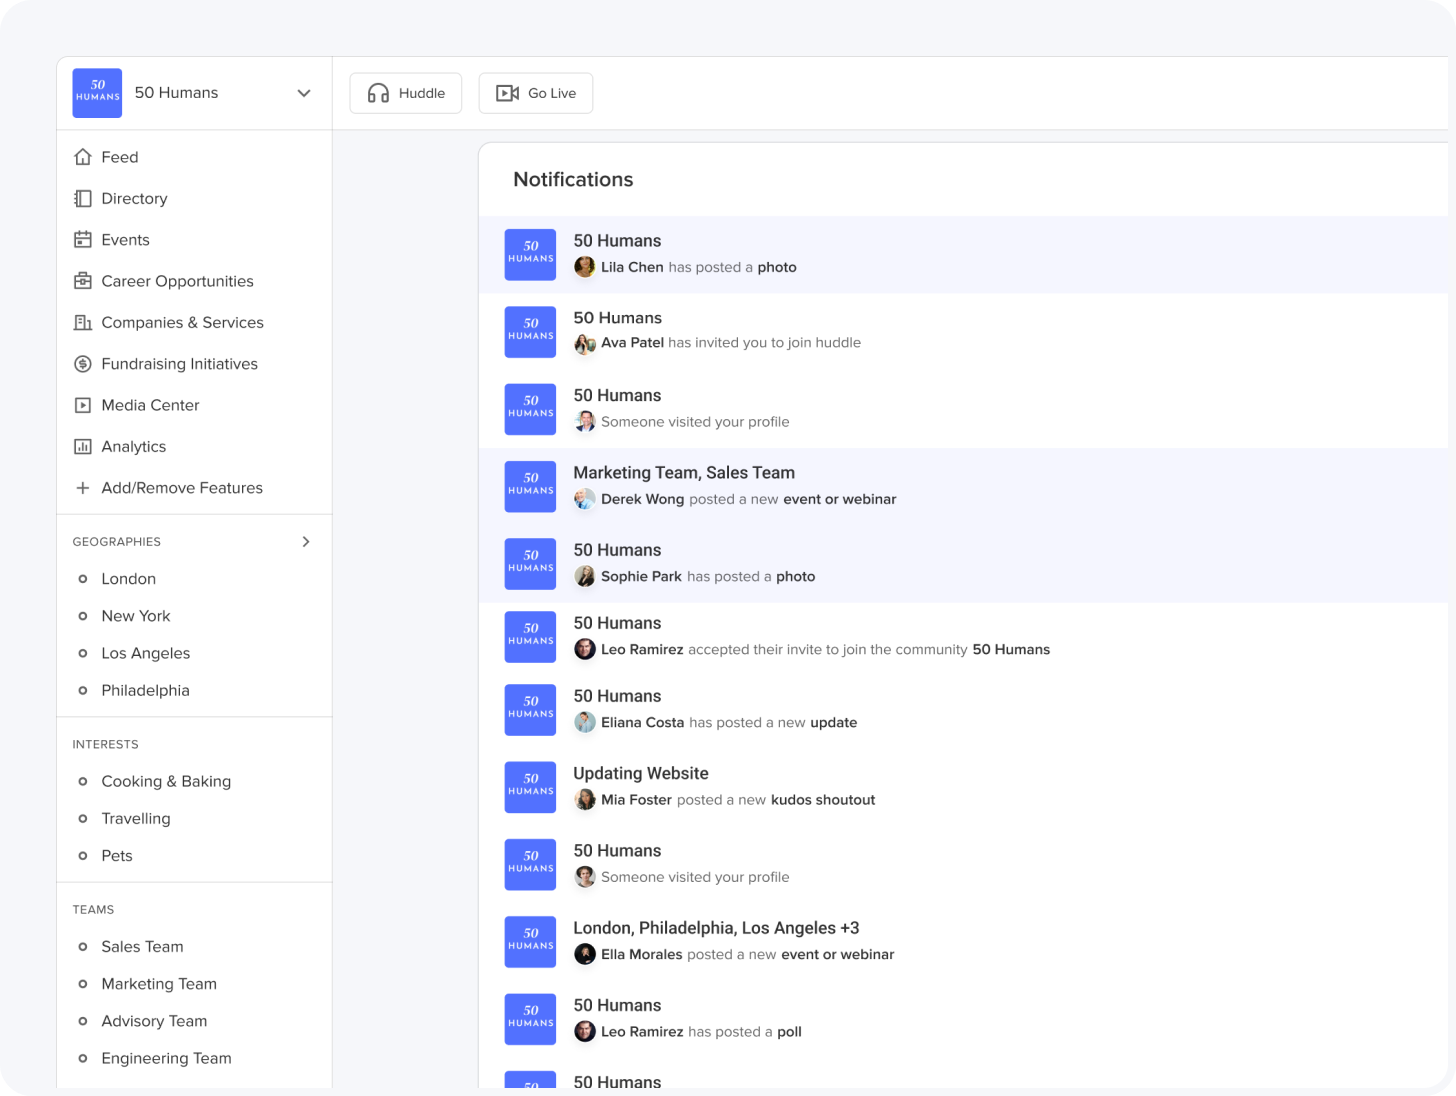
Stay informed with push and pull notifications.
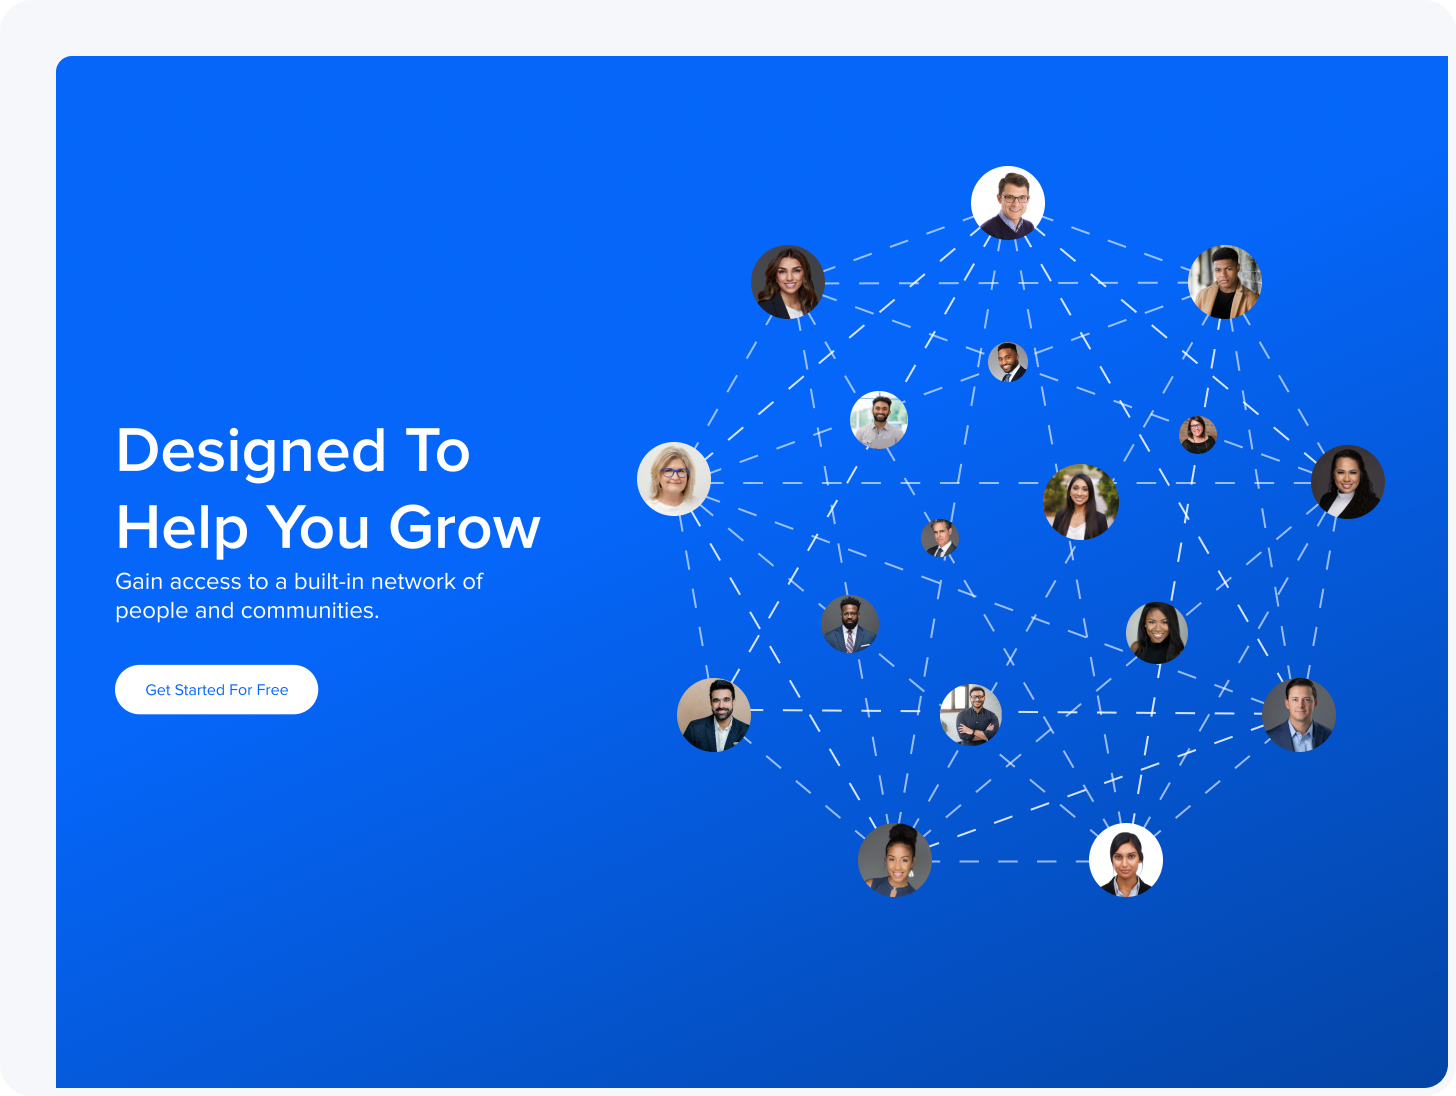
Networked offers access to a built-in network of people and communities, helping your community and content thrive.
Gain a holistic view of community activity, engagement levels, and performance metrics.
Manage and customize platform features to meet your community’s needs.
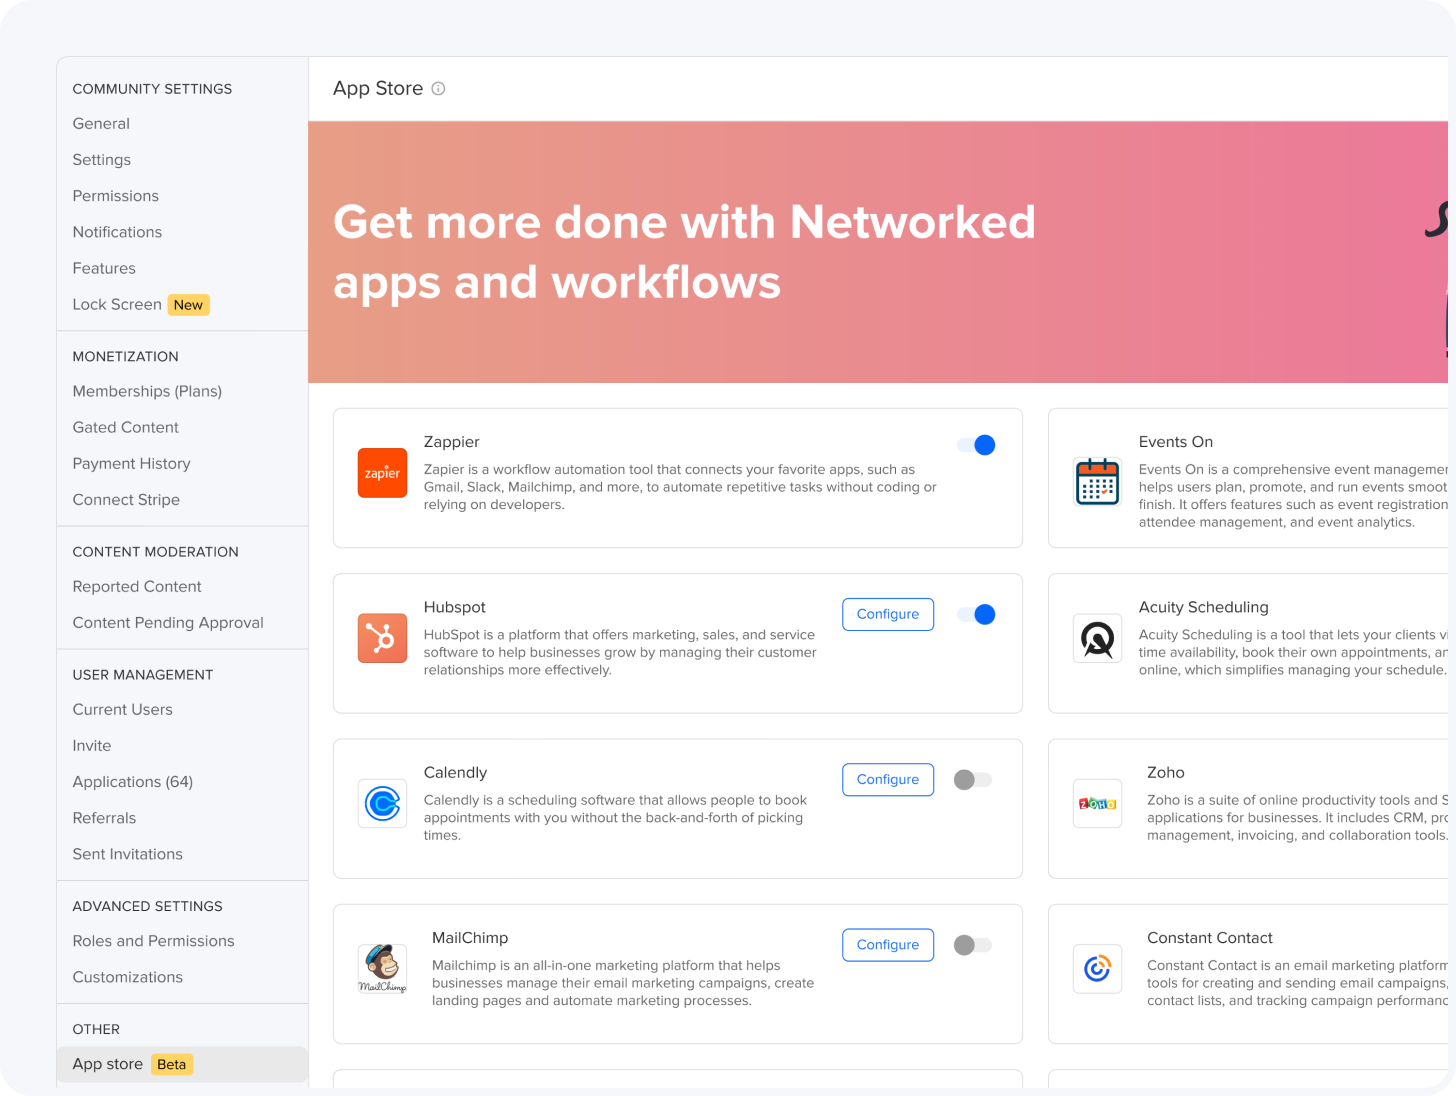
Leverage integrations with popular apps and tools to enhance functionality and streamline workflows.
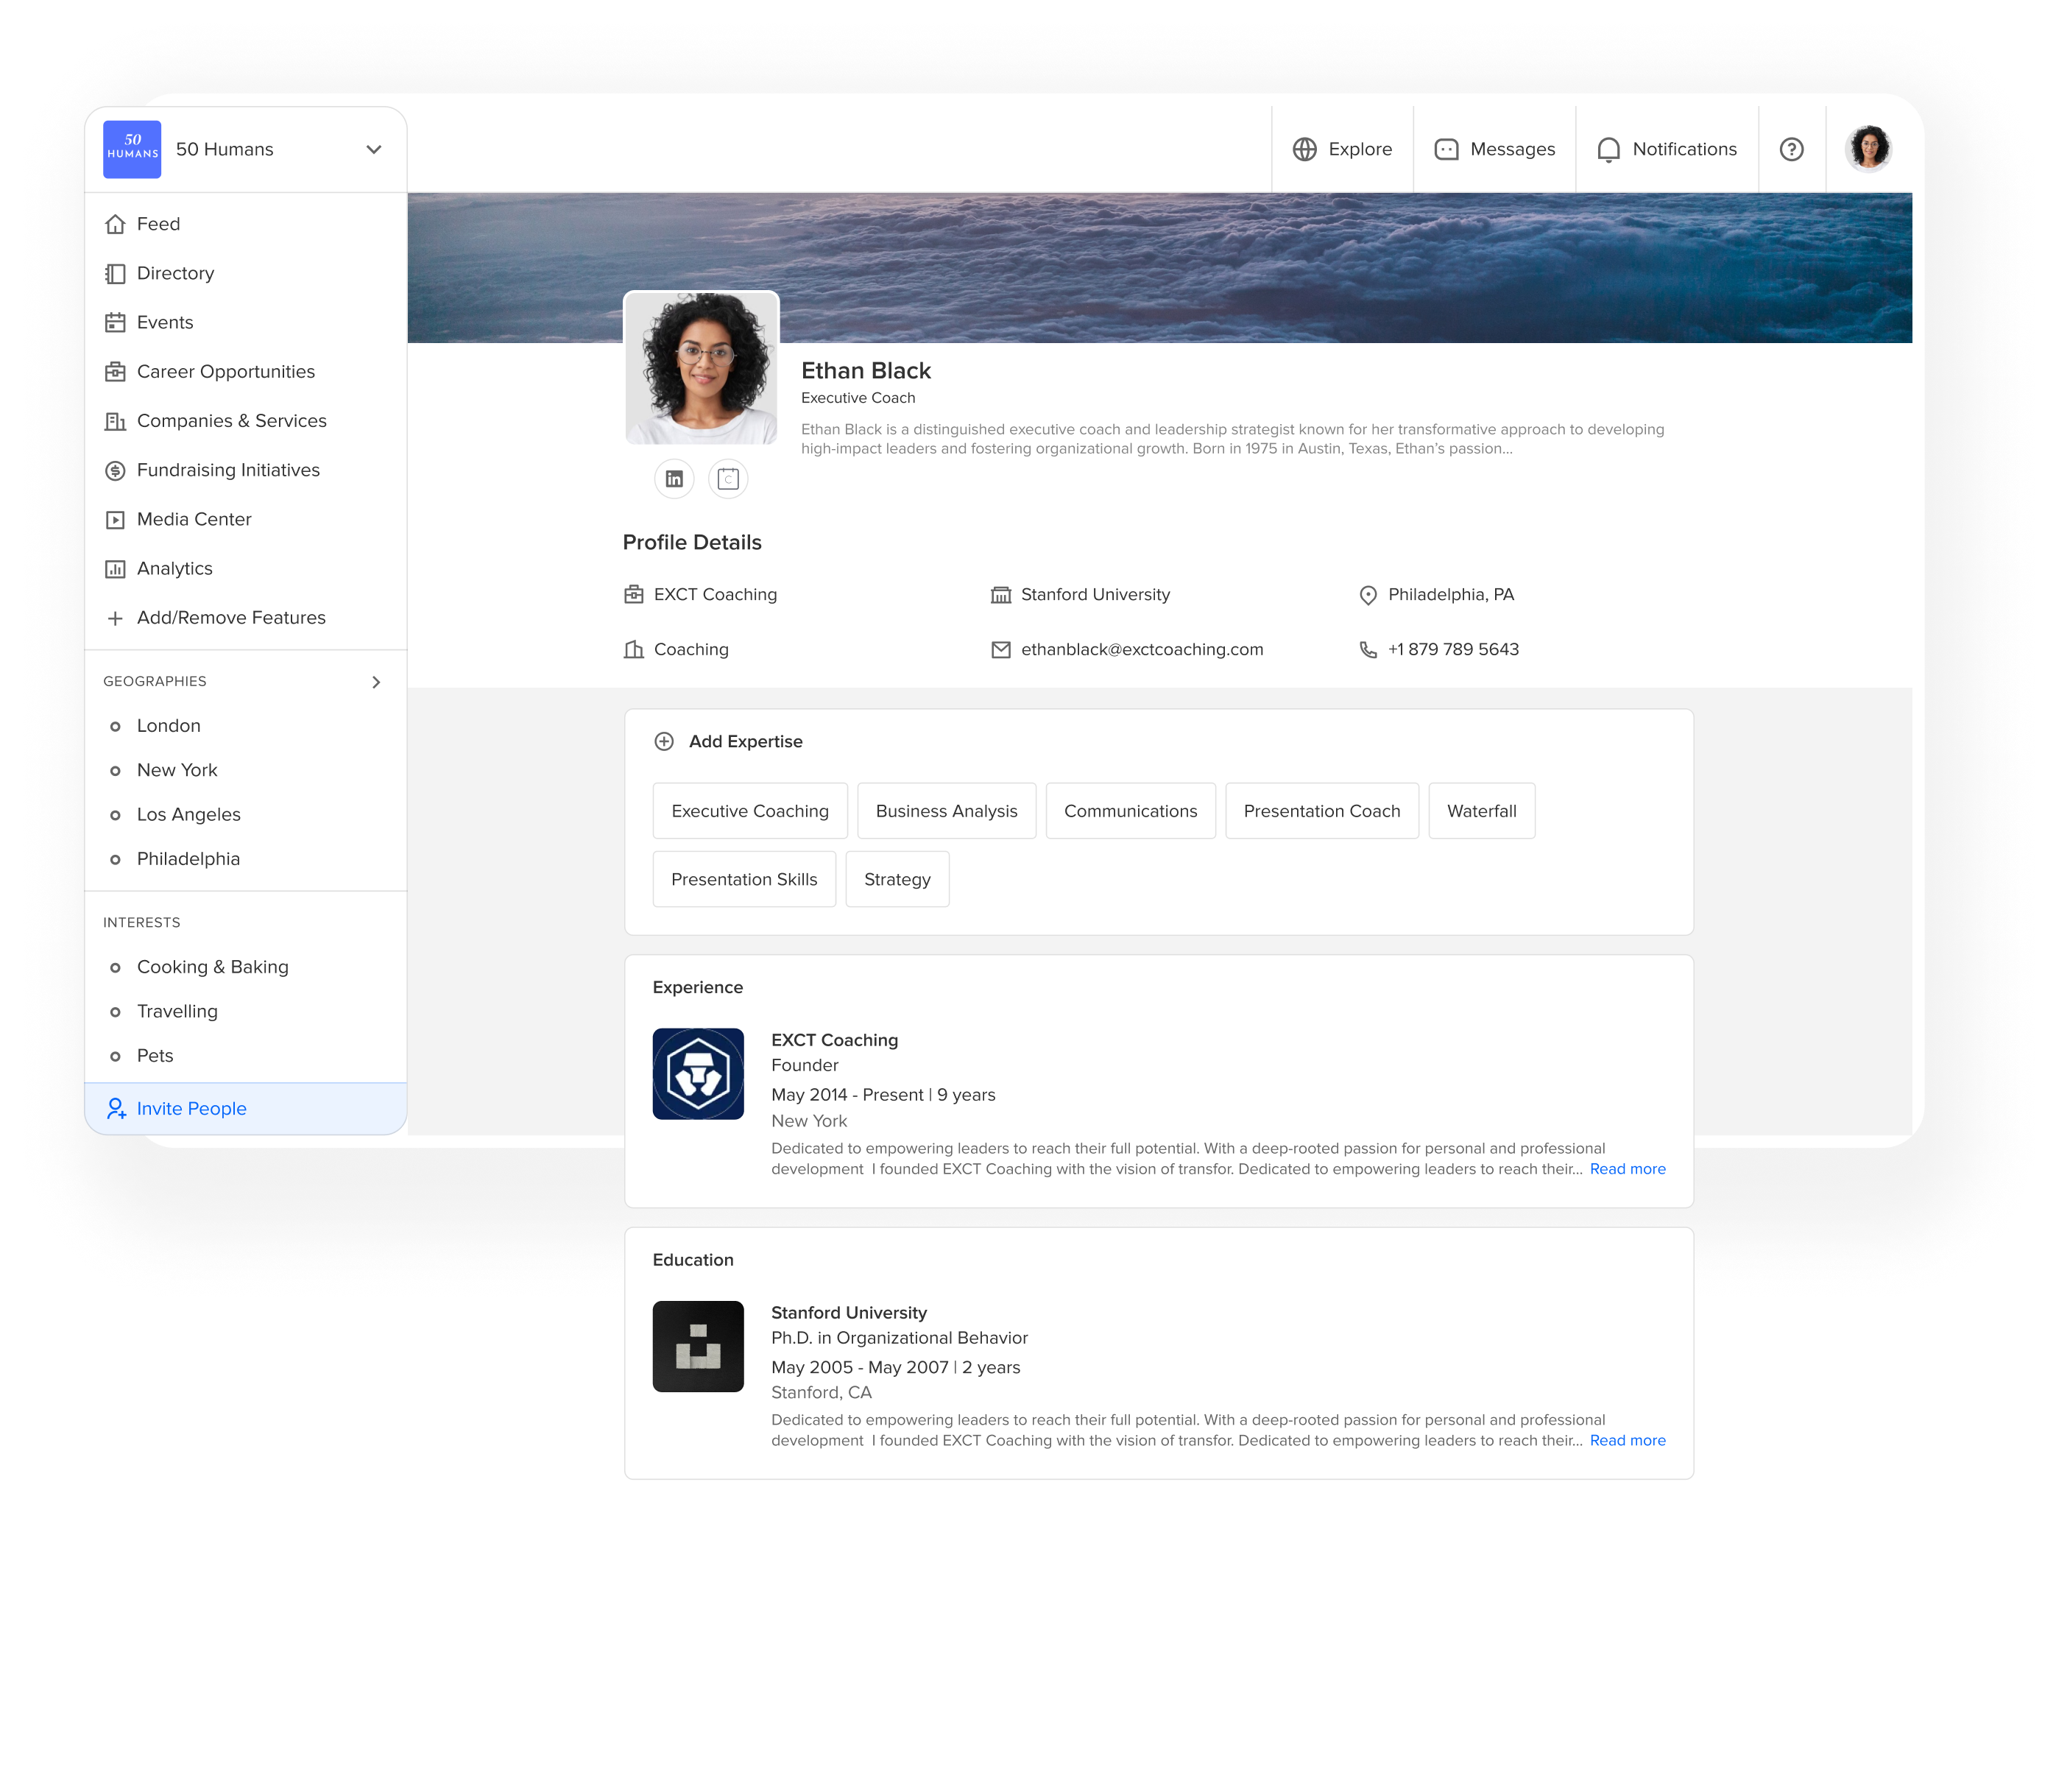
Ensure a smooth user experience by managing accounts, including registration, login, and profile settings.
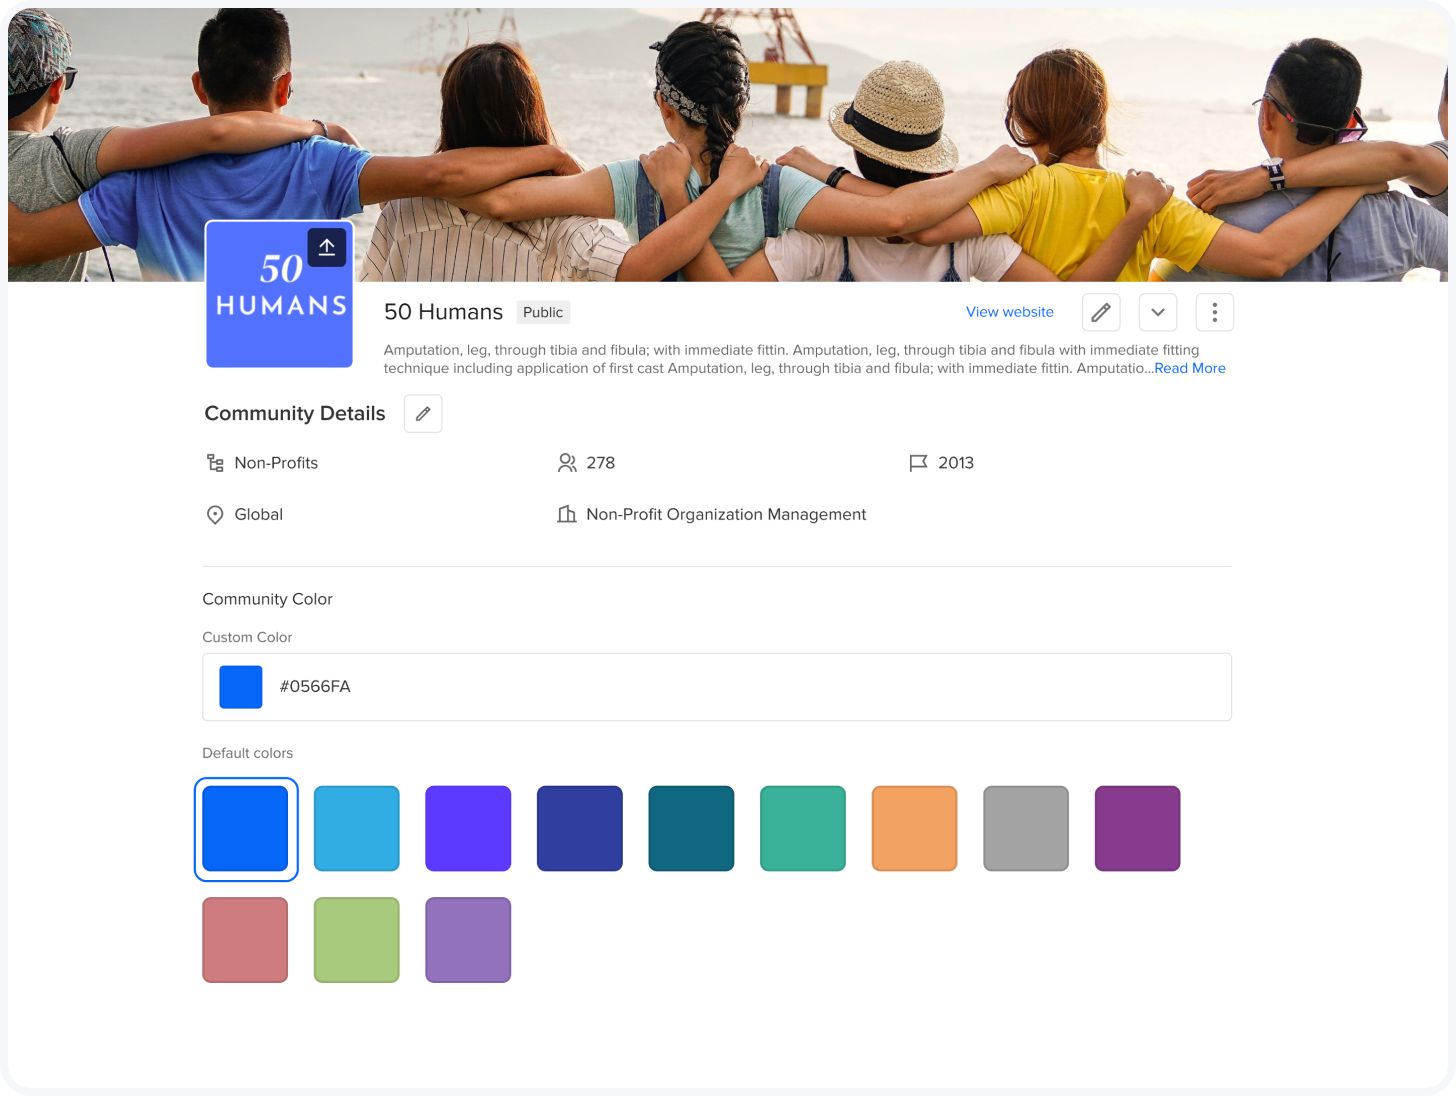
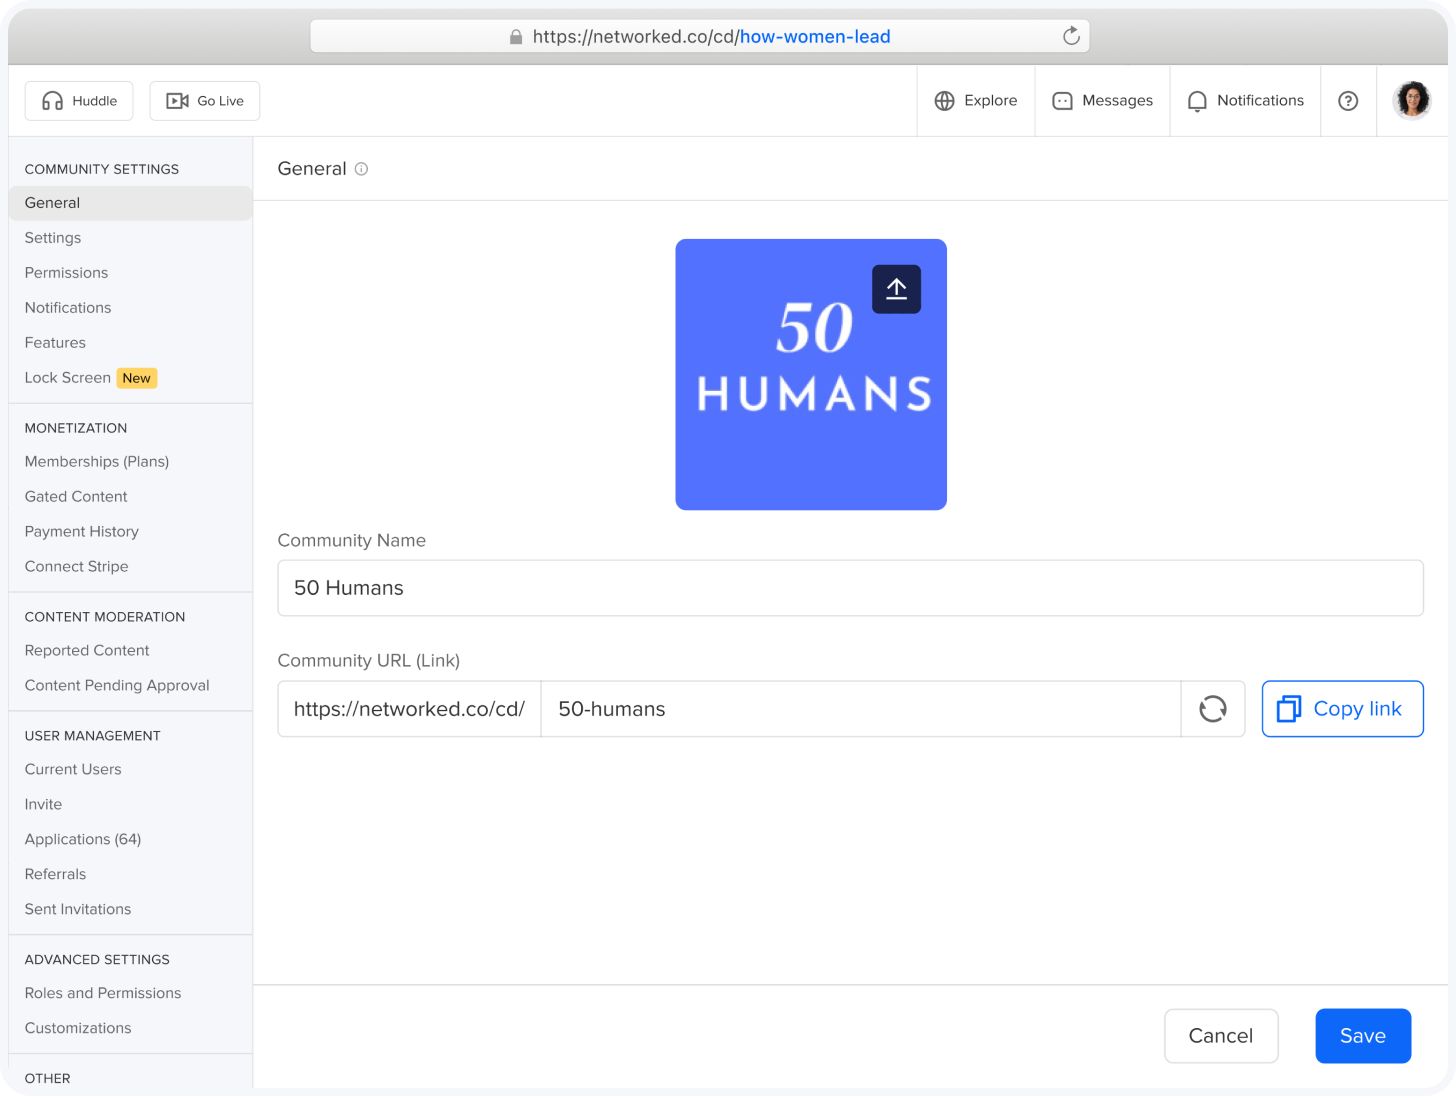
Customize community settings, including domain, branding, notifications, features, user management tools, roles, and permissions.
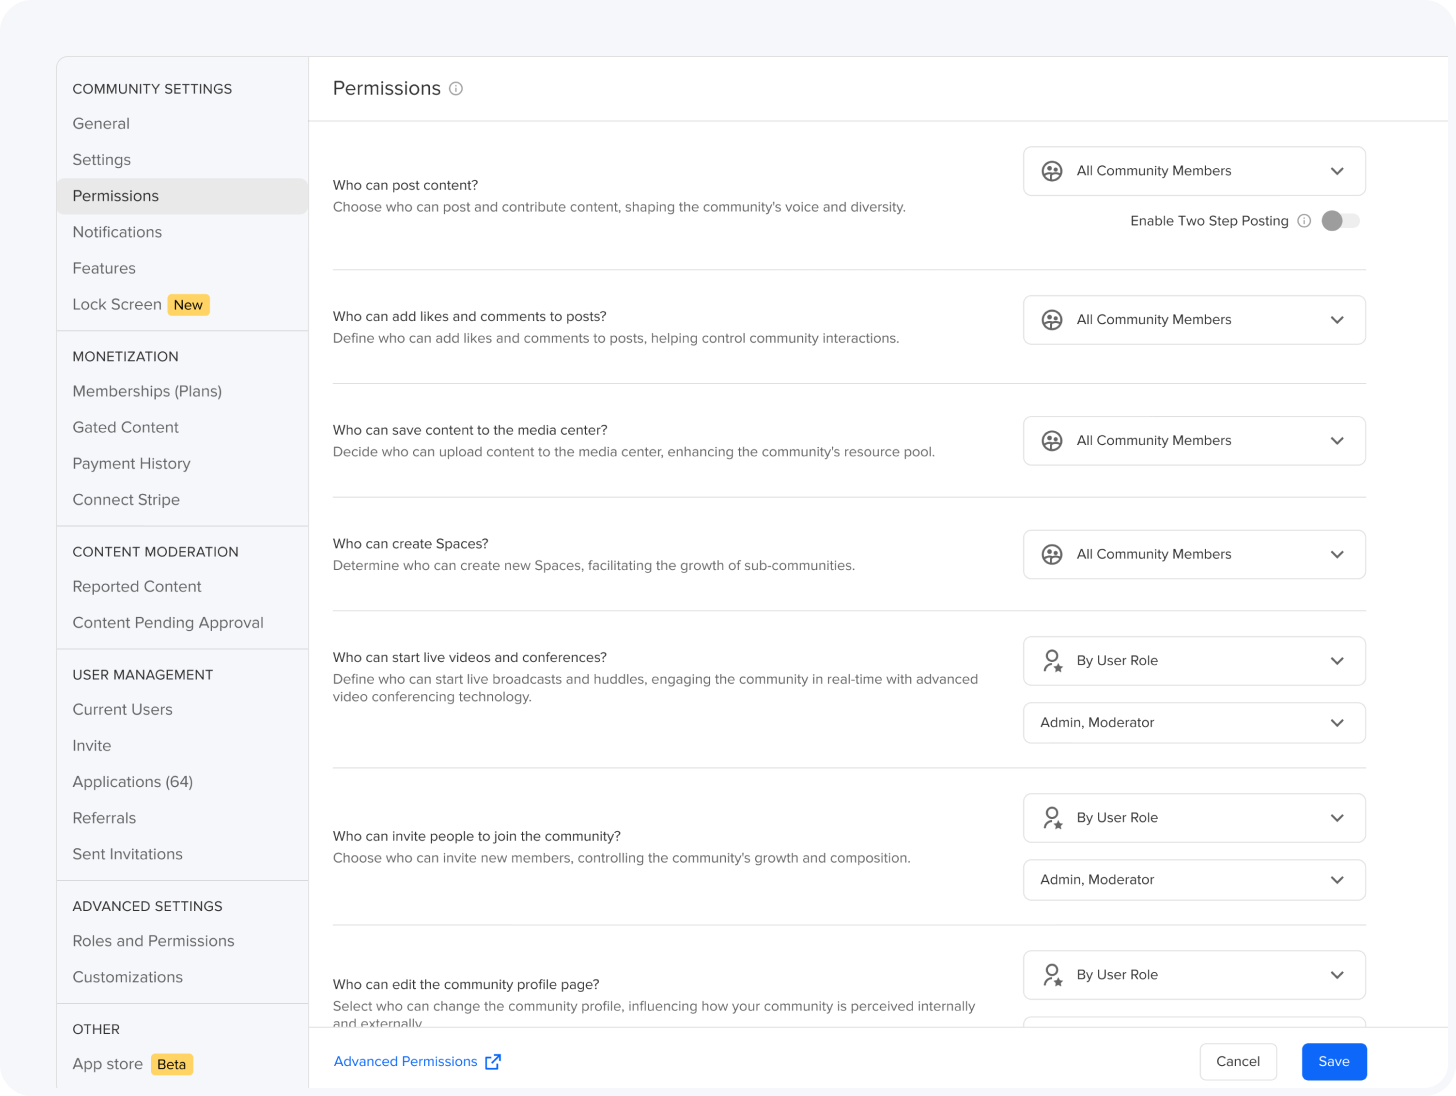
Control access and interactions within different areas of the community.
Create a unique and recognizable identity for your community.
Personalize your community’s web address to reflect your brand.
Ensure all communication reflects your community’s identity.
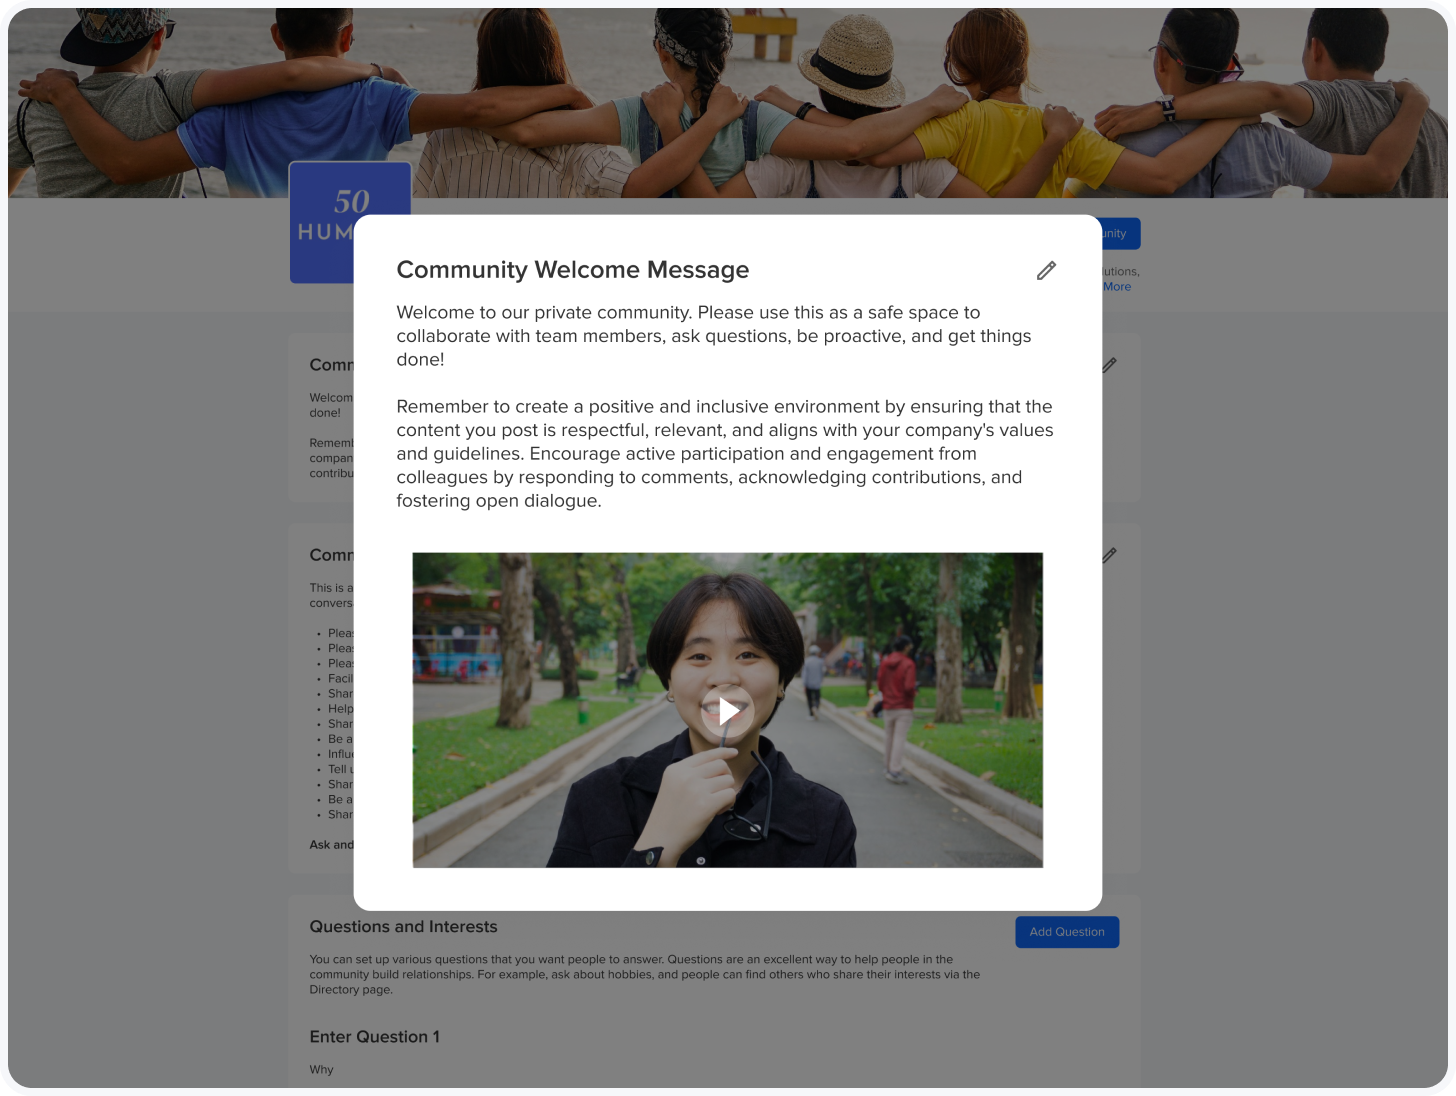
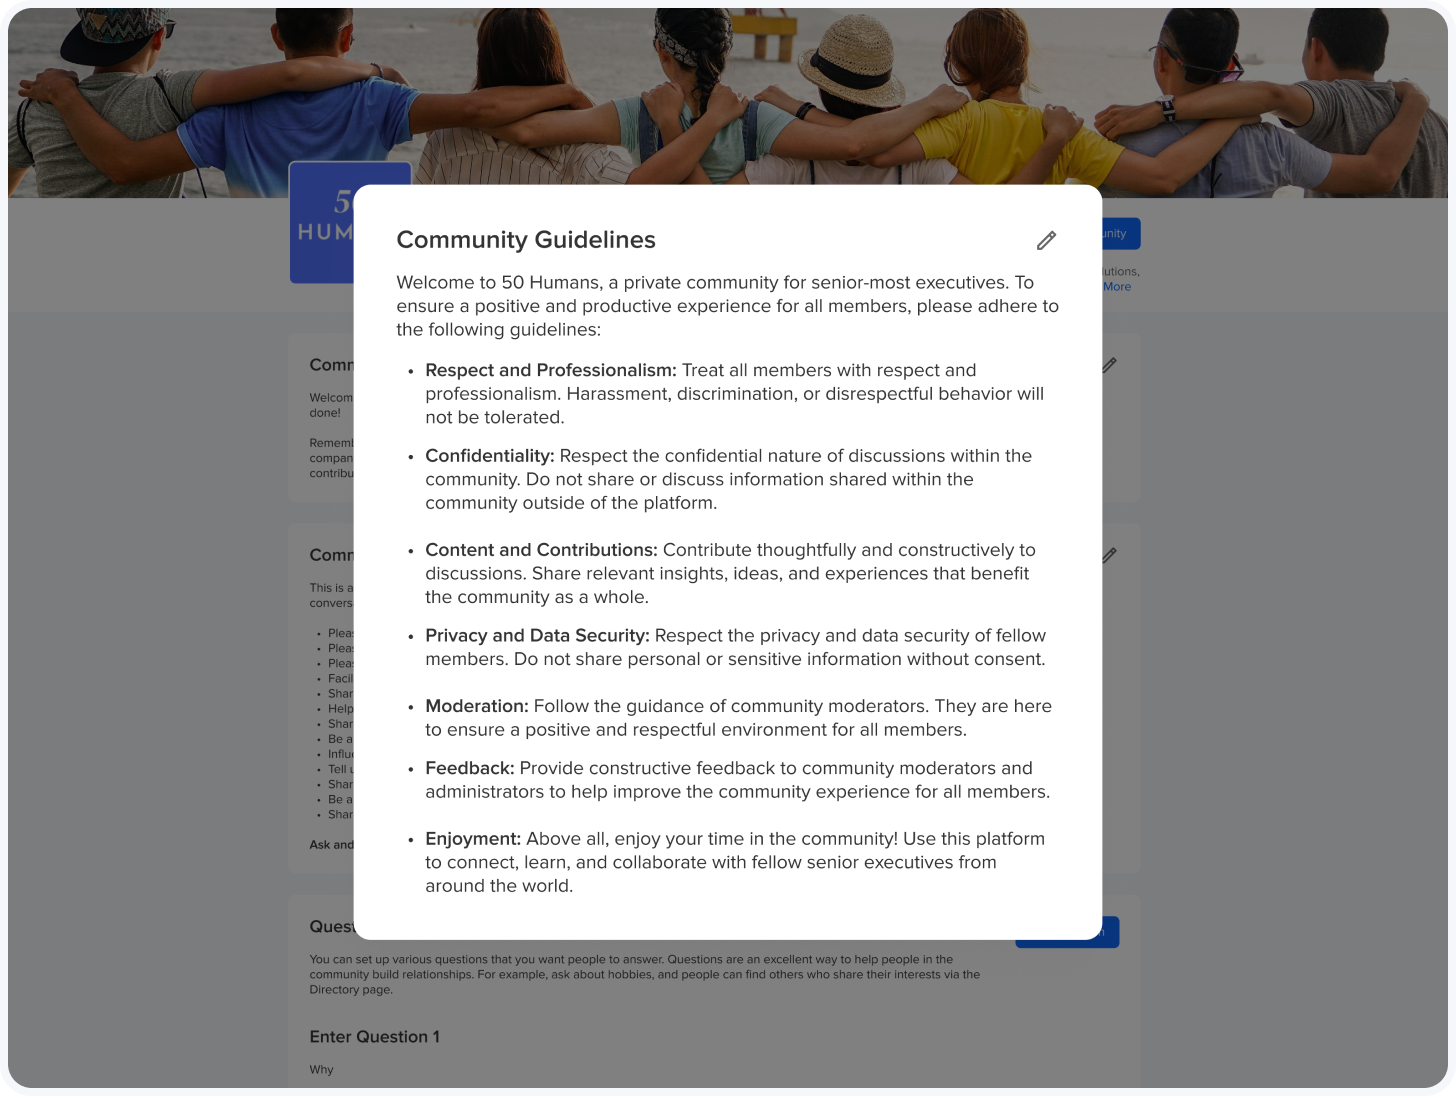
Set the tone with a warm and inviting welcome message.
Clearly outline expectations to ensure members adhere to the rules.
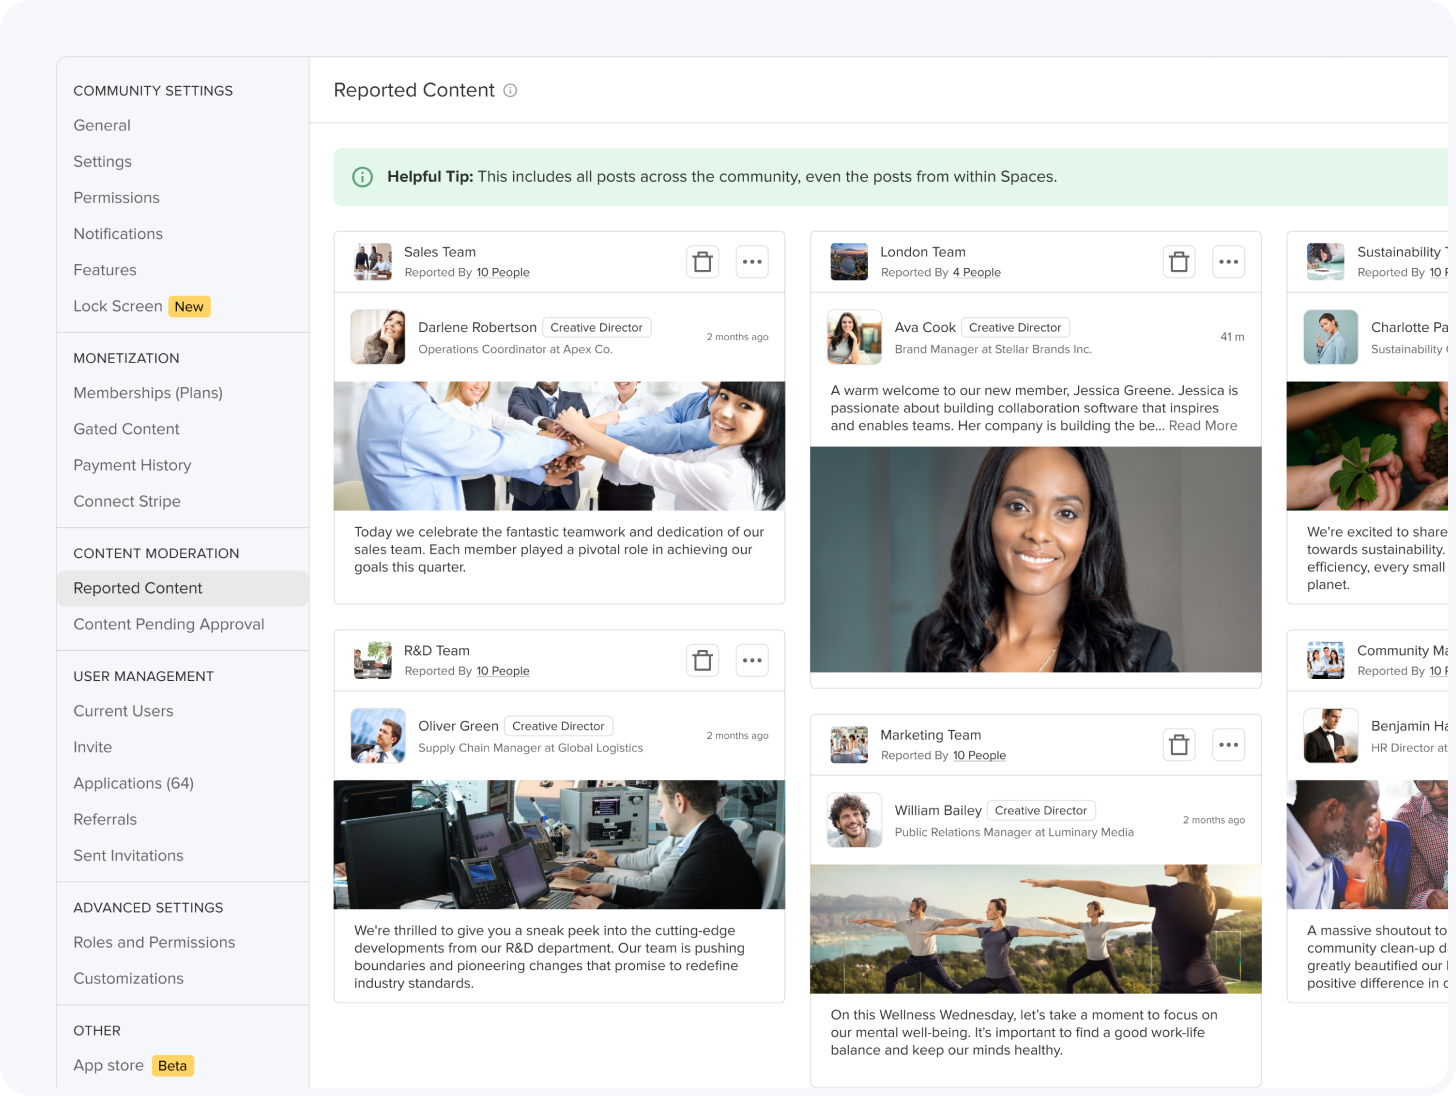
Enable members to report content that doesn’t meet community standards.
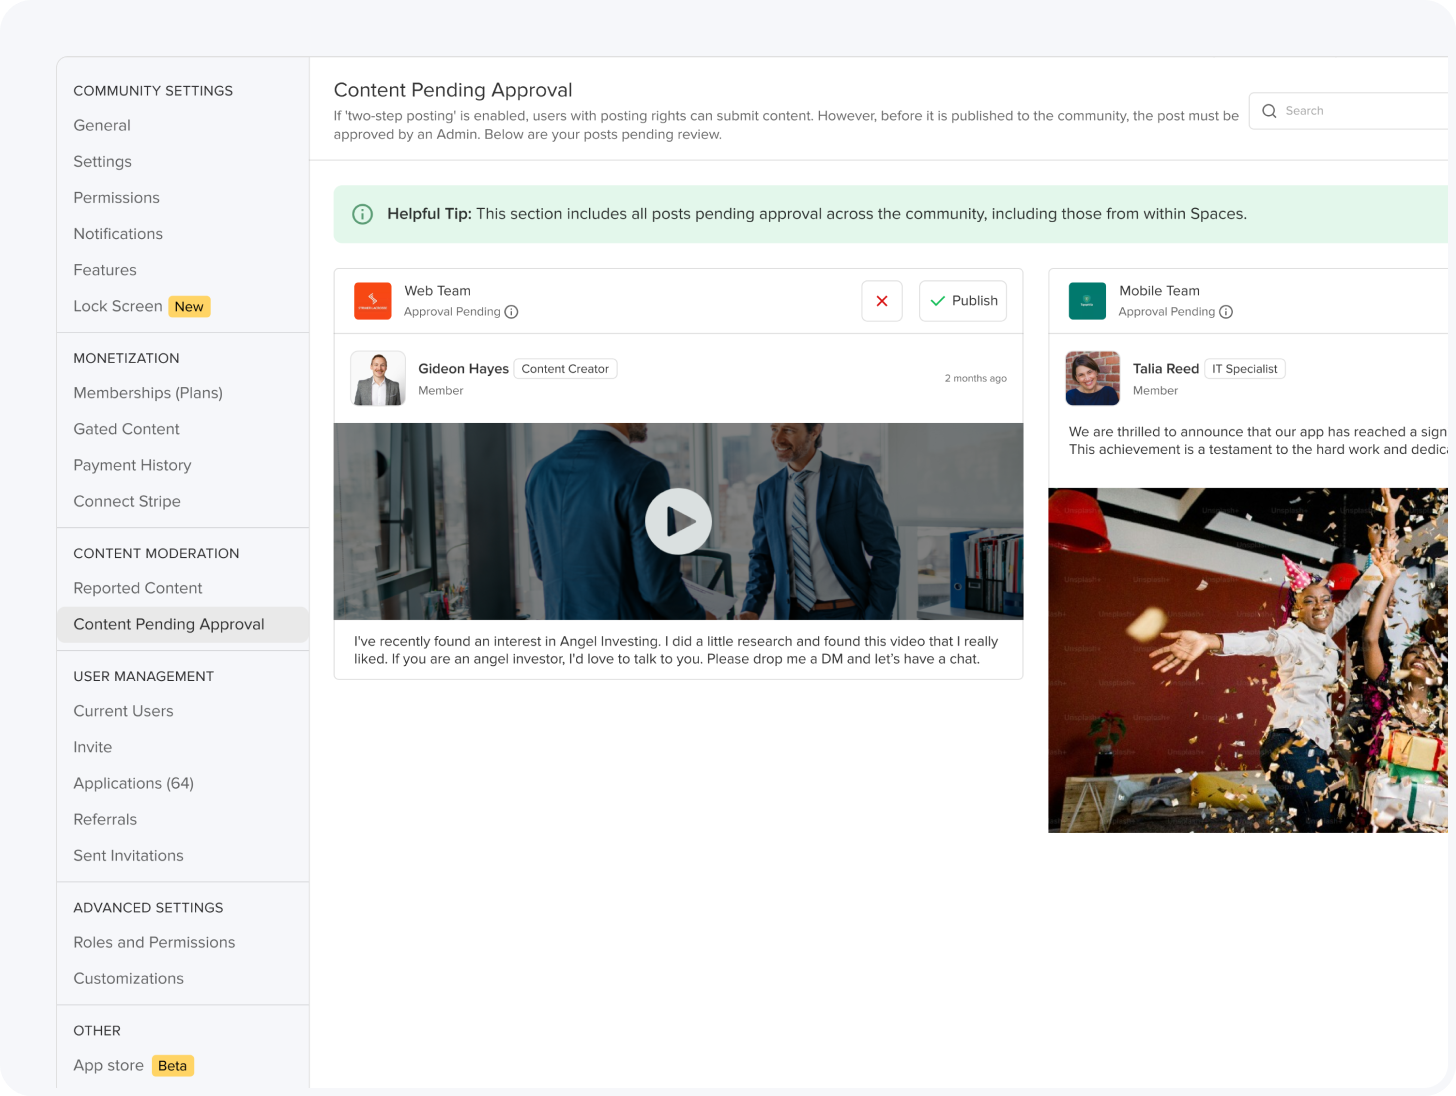
Implement a review process for posts to ensure content quality and compliance.
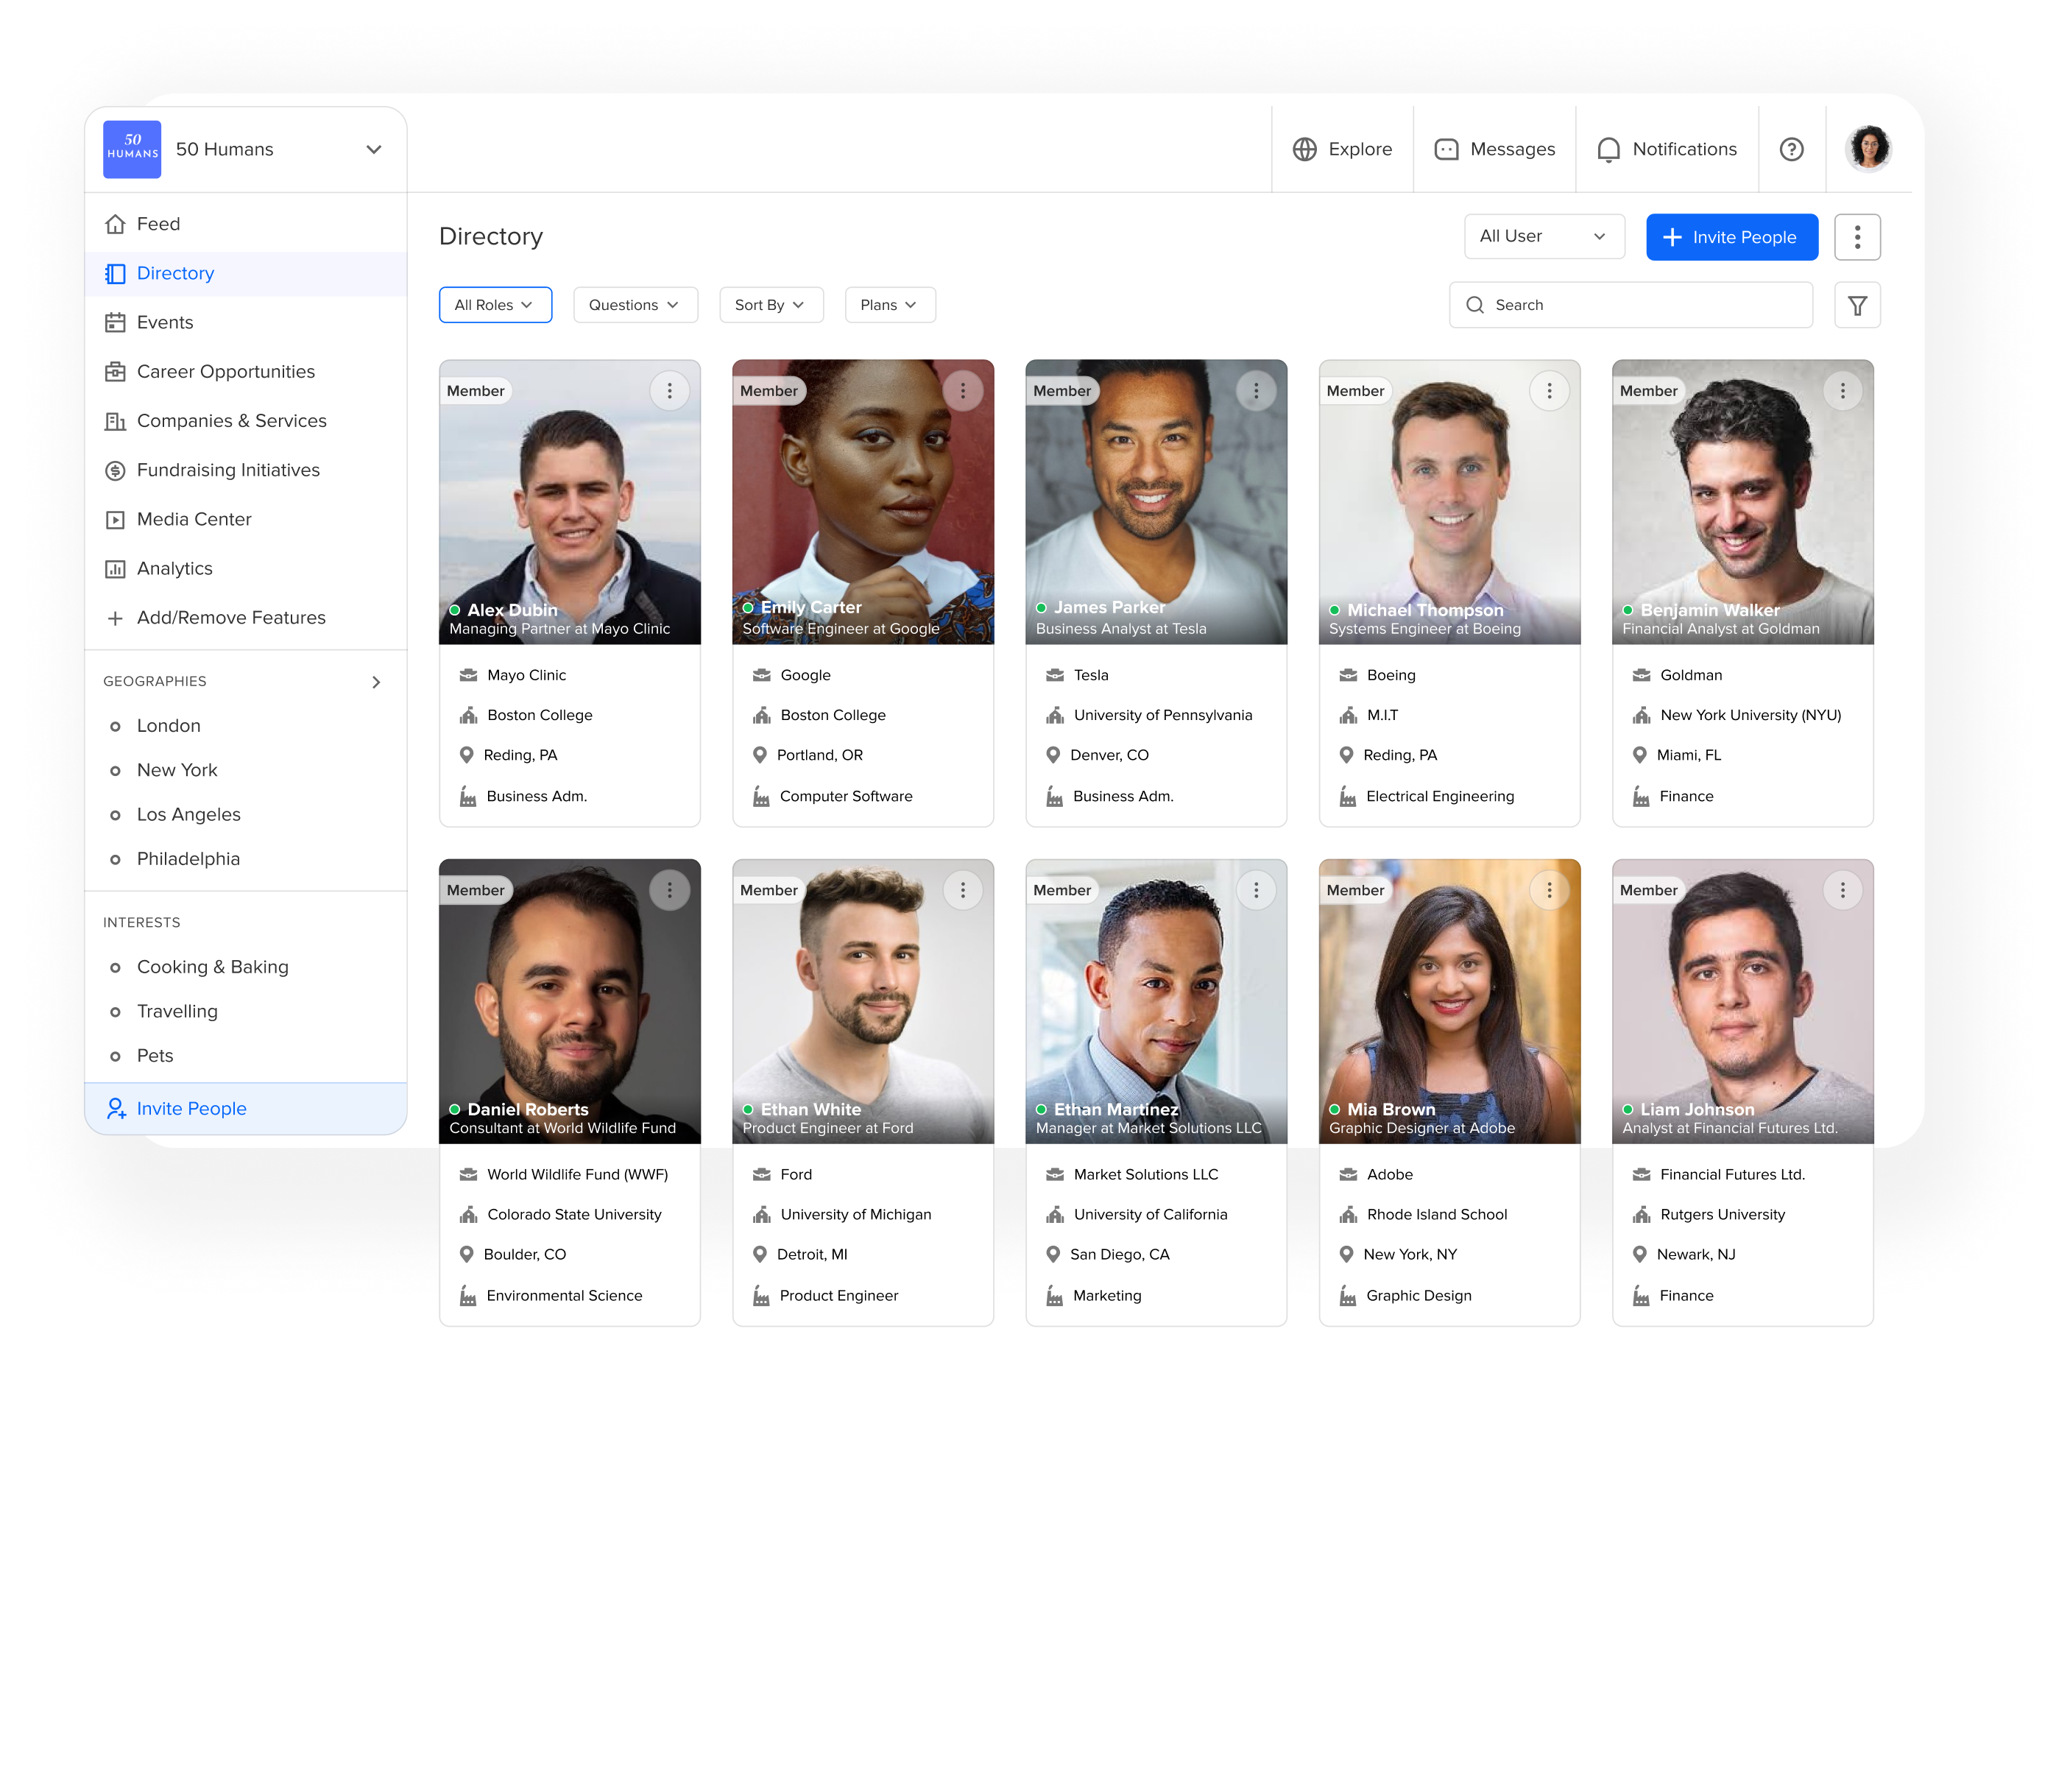
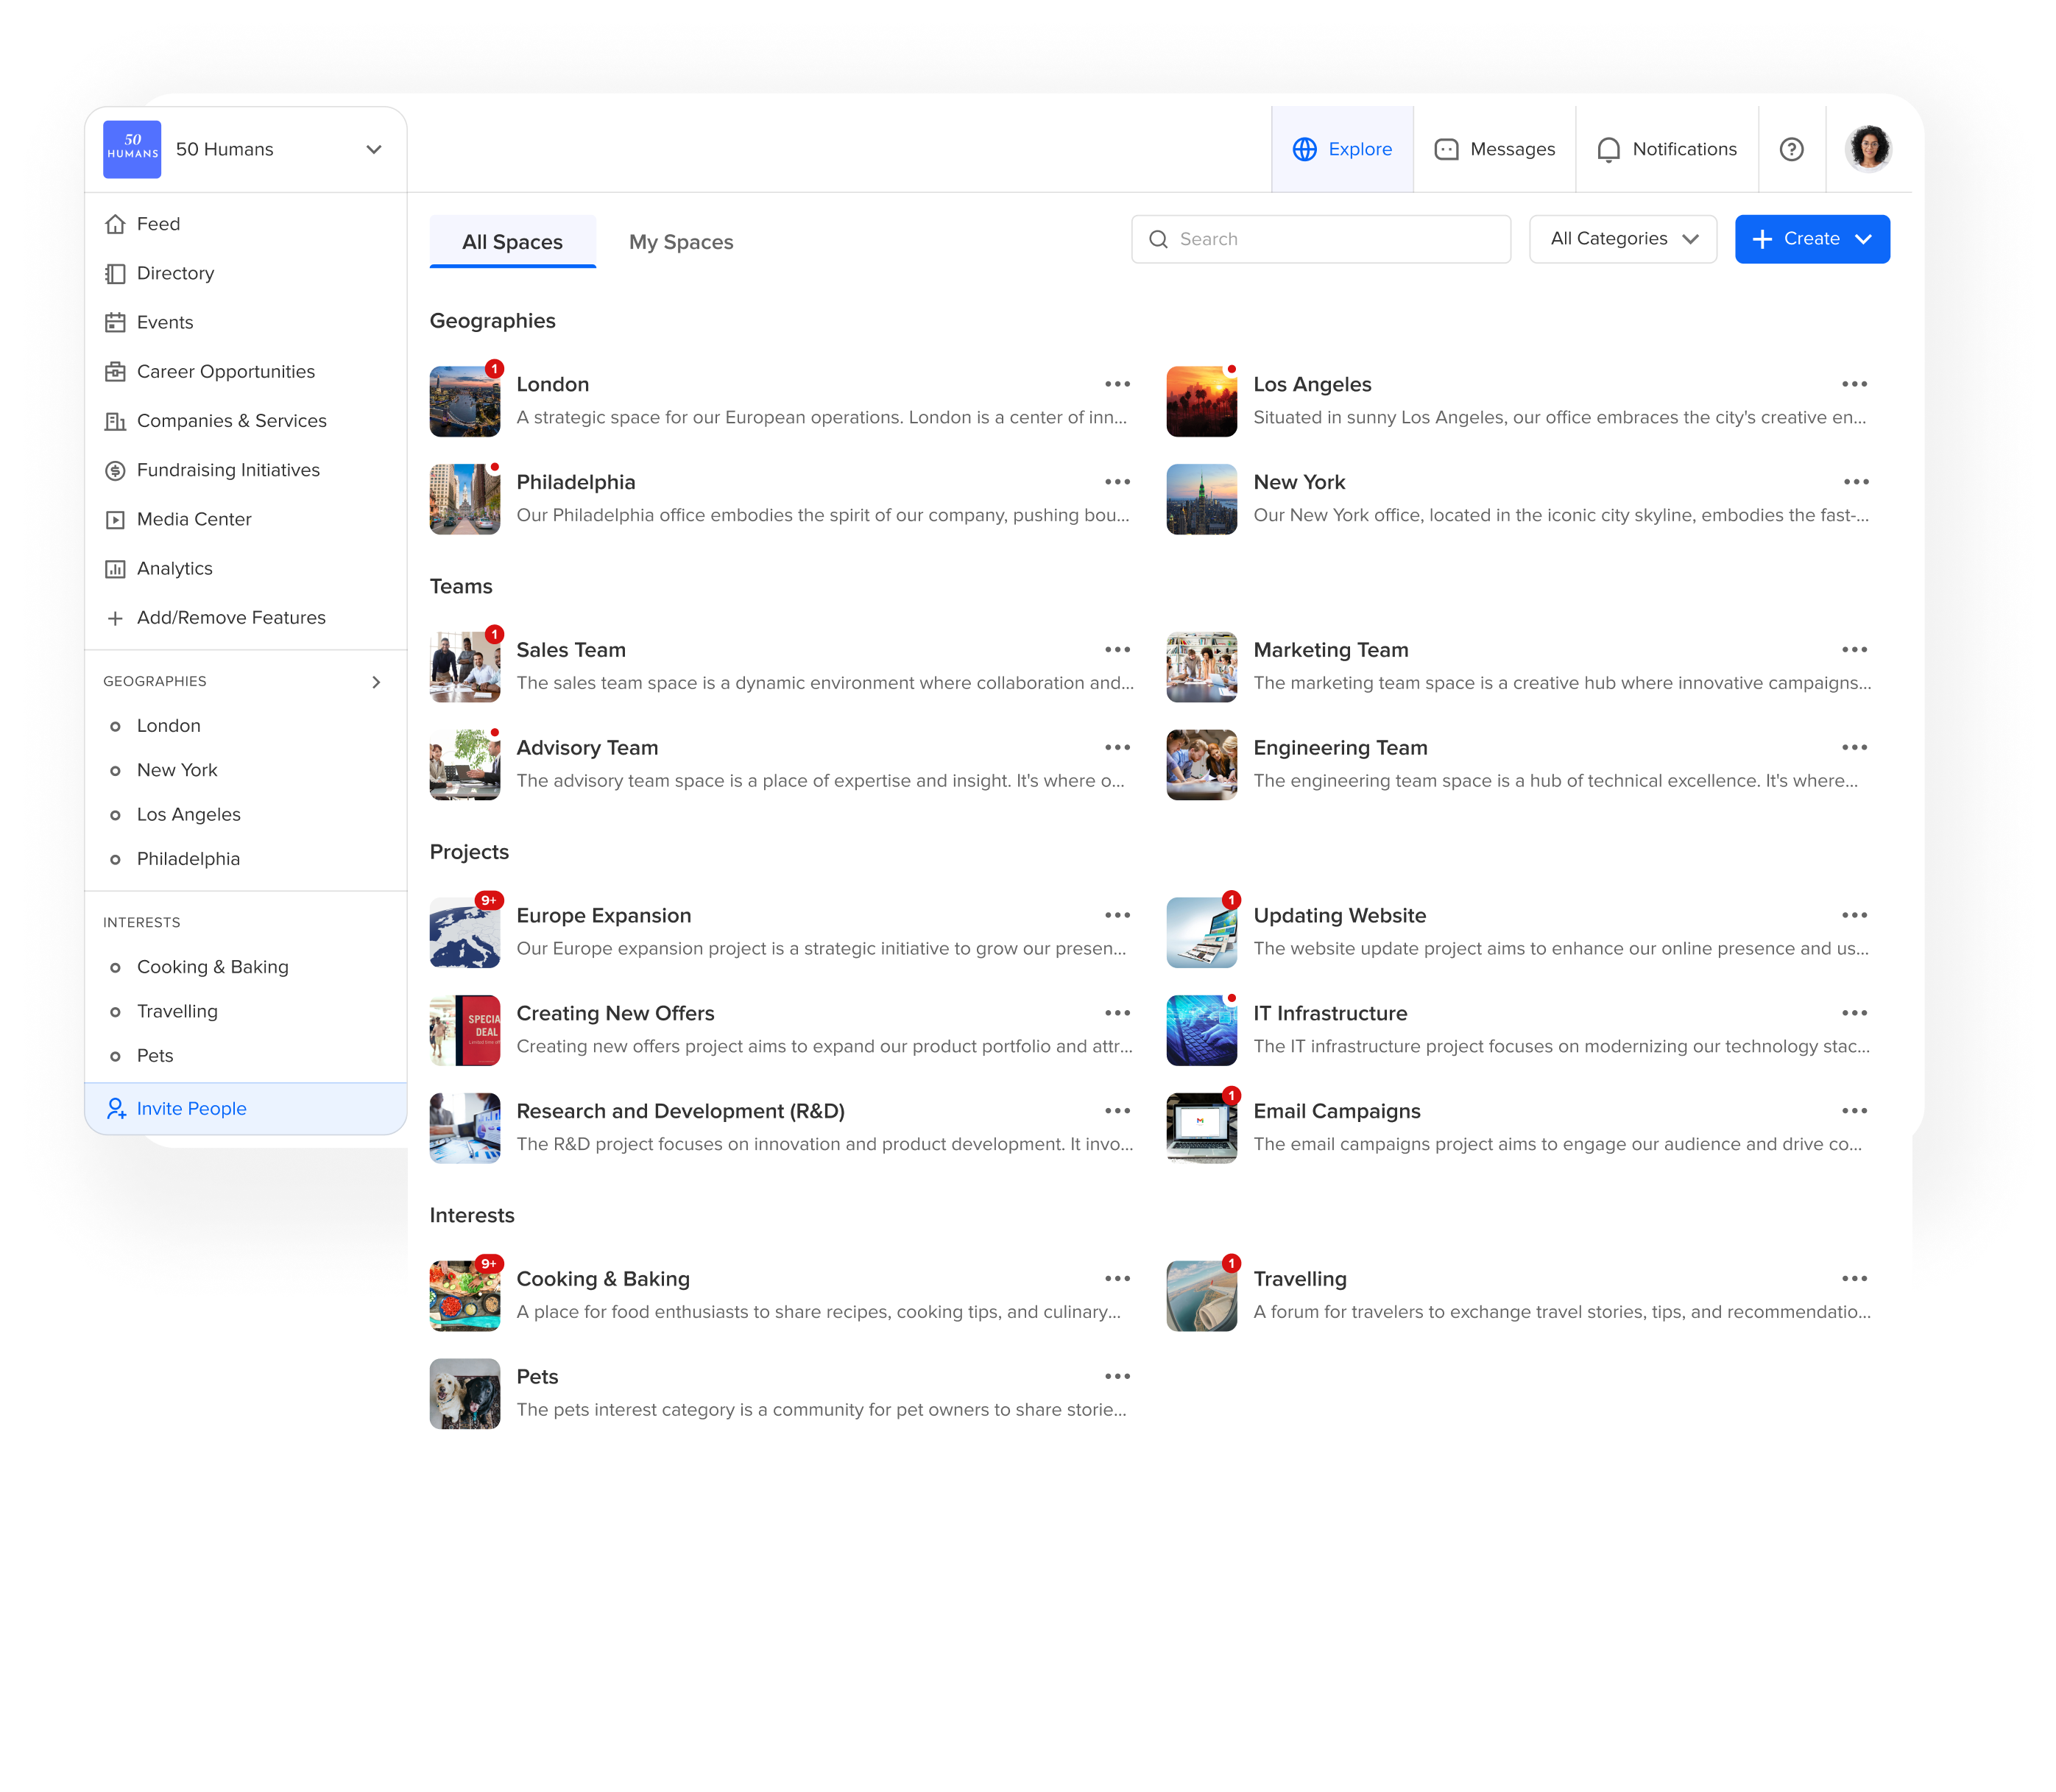
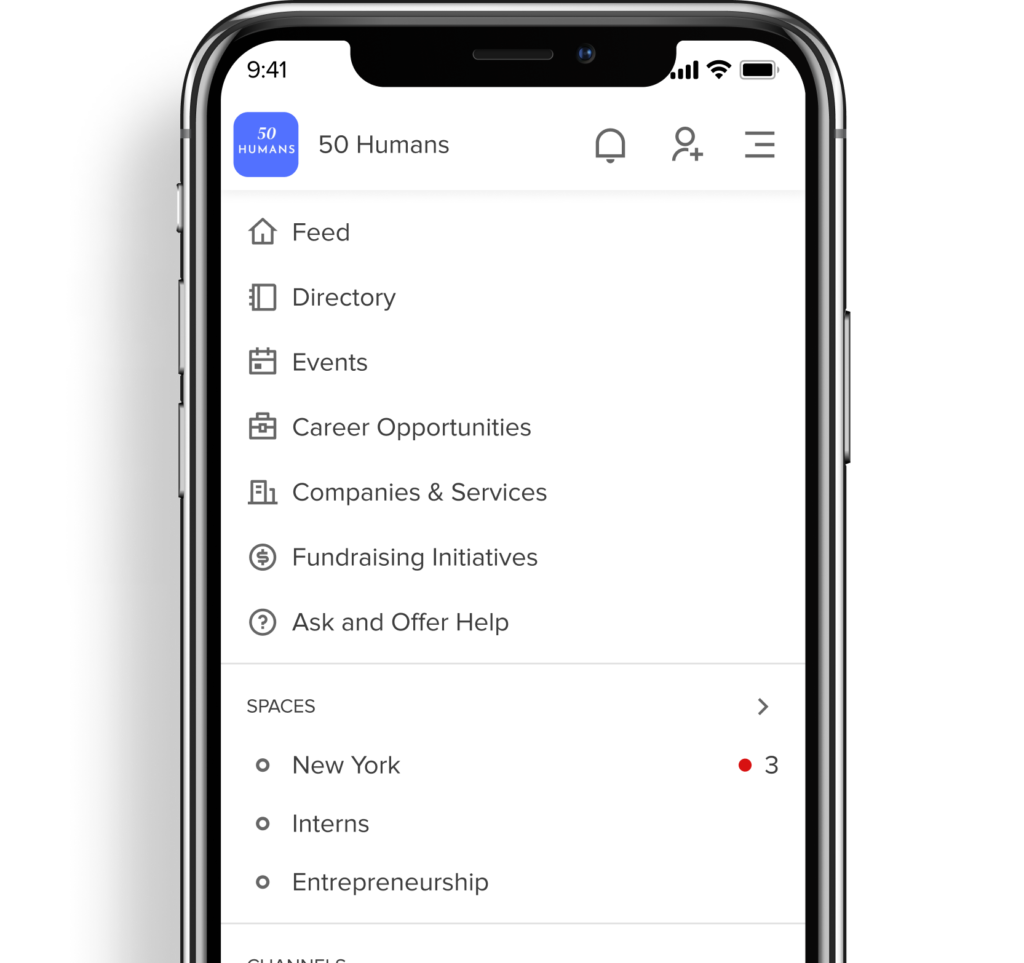
Easily create an online home for your community. Include your audience, content, events, discussions, and more.
Create a customized community with just a few clicks. Use our native tools to send invites and make it easy for people to join and engage.
Share content, resources, events, and discussions—all in one place, under your brand.
Sell memberships, offer exclusive access to valuable content, or run ads within your community to generate revenue.